
Imagine turning your ordinary faucet into a smart, hands-free device that saves water and makes your daily routine easier. With a DIY smart faucet control, you can do just that—without spending a fortune or needing expert help.
If you’ve ever wished for more convenience in your kitchen or bathroom, this guide is made for you. Keep reading, and you’ll discover simple steps to upgrade your faucet, making your home smarter and your life smoother. Ready to take control?
Let’s dive in!
Benefits Of Smart Faucet Control
Smart faucet control lets you manage water use easily. It adds new features to simple faucets.
Many homes and offices use smart faucets for better water use and hygiene. These devices offer useful benefits.
Water Conservation
Smart faucets help save water by controlling flow precisely. They turn off automatically when not needed.
This reduces water waste and lowers water bills. It also protects the environment by saving a precious resource.
- Automatic shut-off to prevent leaks
- Timed water flow for tasks
- Alerts for unusual water use
Enhanced Hygiene
Touch-free smart faucets reduce germ spread. You do not need to touch handles to start water.
This feature is helpful in kitchens and bathrooms. It keeps surfaces cleaner and lowers infection risk.
- Motion sensors activate water flow
- Hands-free operation limits contact
- Easy to keep clean and sanitary
Convenience And Accessibility
Smart faucets offer easy control with voice or app commands. They can adjust water temperature and flow fast.
These faucets help people with disabilities or limited hand use. They improve daily life with simple controls.
- Voice control for hands-free use
- App settings for custom preferences
- Adjustable flow and temperature
Essential Components
A DIY smart faucet control needs several key parts to work well. These parts help the faucet sense, think, and connect.
Understanding each component helps you build a reliable and easy-to-use smart faucet system.
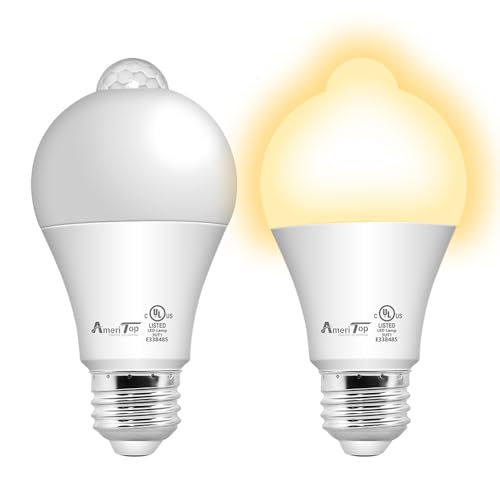
Sensor Types
Sensors detect when to turn the faucet on or off. They must be accurate and fast.
Common sensors include infrared, ultrasonic, and capacitive types. Each uses a different way to sense motion or touch.
- Infrared Sensors:Detect hand movement by sensing heat and light changes.
- Ultrasonic Sensors:Use sound waves to detect objects nearby.
- Capacitive Sensors:Sense touch by detecting changes in electric fields.
Microcontrollers And Controllers
The microcontroller acts as the faucet’s brain. It processes sensor data and controls the water flow.
Popular microcontrollers for this project include Arduino and ESP series. They are easy to program and widely supported.
- Arduino:Good for beginners and simple controls.
- ESP8266/ESP32:Includes Wi-Fi for smart connectivity.
- Raspberry Pi:More powerful for advanced functions.
Connectivity Options
Connectivity lets your smart faucet link to other devices or apps. This allows remote control and monitoring.
Common options include Wi-Fi, Bluetooth, and wired connections. Choose based on your range and power needs.
- Wi-Fi:Connects to home networks for app control.
- Bluetooth:Works for short-range device links.
- Wired:Reliable but less flexible.
Tools And Materials Needed
Building a DIY smart faucet control requires specific tools and materials. Getting them ready helps the project go smoothly.
This guide lists the basic tools, electronic parts, and plumbing supplies needed for the project.
Basic Tools
Basic tools help you handle most parts of the smart faucet setup. You will use these tools to open, close, and fix parts.
- Screwdrivers (Phillips and flathead)
- Adjustable wrench
- Wire strippers
- Drill with drill bits
- Pliers
- Measuring tape
- Utility knife
Electronic Parts
Electronic parts allow you to control the faucet with smart features. These parts connect to sensors and power sources.
- Microcontroller (like Arduino or ESP32)
- Water flow sensor
- Solenoid valve
- Power supply or battery pack
- Connecting wires and jumper cables
- Relay module (to control high power valve)
- Push buttons or touch sensors (optional)
Plumbing Supplies
Plumbing supplies help you install the smart faucet system properly. These parts ensure water flows correctly and safely.
- Faucet adapter or connector
- Flexible water hoses
- Thread seal tape (Teflon tape)
- Pipe clamps
- Plumber’s putty or silicone sealant
- Mounting brackets or holders
Credit: www.familyhandyman.com
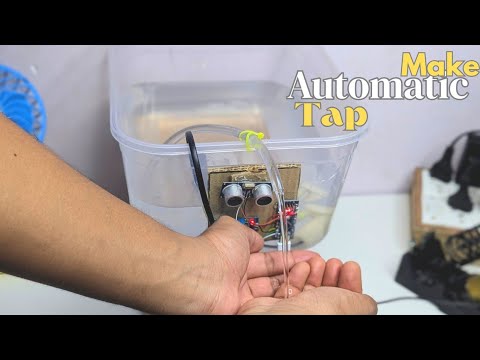
Step-by-step Installation
Installing a DIY smart faucet control helps save water and adds convenience. This guide explains how to set it up in simple steps.
Follow these instructions to prepare, install, connect, and test your smart faucet system correctly.
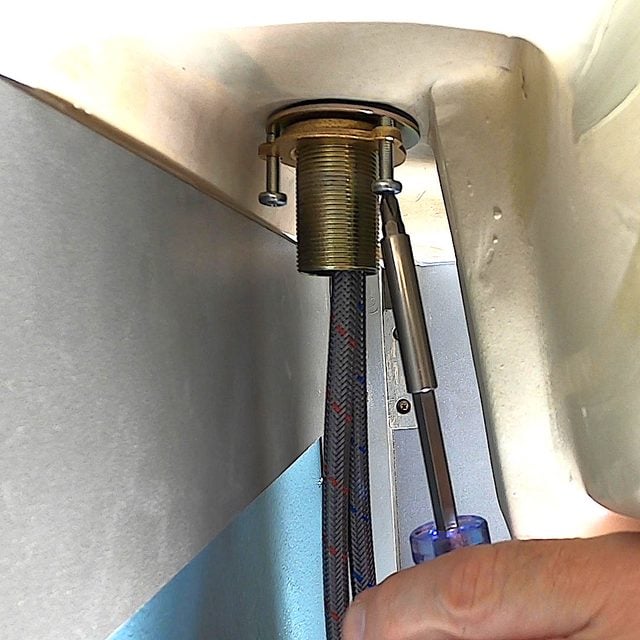
Preparing The Faucet
Start by turning off the water supply to the faucet. This prevents leaks during installation.
Clean the faucet area and remove any old parts that might get in the way. Check that the faucet works well before adding new parts.
Installing Sensors
Place the sensors where they can detect hand movement easily. Usually, this is near the faucet spout or handle.
Use screws or adhesive pads to fix the sensors firmly. Make sure they face the area where hands will be placed.
- Remove sensor covers if needed
- Align sensors with faucet opening
- Secure sensors using provided mounts
- Check sensor alignment with your hands
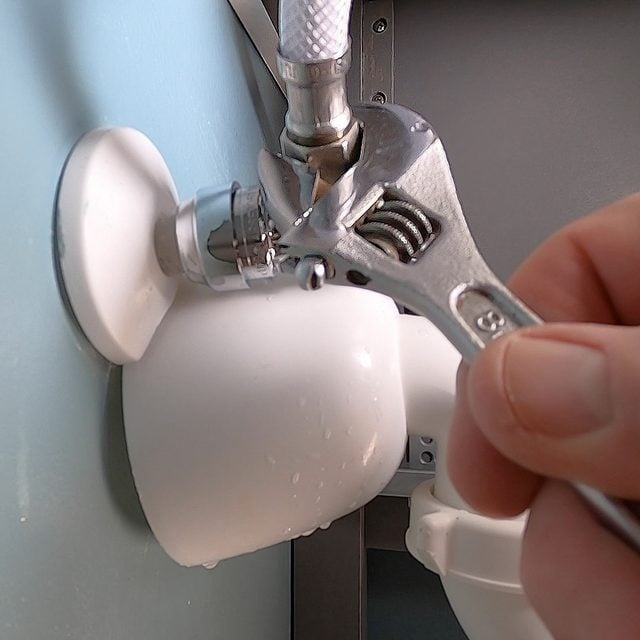
Connecting The Controller
Attach the controller box close to the faucet. Connect sensor wires to the controller ports.
Connect the controller to a power source. Some systems use batteries, while others use an adapter.
- Match sensor wires to controller inputs
- Secure all wire connections
- Connect power supply safely
- Mount controller in a dry spot
Testing The System
Turn on the water supply. Activate the controller and wait for the sensors to start.
Wave your hand near the sensor to check if the faucet turns on and off. Adjust sensor position if needed.
- Watch for quick faucet response
- Test multiple hand positions
- Adjust sensor sensitivity if needed
- Check for water leaks during testing
Programming Your Smart Faucet
Programming your smart faucet lets you control water use easily. It uses sensors and settings to save water and add comfort.
Learn how to set sensor sensitivity, adjust water flow, and connect the faucet to your home system.
Setting Sensor Sensitivity
Sensor sensitivity controls how close your hand must be to activate the faucet. Setting it right helps avoid unwanted water flow.
You can increase sensitivity to detect hands from farther away. Lower it to stop false triggers from small movements.
- High sensitivity: activates from 6-8 inches away
- Medium sensitivity: activates from 3-5 inches away
- Low sensitivity: activates within 1-2 inches
Customizing Water Flow
You can set how much water flows when the faucet is on. This saves water and fits your needs.
Adjust flow rate to be gentle for washing hands or stronger for filling containers quickly.
- Low flow: good for hand washing
- Medium flow: ideal for rinsing
- High flow: fast filling of pots or bottles
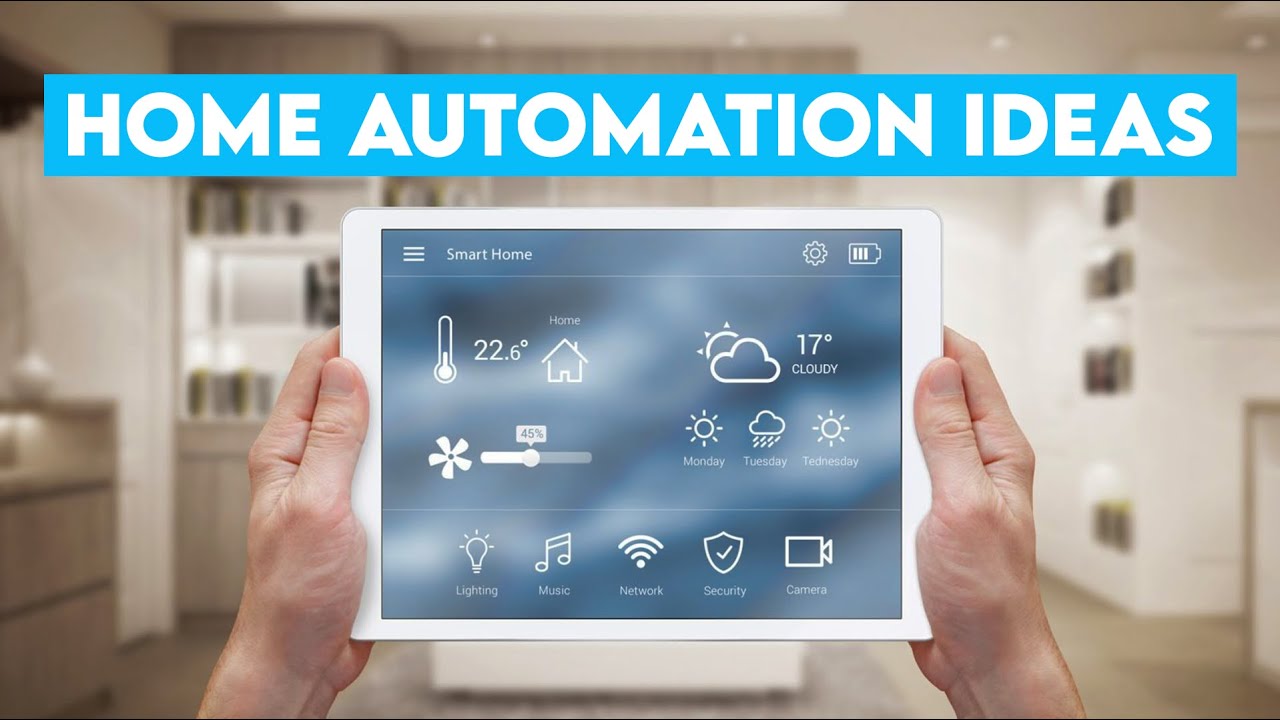
Integrating With Home Automation
Connecting your smart faucet to home automation lets you control it with your phone or voice.
You can link it to other devices for routines, like turning off lights when you use the faucet.
- Use smart home apps to control faucet settings
- Set schedules for automatic water shutoff
- Pair with sensors for hands-free operation
Troubleshooting Tips
DIY smart faucet controls make using water easy and clean. Sometimes, these faucets may not work as expected.
This guide helps you fix common problems with smart faucets. Follow these simple tips to keep your faucet working well.
Common Issues
Smart faucets may face issues like no water flow, weak water pressure, or sensor delays. These problems can happen due to power or sensor faults.
Check for blockages in the faucet or pipes. Sometimes, dirt or debris stops the water from flowing properly.
Sensor Calibration
Sensors detect hand movement to start the water flow. If the faucet does not react well, the sensor might need calibration.
Adjust the sensor sensitivity to the right level. Too high or too low sensitivity can cause false triggers or no response.
- Clean the sensor lens to remove dirt and water spots
- Reset the sensor to default settings and test again
- Move your hand slowly in front of the sensor during testing
- Make sure no objects block the sensor area
Connectivity Problems
Some smart faucets connect to Wi-Fi or Bluetooth for control. Connection issues can stop remote functions from working.
Check your network settings and make sure the faucet is within range of the router or device. Restart devices if needed.
- Verify the faucet is powered on and in pairing mode
- Restart your Wi-Fi router or Bluetooth device
- Update the faucet’s firmware or app software
- Remove and re-add the faucet in the app settings
Enhancing Smart Faucet Features
Smart faucets bring convenience and efficiency to your home. You can make them better with simple upgrades.
Adding new features helps save water and makes the faucet easier to use every day.
Voice Control Integration
Voice control lets you turn the faucet on or off without touching it. You can use smart speakers or phones for this.
This feature is helpful when your hands are dirty or full. It also adds ease for people with mobility issues.
Leak Detection
Leak detection alerts you when water is dripping or leaking. This stops water waste and damage to your home.
Many smart faucets have sensors that send notifications to your phone. You can fix leaks early and save money.
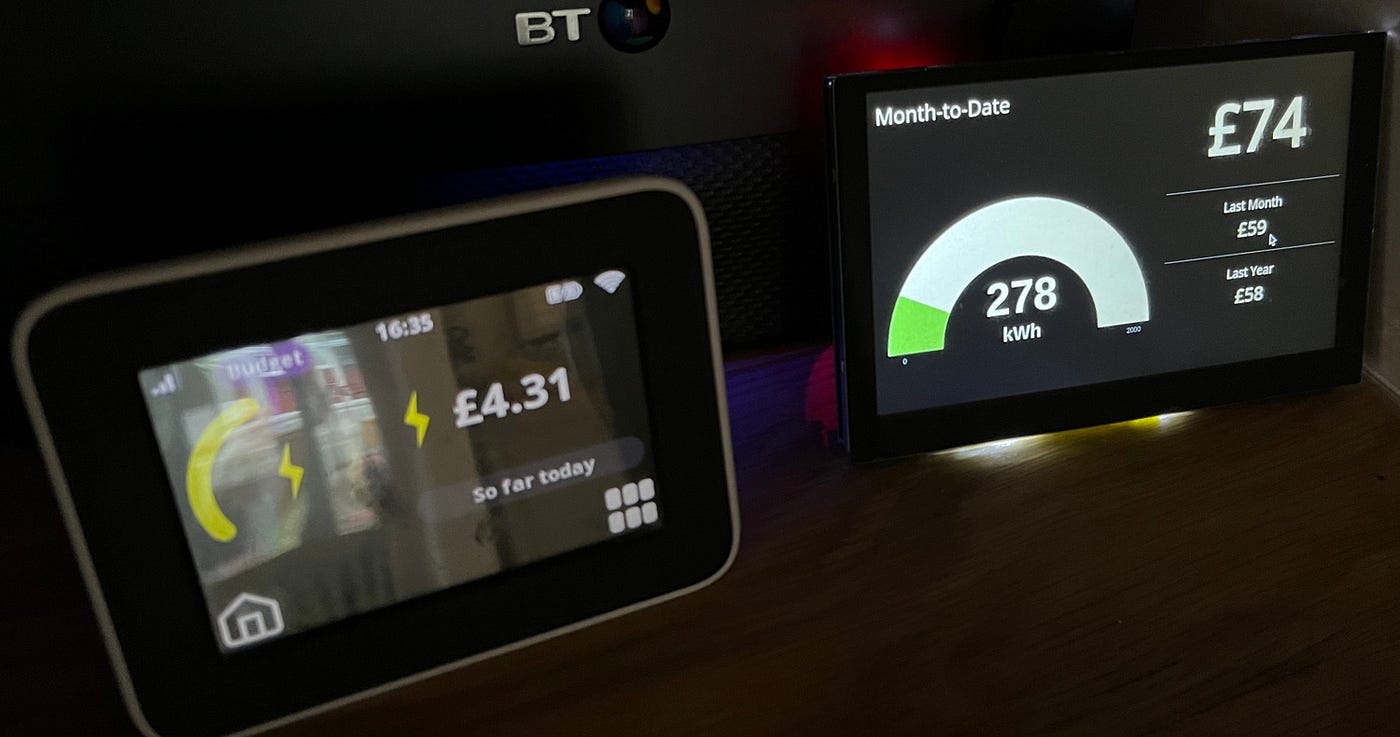
Usage Monitoring
Usage monitoring tracks how much water you use. This helps you understand your habits and find ways to save water.
Some systems show daily, weekly, or monthly water use. This data guides you to reduce waste and lower bills.
Credit: www.familyhandyman.com

Credit: www.youtube.com
Frequently Asked Questions
What Is A Diy Smart Faucet Control?
A DIY smart faucet control lets you automate water flow using sensors or apps. It improves convenience and saves water efficiently at home.
How Do I Install A Smart Faucet Control Myself?
To install, turn off water supply, mount sensors, connect wires, and configure settings. Follow product instructions carefully for best results.
What Are The Benefits Of A Smart Faucet Control?
It reduces water waste, adds touchless convenience, and can save energy. It also improves hygiene by minimizing contact with faucet handles.
Can I Customize My Diy Smart Faucet Control?
Yes, most DIY kits allow customizing sensor range, water temperature, and flow duration. You can tailor it to your specific needs and preferences.
Conclusion
Creating a DIY smart faucet control is a simple project. It enhances home convenience without much cost. With basic tools and materials, you achieve great results. Enjoy the benefits of hands-free water control. Save water and energy effortlessly. This project suits beginners and tech lovers alike.
You gain valuable skills through hands-on experience. Plus, it adds a modern touch to your kitchen or bathroom. Try building one today and enjoy its smart features. It’s a rewarding DIY task for any homeowner.
18 min read