
Have you ever wondered how much energy your home really uses each day? Imagine having a clear, simple dashboard that shows your energy habits in real time.
With a DIY energy monitor dashboard, you can take control of your power consumption and start saving money without waiting for your monthly bill. This guide will walk you through creating your own easy-to-use system, helping you understand where your energy goes and how to cut waste.
Ready to see your electricity in a whole new light? Let’s dive in and build your personalized energy monitor dashboard step by step.
Benefits Of An Energy Monitor
An energy monitor helps you track how much electricity your home uses. It shows which devices use the most power.
Knowing your energy use can help you save money and reduce waste. You can make smart choices to lower bills and protect the planet.
Save Money On Electricity Bills
An energy monitor shows real-time electricity use. You see how much power each device uses and when.
This helps you find ways to cut back. Turning off unused devices lowers your bill.
- Spot appliances using too much power
- Change habits to use less electricity
- Set goals to reduce monthly costs
Identify Energy Hogs
Some devices use more energy than you think. An energy monitor points out these energy hogs.
Knowing which devices waste power helps you decide to repair, replace, or unplug them.
- Find old or faulty equipment
- Spot devices left on by mistake
- Reduce standby power use
Promote Sustainable Living
An energy monitor encourages greener habits. It helps lower your carbon footprint by using less electricity.
Using less energy means fewer fossil fuels are burned. This helps protect the environment for the future.
- Track progress toward energy goals
- Encourage family members to save power
- Support a cleaner, healthier planet
Choosing The Right Components
Building a DIY energy monitor dashboard needs the right parts. Choosing good components helps track energy use well.
This guide covers sensors, microcontrollers, and display options. Pick parts that fit your project needs.
Selecting Sensors And Meters
Sensors measure the electricity flowing in your home. Choose sensors that match your power system type.
Common sensors include current transformers and voltage sensors. Each type shows different data about energy use.
- Current transformers (CT) measure current without breaking the circuit
- Voltage sensors track the voltage in the system
- Power meters combine current and voltage to show real power use
- Choose sensors with good accuracy and safety ratings
Microcontroller Options
Microcontrollers read sensor data and run your dashboard. Pick one with enough inputs and power.
Popular microcontrollers include Arduino, ESP32, and Raspberry Pi. Each has pros and cons.
- Arduino: Easy to use, many tutorials, limited processing power
- ESP32: Built-in Wi-Fi, good for wireless data, moderate speed
- Raspberry Pi: Full computer, great for complex dashboards, needs more power
Display And Interface Choices
The display shows energy data clearly. Choose one that fits your space and user needs.
Interfaces include LCD screens, OLED displays, and web dashboards. Think about how you want to see your data.
- LCD screens: Affordable and easy to read, good for simple data
- OLED displays: Clearer and brighter, use less power
- Web dashboards: View data on phones or computers remotely
Setting Up Your Energy Monitor
Setting up an energy monitor helps you track how much electricity you use. It shows where you can save power in your home.
This guide covers the basic steps to install and connect your energy monitor safely and correctly.
Wiring And Installation Tips
Start by turning off power to the circuit you will work on. This prevents electrical shocks.
Use the right wires for your sensors and microcontroller. Follow the color codes to avoid mistakes.
- Check wire insulation for damage before use
- Keep wires neat and organized
- Use connectors to secure wires firmly
- Mount sensors near the main power lines
- Label wires to track connections
Connecting Sensors To The Microcontroller
Attach the current sensors to the power lines you want to measure. Make sure sensors fit tightly around the wires.
Connect sensor outputs to the microcontroller input pins. Use the correct pins as per your device’s manual.
- Match sensor output to microcontroller input
- Use pull-up resistors if needed
- Double-check connections before powering on
- Secure connections to avoid loose wires
Ensuring Safety And Compliance
Follow local electrical codes and regulations during installation. This keeps your setup safe and legal.
Wear insulated gloves and use tools rated for electrical work. Test your setup with a multimeter before use.
- Turn off power before any wiring changes
- Use proper fuses or circuit breakers
- Avoid water or damp areas
- Keep sensors and wires away from heat sources
- Consult a professional electrician if unsure

Credit: medium.com
Building The Dashboard Interface
Creating a DIY energy monitor dashboard helps you track your energy use. The dashboard shows data clearly to make smart choices.
This guide covers how to design the dashboard, show real-time data, and set alerts for important changes.
Designing User-friendly Layouts
A good layout makes the dashboard easy to use and understand. Place important data where users see it first.
Use clear labels and simple icons to guide users. Keep the design clean and avoid clutter.
- Group related information together
- Use large fonts for key numbers
- Apply consistent colors for better reading
- Leave enough space between sections
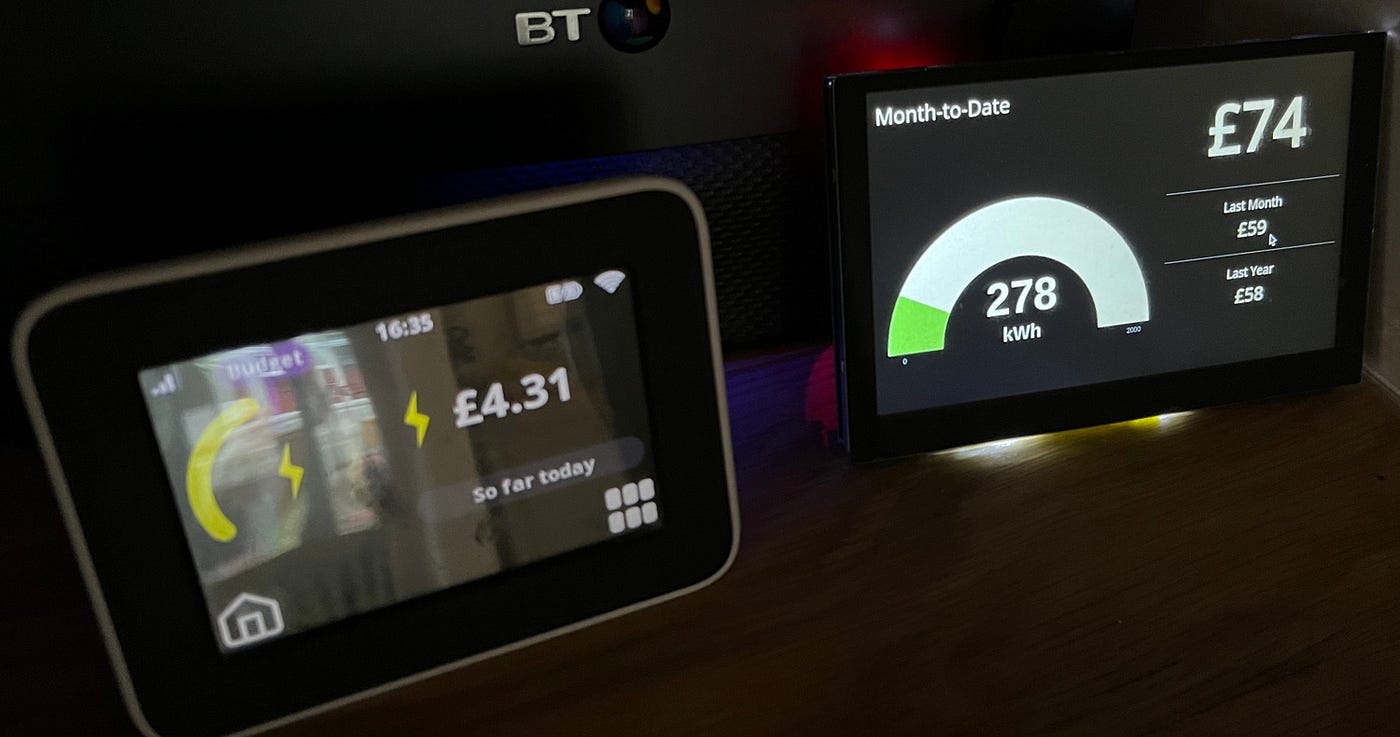
Integrating Real-time Data Visualization
Show energy use data as it updates in real time. This helps users see changes quickly and react.
Use charts and graphs that update automatically. Simple visuals like line or bar charts work well.
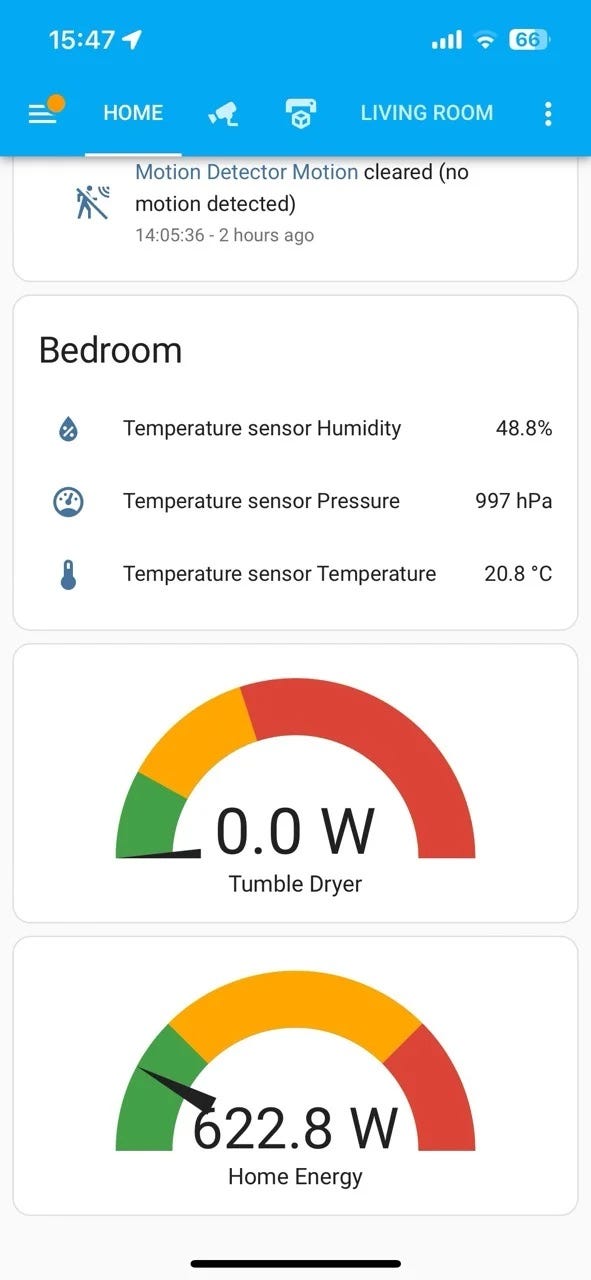
- Display current power consumption with a gauge
- Show hourly energy use trends in a line chart
- Use color changes to indicate high or low values
- Refresh data every few seconds for accuracy
Customizing Alerts And Notifications
Set alerts to warn users about unusual energy use. Notifications help fix problems early.
Choose alert types like sound, pop-ups, or email messages. Allow users to set their alert preferences.
- Alert when energy use goes above a set limit
- Notify if the system detects a fault or error
- Provide options to turn alerts on or off
- Log alerts for later review
Data Logging And Analysis
Keeping track of energy use is important for saving power. Data logging helps you record energy use over time.
Analyzing this data shows how you use energy. It can help you find ways to use less power.
Storing Energy Usage Data
Energy data must be saved safely for later review. You can store it on a local device or in the cloud.
Organize the data by date and time. This helps you find specific information quickly.
- Use a database to keep data secure
- Save data in small files for easier access
- Back up data regularly to avoid loss
Using Analytics To Identify Trends
Look at your stored data to find patterns in energy use. This helps you understand when you use the most power.
Analytics tools can show daily or weekly trends. You can spot times when energy use is high or low.
- Track peak hours of energy use
- Compare weekdays and weekends
- Identify unusual spikes in consumption
Exporting Data For Further Use
Export your energy data to use in other programs. This lets you do more detailed analysis or share data easily.
Common export formats include CSV and Excel files. These formats work well with many tools.
- Export data by date range
- Choose the format that suits your needs
- Use exported data for reports or charts
Advanced Features To Consider
Building a DIY energy monitor dashboard lets you track your power use clearly. Adding smart features makes it easier to save energy.
These features help you control and understand your energy habits better. They also connect your dashboard with other devices.
Remote Monitoring Via Mobile Apps
Remote monitoring allows you to check your energy use from anywhere. Mobile apps show real-time data on your phone or tablet.
You can spot unusual power use and track your daily consumption easily. This helps you make better energy choices on the go.
- View live energy data anytime
- Receive alerts for high usage
- Access historical energy reports
Automating Energy-saving Actions
Automation lets your dashboard turn devices on or off based on energy use. This saves power without needing your constant input.
You can set rules to run appliances during cheap energy times. Automation also helps reduce waste by switching off unused devices.
- Schedule appliances to run at specific times
- Turn off devices when not in use
- Adjust settings based on energy prices
Integrating With Smart Home Systems
Connecting your energy monitor with smart home systems makes it smarter. You can control lights, heating, and more from one place.
This integration helps your devices work together to save energy. It creates a seamless way to manage your home’s power use.
- Control smart devices from the dashboard
- Use voice commands with assistants
- Sync energy data with home automation
Troubleshooting And Maintenance
A DIY energy monitor dashboard helps track your power use. Keeping it working well takes some care and checks.
This guide covers common problems, regular calibration, and how to extend your monitor’s life.
Common Issues And Fixes
Sometimes the energy monitor may stop showing correct data or lose connection. These problems are often simple to fix.
- Check power supply if the monitor does not turn on.
- Reset the device if data seems wrong or frozen.
- Ensure sensors are connected properly and cables are not damaged.
- Update the software to fix bugs and improve performance.
- Clear the dashboard cache if loading is slow or incomplete.
Regular Calibration And Updates
Calibration keeps your energy readings accurate. Updates add new features and fix errors.
Calibrate sensors every few months or after moving the device. Follow the monitor’s manual for steps.
- Use a known power load to check sensor accuracy.
- Adjust sensor settings if readings differ from expected values.
- Download firmware updates from the official source.
- Restart the monitor after applying updates to ensure they work.
Extending The Lifespan Of Your Monitor
Good care extends your energy monitor’s life. Protect it from dust, moisture, and heat.
Keep the software current and avoid rough handling. Regular checks help spot issues early.
- Place the monitor in a dry, cool place away from direct sunlight.
- Clean the device gently with a soft, dry cloth.
- Check connections and cables for wear or damage often.
- Backup your data regularly to avoid loss.
- Turn off the monitor during long periods of non-use.

Credit: www.reddit.com
Credit: intelligentdithering.medium.com
Frequently Asked Questions
What Is A Diy Energy Monitor Dashboard?
A DIY energy monitor dashboard is a custom-built tool to track energy use. It helps users visualize real-time consumption and identify saving opportunities. This project combines hardware and software for personalized energy management. It’s cost-effective, educational, and improves home energy efficiency.
How Do I Start Building An Energy Monitor Dashboard?
Begin by selecting sensors to measure electricity usage. Next, choose a microcontroller or Raspberry Pi to collect data. Then, use software to display the data on a dashboard. Tutorials and kits online simplify the process for beginners. Ensure you follow safety guidelines when handling electrical components.
What Components Are Needed For This Project?
Essential components include current sensors, a microcontroller (like Arduino), and a display interface. You also need wires, power supply, and software for data visualization. Optional parts can include Wi-Fi modules for remote monitoring. Quality components ensure accurate readings and reliable performance.
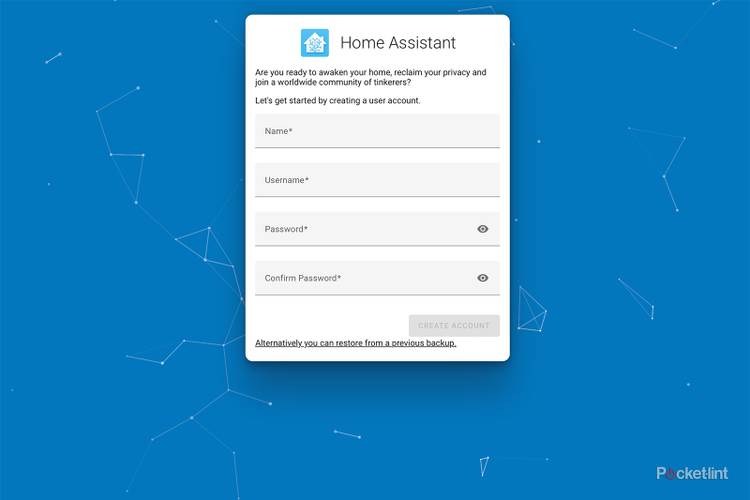
Can I Integrate This Dashboard With Smart Home Systems?
Yes, many DIY energy dashboards support integration with smart home platforms. Using Wi-Fi-enabled controllers allows data syncing with apps like Home Assistant. This integration enables automation based on energy consumption patterns. It enhances convenience and energy management efficiency.
Conclusion
Creating your own energy monitor dashboard is rewarding. It offers control and insight. You can track energy use effectively. Save money by understanding usage patterns. Customizing your dashboard makes it more personal. Choose features that suit your needs. Embrace this DIY project to learn and grow.
It improves energy efficiency at home. Get started today and see the benefits. With a bit of effort, you can manage energy better. Enjoy the process and outcomes. Make smarter energy decisions with your dashboard. It’s a step towards a sustainable lifestyle.
20 min read