
Are you tired of constantly opening the door for your pet or worrying about them getting outside when you’re not home? Installing an automated pet door can change your daily routine and give your furry friend the freedom they deserve.
Imagine a door that lets your pet in and out safely, without you lifting a finger. You’ll discover how easy it is to install an automated pet door and why it’s a game-changer for both you and your pet. Keep reading to find out how this simple upgrade can make life better for everyone in your home.
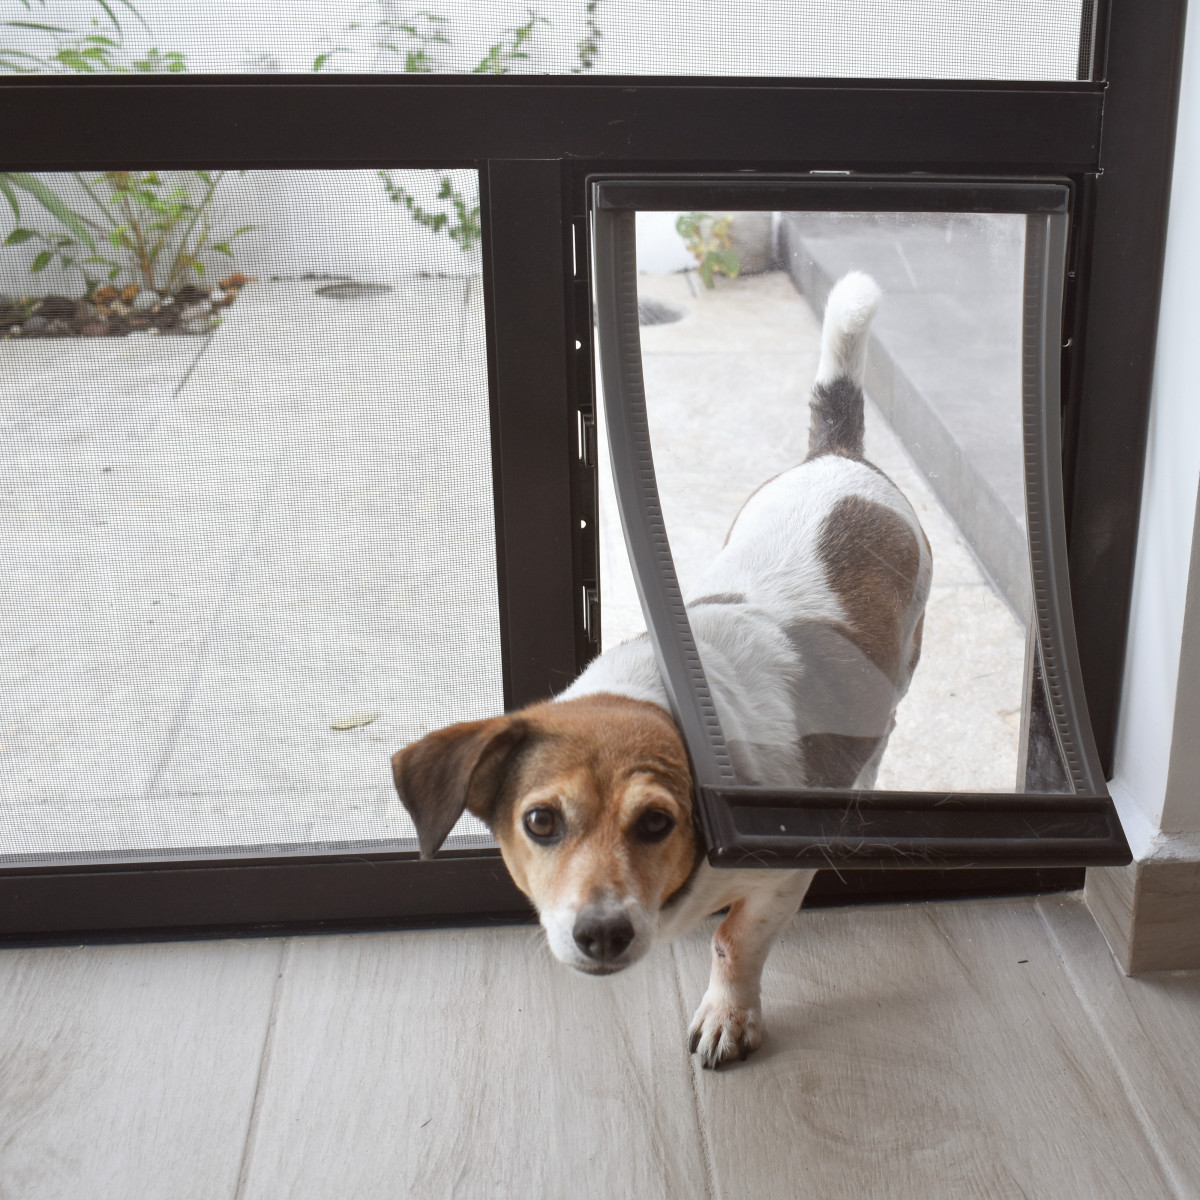
Credit: www.mrhandyman.ca
Choosing The Right Automated Pet Door
Automated pet doors give pets easy access in and out of the house. Choosing the right one keeps your pet safe and comfortable.
Think about your pet’s size, the door type, and the materials used. These factors help you pick the best door.
Types Of Automated Pet Doors
There are several types of automated pet doors. Each type works differently and suits different needs.
- Microchip Doors: Open only for pets with a registered microchip.
- Magnetic Collar Doors: Unlock when the pet’s collar magnet is near.
- Motion Sensor Doors: Detect your pet’s movement to open automatically.
- Timer Controlled Doors: Open or close at set times for controlled access.
Sizing For Your Pet
Measure your pet to choose the right door size. The door should be big enough for easy entry.
Measure your pet’s height and width at the widest point. Add a few inches for comfort.
- Height: Measure from the ground to your pet’s shoulder.
- Width: Measure the widest part of your pet’s body.
- Allow extra space so your pet does not get stuck.
Material And Durability Options
Choose materials that last and fit your home style. Durable materials keep the door working well for years.
Look for weather-resistant materials if the door faces outside. Sturdy plastic and metal are common choices.
- Plastic: Lightweight and easy to clean, good for indoor use.
- Aluminum: Strong and rust-resistant, suitable for outdoor doors.
- Stainless Steel: Very durable and weatherproof, ideal for tough conditions.
- Tempered Glass: Some doors have glass panels for visibility and style.
Tools And Materials Needed
Installing an automated pet door requires some basic tools and materials. Having everything ready will make the job easier and faster.
Below are the lists of tools and supplies you will need to complete the installation safely and correctly.
Basic Tools Checklist
These tools are common in most toolboxes. They help you measure, cut, and fit the pet door properly.
- Measuring tape – to measure door or wall space
- Pencil – to mark cutting lines
- Drill – to make holes for screws and wiring
- Hole saw or jigsaw – to cut the door or wall opening
- Screwdriver – to fasten screws
- Level – to ensure the door is straight
- Safety glasses – to protect your eyes while cutting
- Work gloves – to protect your hands
Additional Supplies For Installation
Besides basic tools, some extra supplies help with the pet door setup. These items ensure a secure and clean installation.
- Automated pet door kit – includes the door and frame
- Mounting screws and anchors – to hold the door in place
- Weather stripping – to seal gaps and prevent drafts
- Silicone caulk – to seal edges and protect from water
- Electrical tape and wire connectors – for power connections
- Extension cord or power adapter – if needed for power source
- Sandpaper – to smooth rough cut edges
Preparing The Installation Site
Installing an automated pet door needs careful preparation. You must get the site ready before starting the work.
This guide covers how to pick the best location, measure and mark the door or wall, and stay safe during installation.
Selecting The Ideal Location
Choose a spot that your pet uses often. The location should be easy for your pet to reach and safe to pass through.
Avoid places near busy streets or areas with heavy foot traffic. Also, check if the wall or door is strong enough for the door.
- Pick a quiet, low-traffic area
- Ensure the wall or door is sturdy
- Consider your pet’s usual paths
- Check for power outlets if needed
Measuring And Marking The Door Or Wall
Measure your pet’s height and width to make a perfect door size. Mark the area clearly on the wall or door.
Use a pencil and level to draw straight lines. Double-check measurements before cutting or drilling.
- Measure pet’s height from floor to shoulder
- Measure pet’s width at the widest point
- Mark the door size on the wall or door
- Use a level for straight lines
- Check all marks twice
Safety Precautions
Wear safety glasses and gloves before starting. Clear the area to avoid accidents during installation.
Turn off power tools when not in use. Keep pets and children away from the work zone.
- Wear eye protection and gloves
- Clear the installation area
- Turn off power tools when idle
- Keep pets and kids away
- Follow tool safety instructions
Step-by-step Installation Guide
Installing an automated pet door lets your pet come and go safely. This guide shows you how to install it yourself.
Follow each step carefully to make sure the door works well and fits your wall or door.
Cutting The Opening
Mark the area where you want the pet door. Use the template from the kit for exact size.
Use a drill and saw to cut the marked opening. Be careful to cut straight and smooth edges.
- Measure twice before cutting
- Use safety gear like goggles and gloves
- Clean the cut edges to remove splinters
Fitting The Frame
Place the frame of the pet door into the cut opening. Make sure it fits snugly without gaps.
If needed, use weather stripping or foam to seal small gaps around the frame.
- Check the frame aligns with the opening
- Use a level to keep the frame straight
- Apply sealant for weather protection
Securing The Door
Use screws or bolts to attach the frame firmly to the door or wall. Follow the kit’s instructions.
Make sure the door swings or slides smoothly. Tighten fasteners but do not over-tighten.
- Use a screwdriver or drill for screws
- Check for loose parts after securing
- Test the door movement several times
Programming The Automated Features
Follow the instructions to program the pet door’s automatic functions. This may include sensors or remote controls.
Test the settings to make sure the door opens only for your pet and closes securely after use.
- Set up microchip or collar sensor if available
- Adjust opening and closing speed
- Test multiple times to confirm accuracy
Testing And Adjustments
After installing your automated pet door, it is important to test its functions. Testing helps ensure the door works safely and correctly.
Making adjustments can fix small issues and improve the door’s performance. Follow these steps to check and adjust your pet door.
Initial Function Check
Start by powering on the pet door and watching it operate. Check if the door opens and closes smoothly without sticking.
Test the door with your pet’s access device, like a collar tag or sensor. The door should open only when your pet approaches.
- Make sure the door closes fully after your pet passes
- Listen for any unusual sounds during operation
- Confirm the door responds only to your pet’s sensor
Calibrating Sensors And Locking Mechanisms
Adjust sensor sensitivity so the door detects your pet at the right distance. Too sensitive or not sensitive enough can cause problems.
Check the locking mechanism to ensure it secures the door when closed. It should release smoothly when your pet approaches.
- Use the control panel to adjust sensor range
- Test sensor response with your pet nearby
- Manually test the lock to confirm it engages and releases
Troubleshooting Common Issues
If the door does not open, check battery levels or power supply first. Weak power can cause failure.
For sensor problems, clean any dirt or debris blocking the sensor area. Recalibrate if needed.
- Door stuck open or closed: inspect for obstructions or mechanical damage
- Door opens for other animals: adjust sensor settings or change sensor frequency
- Lock does not engage: check lock alignment and test manual operation
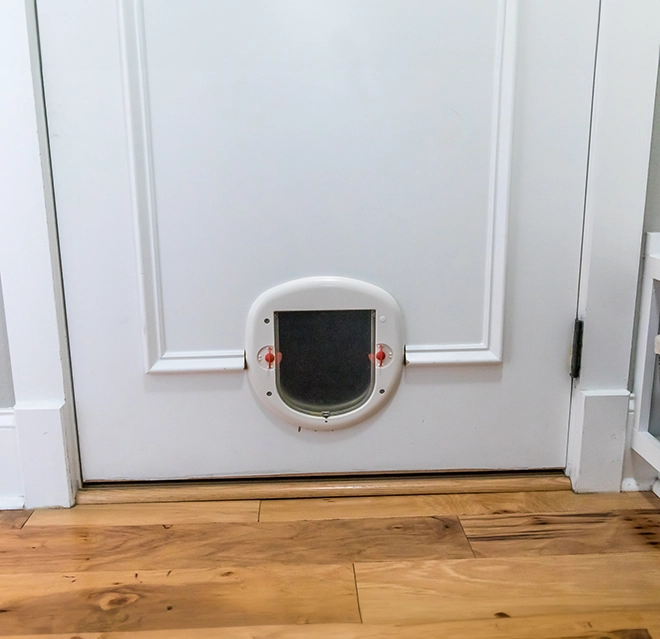
Credit: pethelpful.com
Maintaining Your Automated Pet Door
Keeping your automated pet door in good shape helps it last longer. Regular care makes sure it works smoothly every day.
Check the door often and clean it to avoid dirt build-up. Follow simple steps to keep it running well.
Cleaning Tips
Clean your pet door regularly to remove dust, dirt, and hair. Use a soft cloth and mild soap with water.
Focus on the flap, sensors, and frame. Avoid harsh chemicals that can damage parts or sensors.
- Wipe the flap gently to prevent scratches
- Use a cotton swab for sensor areas
- Dry all parts well before use
Battery And Power Management
Check the battery level often to keep the door working. Replace batteries as needed to avoid power loss.
If your door uses a power adapter, make sure connections are tight. Avoid moisture near power parts to prevent damage.
- Test battery monthly for charge level
- Use recommended battery types only
- Keep power cords dry and secure
Seasonal Care
Adjust your pet door care based on the season. Cold weather may cause parts to freeze or stick.
In hot weather, check for warping or sensor errors. Keep the door shaded if possible.
- In winter, clear snow and ice regularly
- Lubricate moving parts with pet-safe oils
- In summer, clean dust and check for sun damage
Benefits Of Automated Pet Doors
Automated pet doors make life easier for pets and owners. They let pets go in and out without help.
These doors offer many benefits beyond simple access. They improve safety, comfort, and energy use.
Enhanced Pet Freedom
Pets can go outside anytime they want. They don’t need someone to open the door for them.
This freedom reduces stress for pets. They can explore, play, and relieve themselves on their own schedule.
- Allows pets to follow their natural routine
- Reduces pet anxiety and boredom
- Helps pets stay active and healthy
Improved Home Security
Automated doors only open for your pet. This stops other animals or strangers from entering.
Many models use sensors or microchips. These features keep your home safe and secure.
- Prevents unwanted animals from entering
- Limits door opening times
- Reduces risk of break-ins
Energy Efficiency
Automated doors open only when pets approach. This stops cold or hot air from entering your home.
It helps keep indoor temperatures steady. This can lower heating and cooling costs.
- Reduces drafts from open doors
- Maintains better indoor temperature control
- Saves money on energy bills

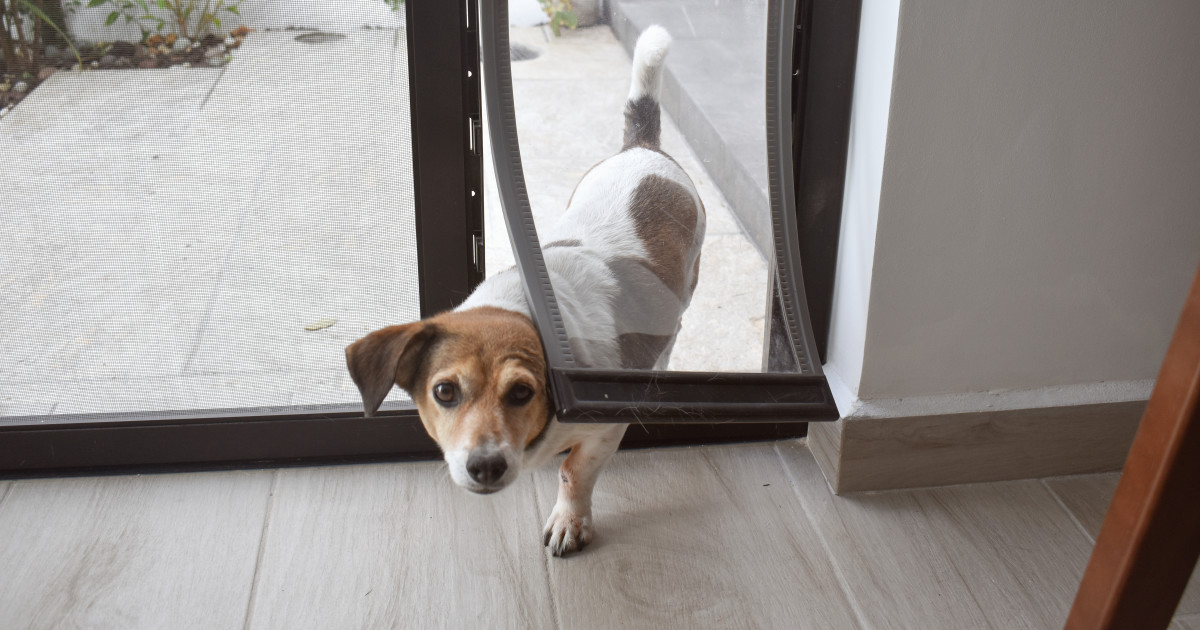
Credit: www.amazon.ca
Frequently Asked Questions
What Tools Are Needed To Install An Automated Pet Door?
You need a drill, saw, screwdriver, measuring tape, and a pencil. These tools help cut the door and secure the pet door frame properly.
How Do I Choose The Right Automated Pet Door Size?
Measure your pet’s height and width accurately. Select a door that allows comfortable entry without being too large or small.
Can I Install An Automated Pet Door On Glass Doors?
Yes, but you need a pet door designed for glass. Installation may require professional help to avoid damage.
How Long Does It Take To Install An Automated Pet Door?
Installation typically takes 1-3 hours depending on door type and your experience level. Preparation and measuring add extra time.
Conclusion
Installing an automated pet door simplifies life for you and your pet. Your furry friend gains freedom. No more constant opening and closing. No more scratches on doors. With a bit of effort, you create convenience. You enhance your pet’s happiness.
A smart choice for busy households. Pets roam freely while you relax. Safety features keep unwanted guests out. Easy to use and maintain. A practical solution for pet owners. Make life easier with this handy installation. Your pet and you will love the change.
Enjoy a more relaxed home environment together.
19 min read