
Imagine having full control over your home’s safety without spending a fortune. You want to protect your loved ones, but traditional smoke alarms can be costly and limited.
What if you could build your own smart smoke detector alarm, tailored exactly to your needs? You’ll discover simple steps to create a DIY smart smoke detector that not only alerts you instantly but also connects seamlessly with your devices.
Keep reading to learn how you can boost your home security easily and affordably—because your peace of mind is worth it.
Why Choose Diy Smoke Alarms
DIY smart smoke detector alarms let you add safety to your home easily. You can install and control them yourself without waiting for a professional.
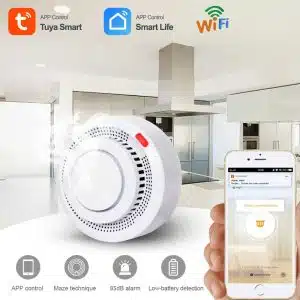
These alarms use smart technology to alert you quickly. They connect to your phone and give real-time updates about smoke or fire risks.
Benefits Over Traditional Alarms
DIY smart smoke alarms offer more features than old-style alarms. They are easy to install and work with other smart devices in your home.
They also provide better alerts. You get notifications on your phone, so you know about dangers even if you are not home.
- Simple installation without tools or wires
- Real-time alerts on mobile devices
- Integration with smart home systems
- Self-testing and battery status updates
Cost Savings
DIY alarms save money because you do not need to hire an expert. You only pay for the device and simple setup materials.
They often have low maintenance costs. You can replace batteries or update the system yourself without extra charges.
- No installation fees
- Low-cost battery replacements
- Free software updates
- Long-lasting devices reduce replacement needs
Customization
DIY smart smoke alarms let you choose settings that fit your home. You can adjust sensitivity and alert types to match your needs.
Many devices allow you to link alarms across rooms. This creates a connected system that improves safety and control.
- Adjust smoke detection levels
- Set quiet hours to reduce false alarms
- Connect multiple alarms for full home coverage
- Control alarms through a smartphone app
Essential Components
Building a DIY smart smoke detector alarm needs key parts. These parts help the alarm sense smoke and send alerts.
Understanding each component helps you create a safe and reliable device for your home.
Smoke Sensors And Detectors
Smoke sensors detect smoke in the air. They trigger the alarm to warn you about fire risks.
Common types include ionization and photoelectric sensors. Ionization sensors react fast to flames. Photoelectric sensors detect smoldering fires.
- Ionization sensor: detects small smoke particles
- Photoelectric sensor: senses larger smoke particles
- Combination sensor: uses both types for better detection
Microcontrollers And Connectivity
Microcontrollers control the smoke detector’s functions. They read sensor data and decide when to alert.
Connectivity options let the alarm send alerts to your phone or smart home system. Common connections include Wi-Fi and Bluetooth.
- Microcontroller: processes signals from sensors
- Wi-Fi module: connects alarm to internet
- Bluetooth module: links alarm to nearby devices
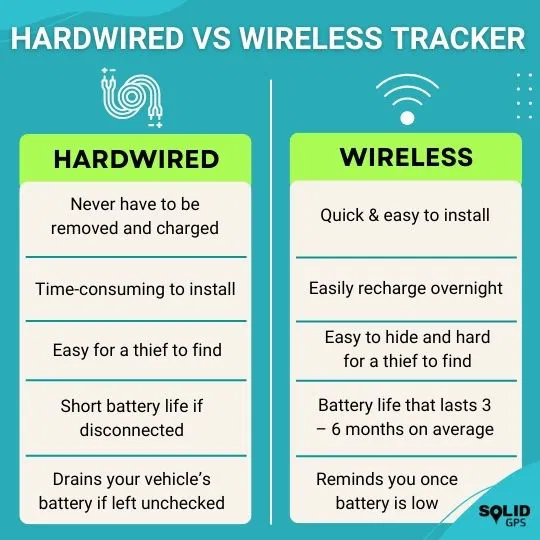
Power Sources And Backup Options
A smoke detector needs steady power to work all the time. Most use batteries or are wired to home electricity.
Backup power keeps the alarm running during outages. This ensures your safety even if the power goes out.
- Primary power: batteries or hardwired connection
- Backup battery: lasts during power failure
- Rechargeable battery: can be charged and reused
Step-by-step Assembly
Building your own smart smoke detector alarm can be a rewarding project. It helps you understand how these devices work.
This guide will walk you through the assembly process in simple steps. You will gather materials, set up wiring, and program the microcontroller.
Gathering Materials
Start by collecting all the parts you need. Having everything ready saves time and avoids mistakes.
- Smoke sensor module (like MQ-2 or similar)
- Microcontroller board (Arduino or ESP8266)
- Buzzer or alarm speaker
- LED indicator
- Resistors and capacitors
- Connecting wires and breadboard
- Power source (battery or USB)
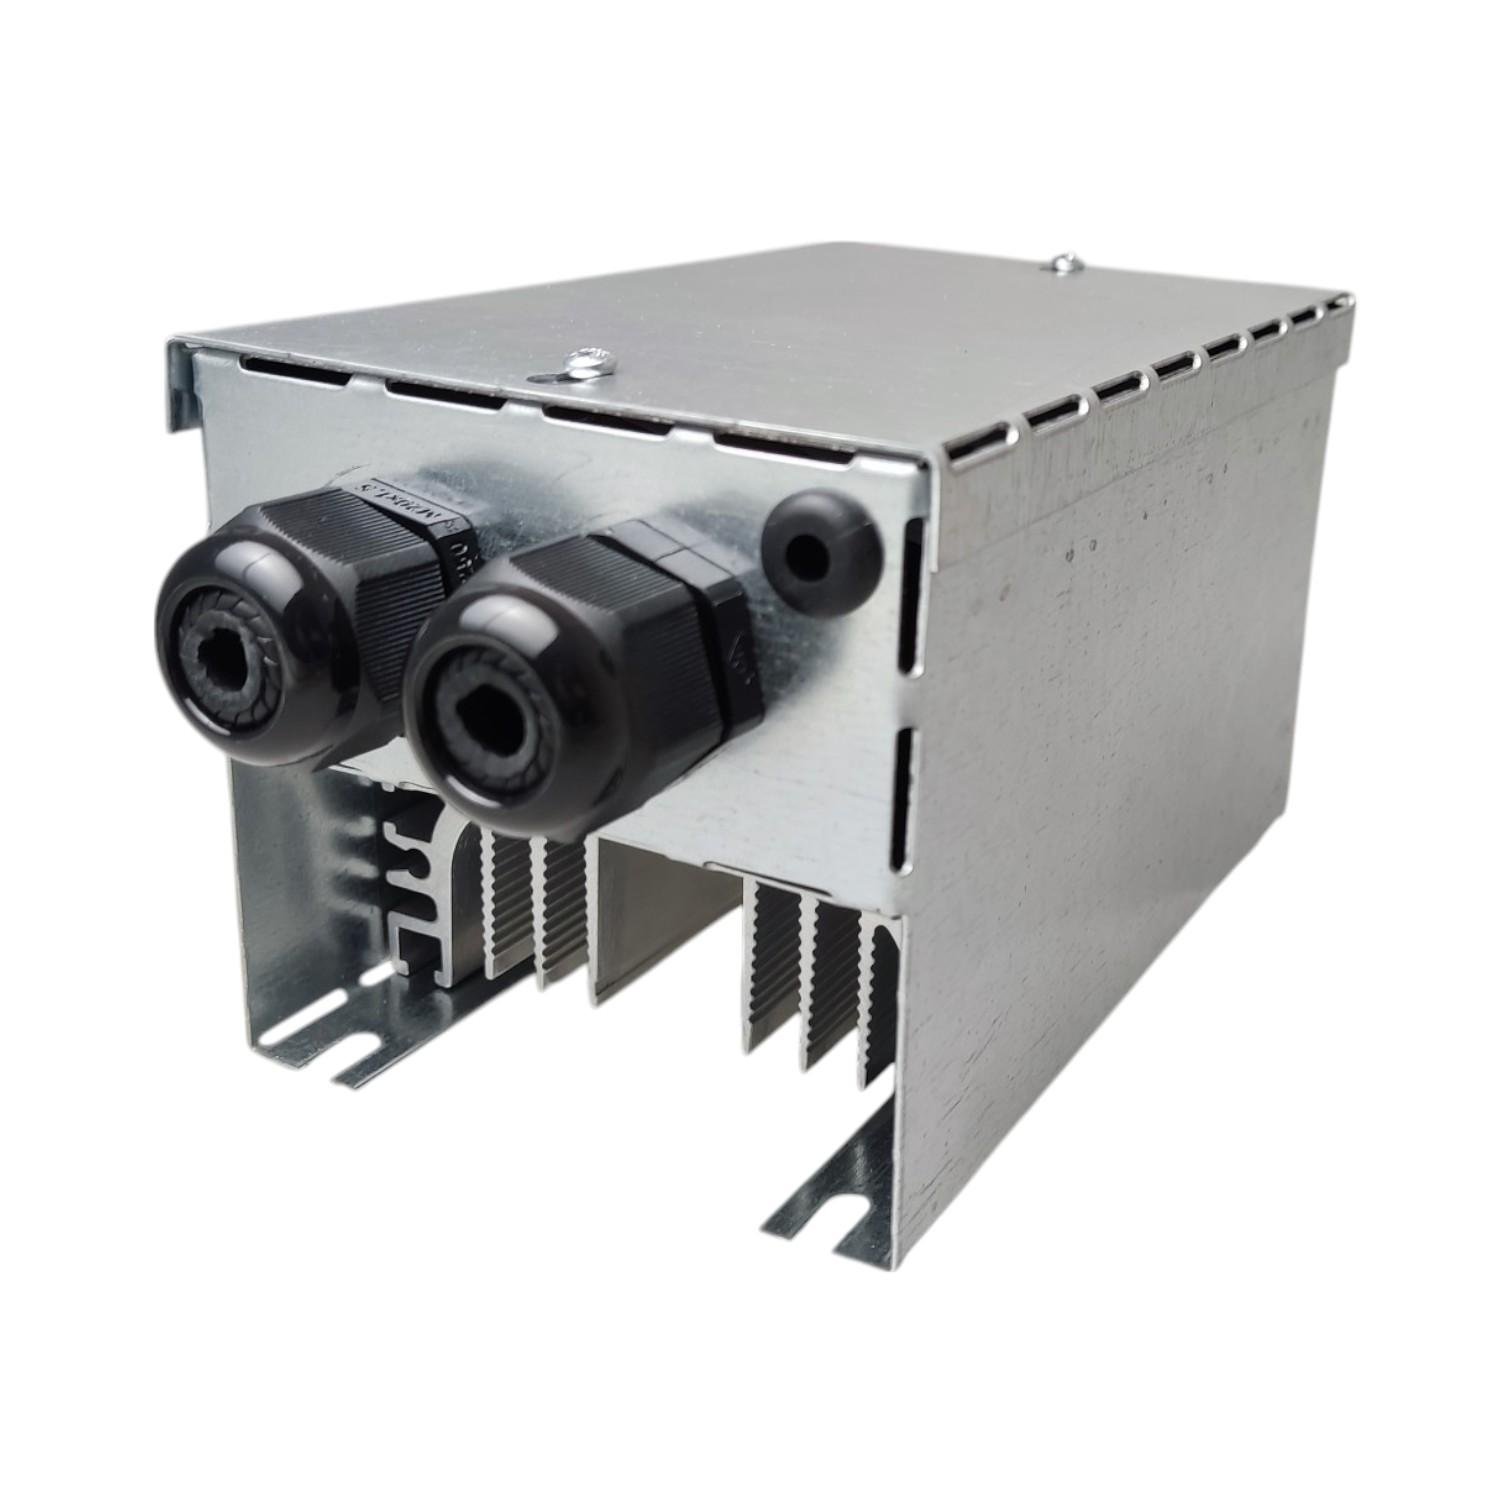
- Enclosure box for mounting
Wiring And Circuit Setup
Next, connect the parts carefully. Follow the sensor and microcontroller pinouts.
Use a breadboard for easy changes. Double-check all connections before powering up.
- Connect the smoke sensor output to an analog input pin
- Attach the buzzer to a digital output pin
- Connect the LED to another digital output pin with a resistor
- Power the microcontroller and sensor with a stable power supply
- Ensure the ground lines are common for all components
Programming The Microcontroller
Finally, write and upload the code to your microcontroller. The code will read the sensor and trigger alarms.
Test the program by simulating smoke or using a lighter near the sensor carefully.
- Initialize sensor input and alarm output pins
- Set a threshold value for smoke detection
- Continuously read the smoke sensor data
- Activate buzzer and LED if smoke exceeds threshold
- Include a delay to avoid false alarms
Credit: www.familyhandyman.com
Smart Features To Include
DIY smart smoke detector alarms offer more than just fire alerts. They bring new safety features to your home.
These features help you stay informed and control your alarms easily. Let’s look at key smart functions to include.
Mobile Alerts And Notifications
Smart smoke detectors send alerts to your phone when they detect smoke or fire. This helps you act fast, even if you are away.
You can also receive low battery warnings and test reminders through mobile notifications. This keeps your alarm ready at all times.
- Instant smoke or fire alerts
- Battery status notifications
- Regular test reminders
- Multiple user alerts for family safety
Integration With Home Automation
Connecting your smoke detector to home automation systems makes your safety smarter. It can trigger other devices automatically.
For example, the alarm can switch on lights or unlock doors when smoke is detected. This helps people exit safely and quickly.
- Works with smart lights and locks
- Connects to security cameras
- Supports popular smart home platforms
- Automates emergency responses
Voice Control And Ai Assistance
Voice control lets you check your smoke detector without using your hands. You can ask for status updates or silence false alarms.
AI assistance can learn your routines and detect unusual patterns. It can help reduce false alarms and improve safety over time.
- Voice commands to check alarm status
- Silence alarms via voice
- AI learns your home environment
- Reduces false alarms with smart detection
Testing And Maintenance Tips
DIY smart smoke detector alarms help keep your home safe. Regular testing and maintenance keep them working well.
Simple checks make sure the alarms respond quickly in case of fire. Follow easy steps to keep them ready.
Ensuring Proper Functionality
Test your smoke detectors once a month. This confirms they can detect smoke and sound the alarm.
Use the test button on the device. Listen for a loud beep or alarm sound.
- Press and hold the test button for a few seconds.
- Wait for the alarm sound to start.
- If no sound, replace batteries or check connections.
- Repeat test after any repairs or battery changes.
Regular Cleaning And Battery Checks
Dust and dirt can block smoke sensors. Clean your detectors every few months.
Check batteries regularly. Replace them at least once a year or if the alarm beeps.
- Use a soft brush or vacuum to remove dust.
- Wipe the outside with a dry cloth.
- Remove old batteries and insert new ones carefully.
- Note the battery expiration date for future changes.
Credit: www.homedepot.com
Safety Precautions
Installing DIY smart smoke detector alarms helps protect your home. Safety must be your top priority during installation.
Follow important safety rules to avoid accidents and ensure the alarms work correctly.
Handling Electrical Components Safely
Turn off power before working with electrical parts. This prevents shocks and injuries.
Use insulated tools and avoid touching wires with bare hands. Check wires for damage before connecting.
- Switch off the breaker or fuse box
- Wear rubber gloves for extra protection
- Use a voltage tester to confirm power is off
- Handle wires gently to avoid damage
Complying With Local Fire Codes
Check your area’s fire safety rules before installing alarms. Local codes set the minimum safety standards.
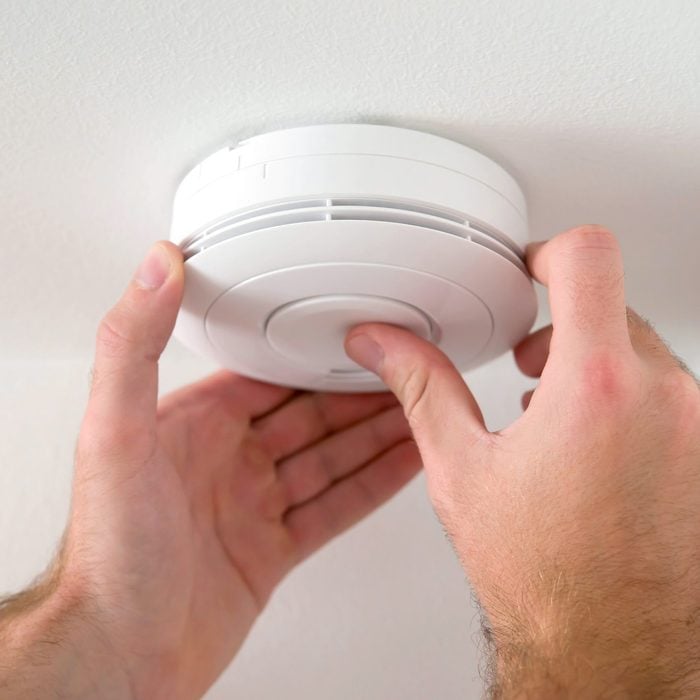
Place smoke detectors in required locations and at proper heights. Follow rules for wiring and interconnection.
- Install alarms in hallways, bedrooms, and living areas
- Mount detectors on ceilings or high on walls
- Use hardwired or battery-powered alarms as allowed
- Test alarms regularly to meet code requirements
Troubleshooting Common Issues
DIY smart smoke detector alarms make homes safer. Sometimes, these alarms face problems that stop them from working well.
This guide helps you fix common issues with your smart smoke detectors quickly. You can solve many problems without expert help.
Sensor Malfunctions
Sensor problems cause false alarms or no alerts at all. Dust, dirt, and low battery can block sensors from working.
Check the sensor area for dust and clean it gently. Replace batteries if the alarm sounds weak or stops working.
- Clean the sensor with a soft cloth or vacuum
- Change batteries regularly
- Test the alarm monthly to ensure it works
- Replace the sensor if it still malfunctions
Connectivity Problems
Smart smoke alarms need a stable connection to send alerts. Wi-Fi or app connection issues can stop notifications.
Check your Wi-Fi signal and make sure the alarm is in range. Restart your router and the alarm device to refresh connections.
- Place the alarm near your Wi-Fi router
- Restart your Wi-Fi router and alarm device
- Update the alarm’s app and firmware
- Reset the alarm if connection fails repeatedly

Credit: www.youtube.com
Frequently Asked Questions
What Components Are Needed For Diy Smart Smoke Detectors?
You need a smoke sensor, microcontroller, Wi-Fi module, power source, and buzzer. These parts work together to detect smoke and send alerts. Additional features include mobile app integration and battery backup for reliability.
How Do Diy Smart Smoke Alarms Connect To Wi-fi?
They use a Wi-Fi module like ESP8266 or ESP32. This module connects to your home network, allowing alerts to be sent to your smartphone instantly. Proper coding ensures secure and stable communication.
Can Diy Smoke Detectors Integrate With Smart Home Systems?
Yes, they can integrate with platforms like Alexa or Google Home. This lets you receive voice alerts and control alarms remotely. Integration enhances safety by providing real-time notifications and automation.
How Often Should Diy Smoke Detector Sensors Be Tested?
Test sensors monthly to ensure proper function. Regular testing helps detect sensor faults early. This simple check maintains your alarm’s reliability and your home’s safety.
Conclusion
DIY smart smoke detector alarms keep your home safer and smarter. They alert you quickly about smoke or fire. Easy to install and connect with your phone. You control and monitor from anywhere. Saving money by avoiding expensive services. Peace of mind for you and your family.
Small effort, big safety benefits. Start building your smart alarm today. Stay prepared, stay safe.
18 min read