
Are you ready to make your home smarter, safer, and more comfortable without spending a fortune? If you’ve ever felt overwhelmed by the idea of setting up a home assistant, you’re not alone—and this guide is made just for you.
Imagine controlling your lights, thermostat, and security with just your voice or a tap on your phone. Sounds great, right? In this beginner-friendly guide, you’ll discover simple steps to get started, avoid common mistakes, and unlock the full potential of your home assistant.
Keep reading, and you’ll soon wonder how you ever lived without it.

Credit: www.reddit.com
Getting Started With Home Assistant
Home Assistant is software that helps you control smart devices at home. It works with many gadgets to make life easier.
This guide will help you start using Home Assistant step by step. You will learn about hardware, installation, and the user interface.
Choosing The Right Hardware
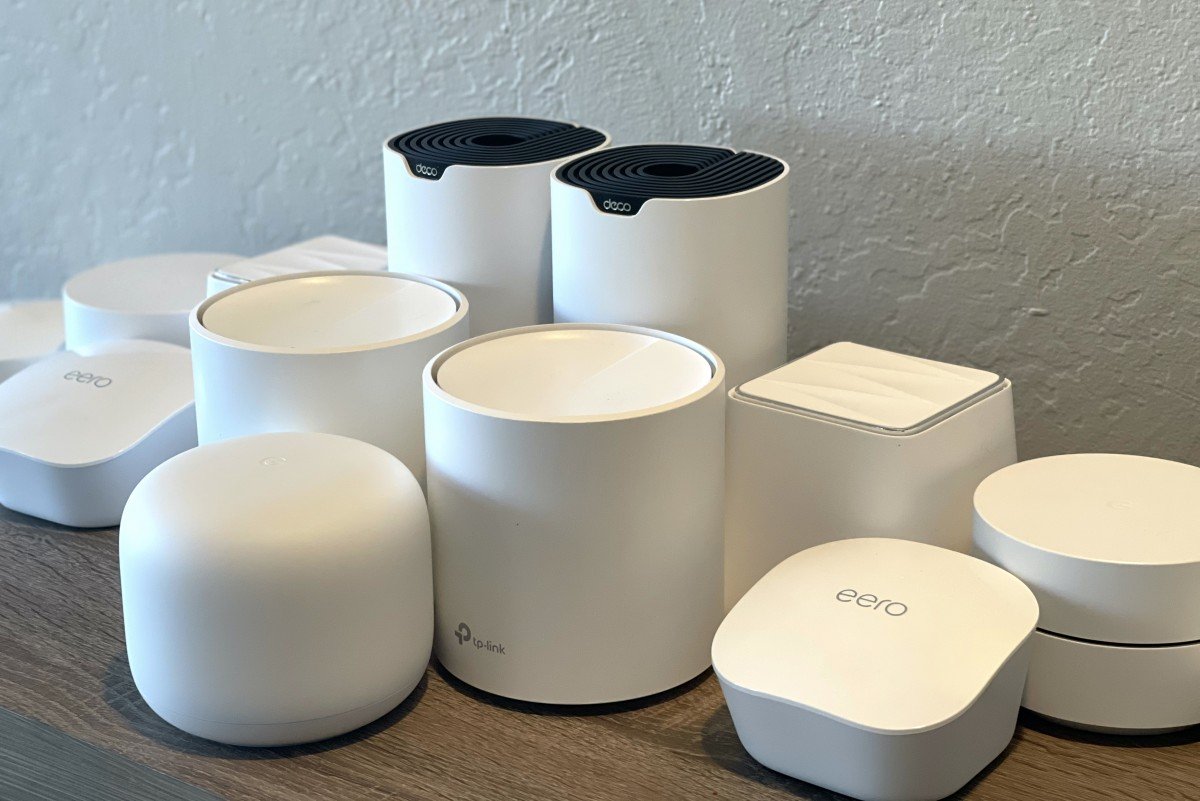
Home Assistant runs on different devices. Pick hardware that fits your needs and budget.
Popular choices include small computers and servers. Make sure your device has enough memory and power.
- Raspberry Pi 4 with 4GB or 8GB RAM
- Intel NUC mini PC
- Old laptop or desktop PC
- Virtual machine on existing computer
Installing Home Assistant
Download the Home Assistant image for your device from the official website. Use a tool to write the image to an SD card or drive.
Insert the SD card or drive into your device and power it on. Wait a few minutes for Home Assistant to start.
- Download Home Assistant OS image
- Use software like Balena Etcher to flash image
- Insert SD card or drive into hardware
- Connect device to your network
- Access Home Assistant via a web browser
Navigating The User Interface
The Home Assistant interface shows your devices and their status. It lets you control smart gadgets and create automations.
Use the sidebar to find important sections like Dashboard, Devices, and Settings. You can add new devices easily from the interface.
- Dashboard shows your smart devices
- Devices page lists all connected hardware
- Automations let you set rules for devices
- Settings control system preferences
- Use search to find features quickly
Setting Up Your First Automation
Home Assistant lets you automate tasks in your smart home. Setting up your first automation is simple and fun.
This guide will help you create basic automations, use triggers and conditions, and test your setups.
Creating Basic Automations
Start by opening the Home Assistant dashboard. Go to the Automations section to create a new automation.
Give your automation a name. Then, choose what action you want your smart devices to perform.
- Click “Add Automation”
- Give it a clear name
- Choose the action, like turning on a light
Using Triggers And Conditions
Triggers tell your automation when to start. Conditions control if the action should run.
You can use triggers like time, sensor changes, or device status. Conditions can check if it is day or night.
- Trigger example: motion detected
- Condition example: only after sunset
- Action example: turn on porch light
Testing Your Automations
After creating an automation, test it to see if it works. You can manually trigger it in Home Assistant.
Watch your devices to check if they respond as expected. Fix any errors and test again.
- Use “Run Actions” to test without waiting
- Check device response
- Edit automation if it does not work
Integrating Smart Devices
Home Assistant helps you control many smart devices in one place. It connects lights, sensors, cameras, and more.
Learning to add and manage devices makes your smart home easy to use and reliable.
Popular Compatible Devices
Home Assistant works with many devices from different brands. Some are very common and easy to connect.
- Philips Hue lights
- Amazon Echo and Alexa devices
- Google Nest thermostats
- SmartThings sensors and switches
- Sonos speakers
- Ring doorbells and cameras
- TP-Link smart plugs
Adding Devices To Home Assistant
To add a device, first check if it is supported by Home Assistant. Most devices connect through integrations.
Use the Home Assistant interface to find and add your smart device. Follow the prompts to connect it to your network.
- Open Home Assistant on your browser or app
- Go to Settings and select Devices & Services
- Click Add Integration and choose your device brand
- Follow on-screen instructions to connect the device
- Confirm the device appears in your Home Assistant dashboard
Managing Device Entities
Each device has entities that show its status or let you control it. You can rename and organize these entities.
Managing entities helps you create automations and makes your smart home easier to control.
- Go to Settings and click Entities
- Find the entity for your device
- Change the name to something clear
- Assign entities to areas or rooms
- Hide entities you don’t use often
Customizing Your Dashboard
Customizing your dashboard helps you see what matters most. You can change how it looks and works.
Adjusting your dashboard makes your smart home easier to use every day.
Using Lovelace Ui
Lovelace UI is the main interface for Home Assistant. It lets you design your dashboard with blocks called cards.
You can drag, drop, and rearrange cards to fit your needs. It is simple to use and very flexible.
Adding Cards And Views
Cards show information like weather, lights, or sensors. Views are pages that group cards together.
You can add many types of cards. Use views to keep your dashboard clean and organized.
- Sensor cards to display temperature or humidity
- Light cards to control your smart bulbs
- Media player cards for music and video
- Button cards for quick actions
- View tabs to separate different rooms or functions
Personalizing Themes
Themes change the colors and style of your dashboard. You can pick a theme that feels right for you.
Custom themes can make your dashboard lighter or darker. This helps reduce eye strain or match your home style.
Improving Security And Privacy
Home Assistant controls many parts of your home. Keeping it safe protects your privacy and devices.
Simple security steps help stop unwanted access and keep your data private.
Securing Your Home Assistant
Use strong passwords for your Home Assistant account. Change default settings and disable unused features.
Enable HTTPS to encrypt data between your devices and Home. This stops others from spying.
- Set a unique, strong password
- Enable two-factor authentication (2FA)
- Use SSL certificates for secure connections
- Keep Home Assistant software updated
- Disable remote access if not needed
Managing User Permissions
Create user accounts for family members or guests. Give each person only the access they need.
Limit admin rights to trusted users. This reduces risks from mistakes or attacks.
- Use separate accounts for each user
- Assign roles based on needed access
- Review user permissions regularly
- Remove old or unused accounts
Backing Up Your Configuration
Save copies of your Home Assistant setup. Backups help restore your system after problems.
Store backups in a safe place. Test backups to make sure they work before you need them.
- Back up configuration files regularly
- Use automated backup tools if possible
- Keep backups on external drives or cloud
- Test restoring from backups often
Credit: www.youtube.com
Expanding With Advanced Features
After setting up basic automation, you can add more advanced features. These help make your home smarter and more responsive.
Using advanced features lets you control your devices better and create complex routines easily.
Using Scripts And Scenes
Scripts let you automate multiple actions in a specific order. Scenes adjust many devices to a set state with one command.
You can create a scene for movie night that dims lights and turns on the TV. Scripts can run tasks like turning off all lights at bedtime.
- Scripts run sequences of actions
- Scenes set device states together
- Both save time with one command
- Customize scenes for different moods
Integrating Voice Assistants
Voice assistants like Google Assistant or Alexa can control your Home Assistant devices. You speak commands to manage your smart home.
Connecting voice assistants makes it easier to control your home without using a phone or computer.
- Set up voice assistant integration in Home Assistant
- Use voice commands for lights, switches, and more
- Ask for status updates from your devices
- Control multiple devices with one command
Exploring Add-ons And Integrations
Add-ons extend what can do. Integrations connect H Assistant with other apps and devices.
You can install add-ons for things like security cameras, music services, and data backups. Integrations let you control many brands from one place.
- Use add-ons to add new tools and services
- Connect smart devices with integrations
- Manage all devices from Home Assistant dashboard
- Keep your smart home organized and efficient
Troubleshooting Common Issues
Home Assistant is a powerful tool to control your smart devices. Sometimes, you might face problems that stop it from working well.
This guide helps you fix common problems quickly. Follow simple steps to get your system back on track.
Resolving Connectivity Problems
Connectivity issues can stop Home Assistant from talking to your devices. Check your Wi-Fi and network settings first.
Restart your router and the device running Home Assistant. This often fixes connection troubles.
- Make sure your device is on the same network as Home Assistant.
- Check if your Wi-Fi password is correct.
- Update Home Assistant to the latest version.
- Look for IP address conflicts in your network.
Fixing Automation Errors
Automations might not run as expected if there are errors in their setup. Check each step carefully.
Use the Home Assistant log to find error messages. These messages tell you what is wrong.
- Check for typos in your automation code.
- Verify that triggers and actions are correct.
- Test automations one at a time.
- Use simple automations before creating complex ones.
Accessing Community Support
The Home Assistant community is full of helpful users. You can ask questions and share your experience.
Visit forums and chat groups to get advice. Reading others’ solutions can save time.
- Use the official Home Assistant forum for detailed discussions.
- Join chat groups on platforms like Discord or Telegram.
- Search community guides and tutorials online.
- Share your problem clearly to get better help.

Credit: www.youtube.com
Frequently Asked Questions
What Is Home Assistant And How Does It Work?
Home Assistant is an open-source platform for smart home automation. It connects devices, enabling centralized control and automation. It runs on local servers, ensuring privacy and reliability. Users can create custom automations and monitor their smart devices in one place.
How Do I Install Home Assistant For Beginners?
Begin by choosing a compatible device like Raspberry Pi. Download the official Home Assistant image and flash it onto an SD card. Boot the device and follow the web-based setup wizard. This process requires minimal technical skills and offers detailed guidance.
What Devices Are Compatible With Home Assistant?
Home Assistant supports thousands of devices, including smart lights, thermostats, cameras, and sensors. It integrates with popular brands like Philips Hue, Nest, and Xiaomi. Compatibility grows constantly through community contributions and official integrations.
Can I Control Home Assistant Remotely And Securely?
Yes, Home Assistant allows secure remote access via cloud services or VPN. You can control devices using mobile apps or web browsers from anywhere. Enabling two-factor authentication enhances security for remote connections.
Conclusion
Starting your journey with Home Assistant can be exciting. You now have the basics to get going. Keep exploring the features at your pace. Remember, practice makes you better. The more you experiment, the more you learn. Don’t hesitate to ask questions in forums.
Helpful communities are there for support. Enjoy automating your home step by step. Every small change makes a difference. Take pride in what you achieve. You’re on the path to a smarter home. Stay curious and keep learning. Your smart home adventure has just begun.
20 min read