
At-Home Brow Lamination Kit Review (2025): The Secret to Flawless, Feathered Brows Without the Salon Price?
Are you tired of fighting with your eyebrow hairs every morning? Do you look at pictures of those perfectly “feathered” and brushed-up brows and wonder how anyone has the time or money to maintain them?
Salon brow lamination can cost $75-$150 every 6-8 weeks. It adds up fast. And while the results are stunning, the commitment is real.
But what if you could get that same sleek, laminated look from the comfort of your bathroom, for a fraction of the price?
That’s the explosive trend of at-home brow lamination kits. These DIY promises to give you professional results are everywhere. But are they safe? Do they actually work? Or are they a one-way ticket to crispy, damaged brows?
We’ve researched the top kits and safety protocols to give you the unvarnished truth.
👉 Check the Top-Rated Brow Lamination Kits on Amazon
What is Brow Lamination? (The 30-Second Explanation)
Think of it as a “perm for your eyebrows.” The process chemically relaxes and restructures your brow hairs, allowing you to set them in a new, upward-facing position. This makes your brows look:
-
Fuller: It reveals hairs that normally grow sideways or down.
-
More Defined: It creates a clean, uniform shape.
-
“Fluffier”: It gives you that highly-coveted, brushed-up, feathered effect.
-
Easier to Manage: Styling takes seconds after lamination.
What to Look for in a High-Quality At-Home Kit
Not all kits are created equal. When shopping on Amazon, look for these key features:
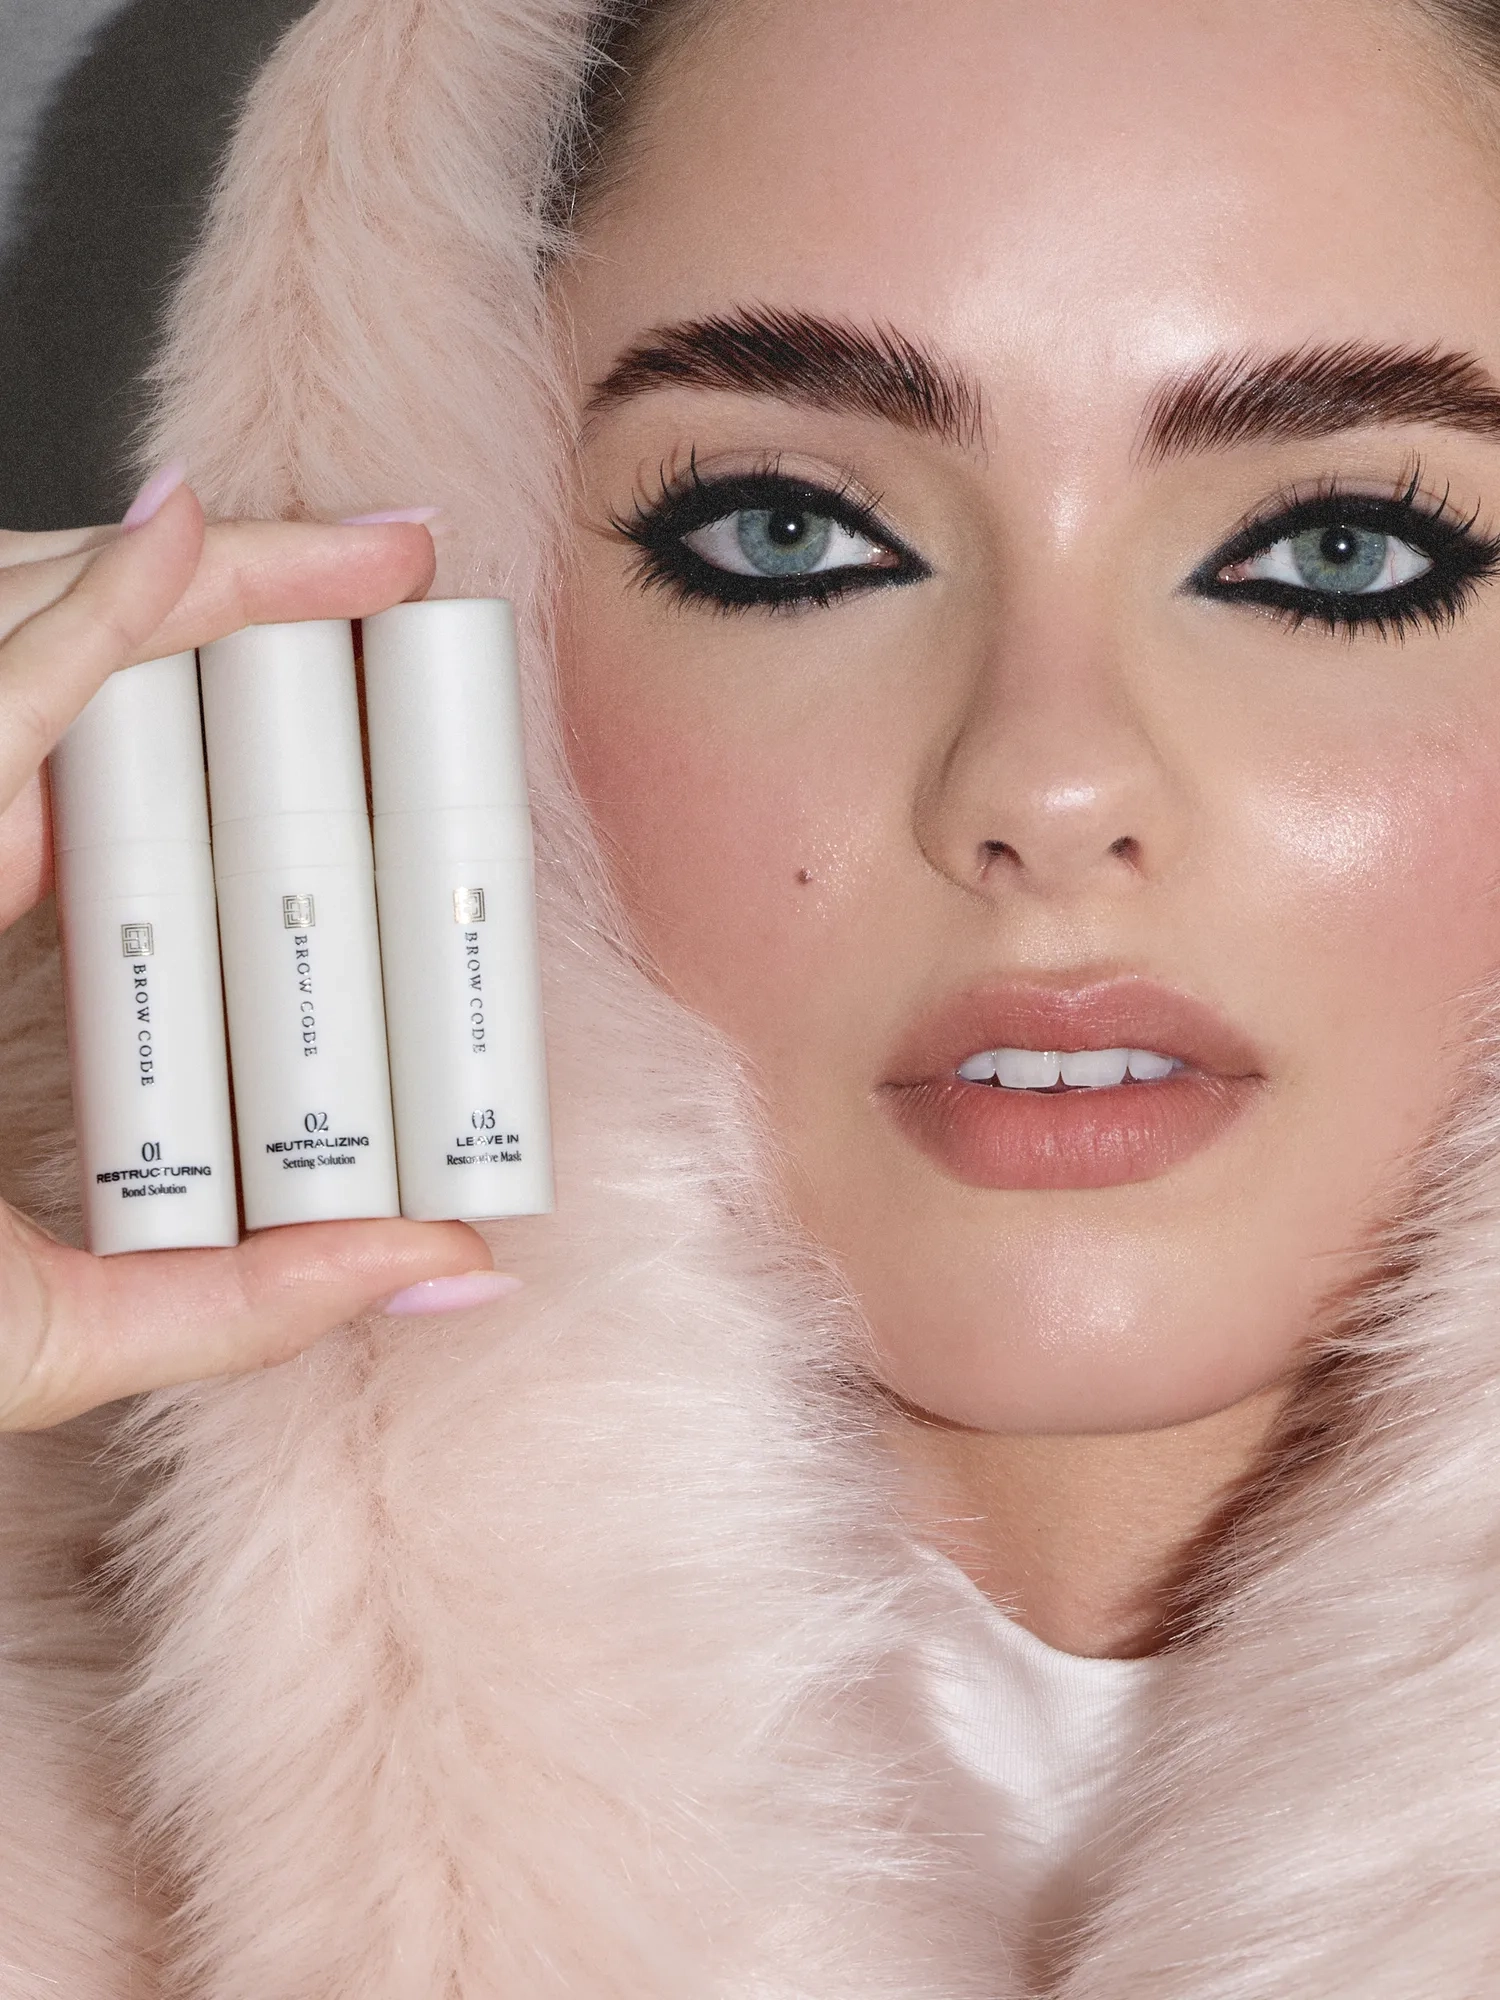
1. Clear, Step-by-Step Instructions & Tools
A good kit shouldn’t leave you guessing. It must include:
-
Step 1: Lifting Cream/Lotion to break down the hair bonds.
-
Step 2: Fixing Cream/Lotion to reset the hairs in their new shape.
-
Step 3: Nourishing Serum/Oil to rehydrate and soothe the hair and skin.
-
Essential Tools: A mixing bowl, applicator brushes, a spoolie, and protective under-eye patches or petroleum jelly.
2. Gentle, Yet Effective Formulas
Look for kits that boast conditioning ingredients like Keratin, Argan Oil, or Collagen alongside the active perming agents. This helps mitigate damage and keeps brows soft.
3. A Trusted Brand with Real Reviews
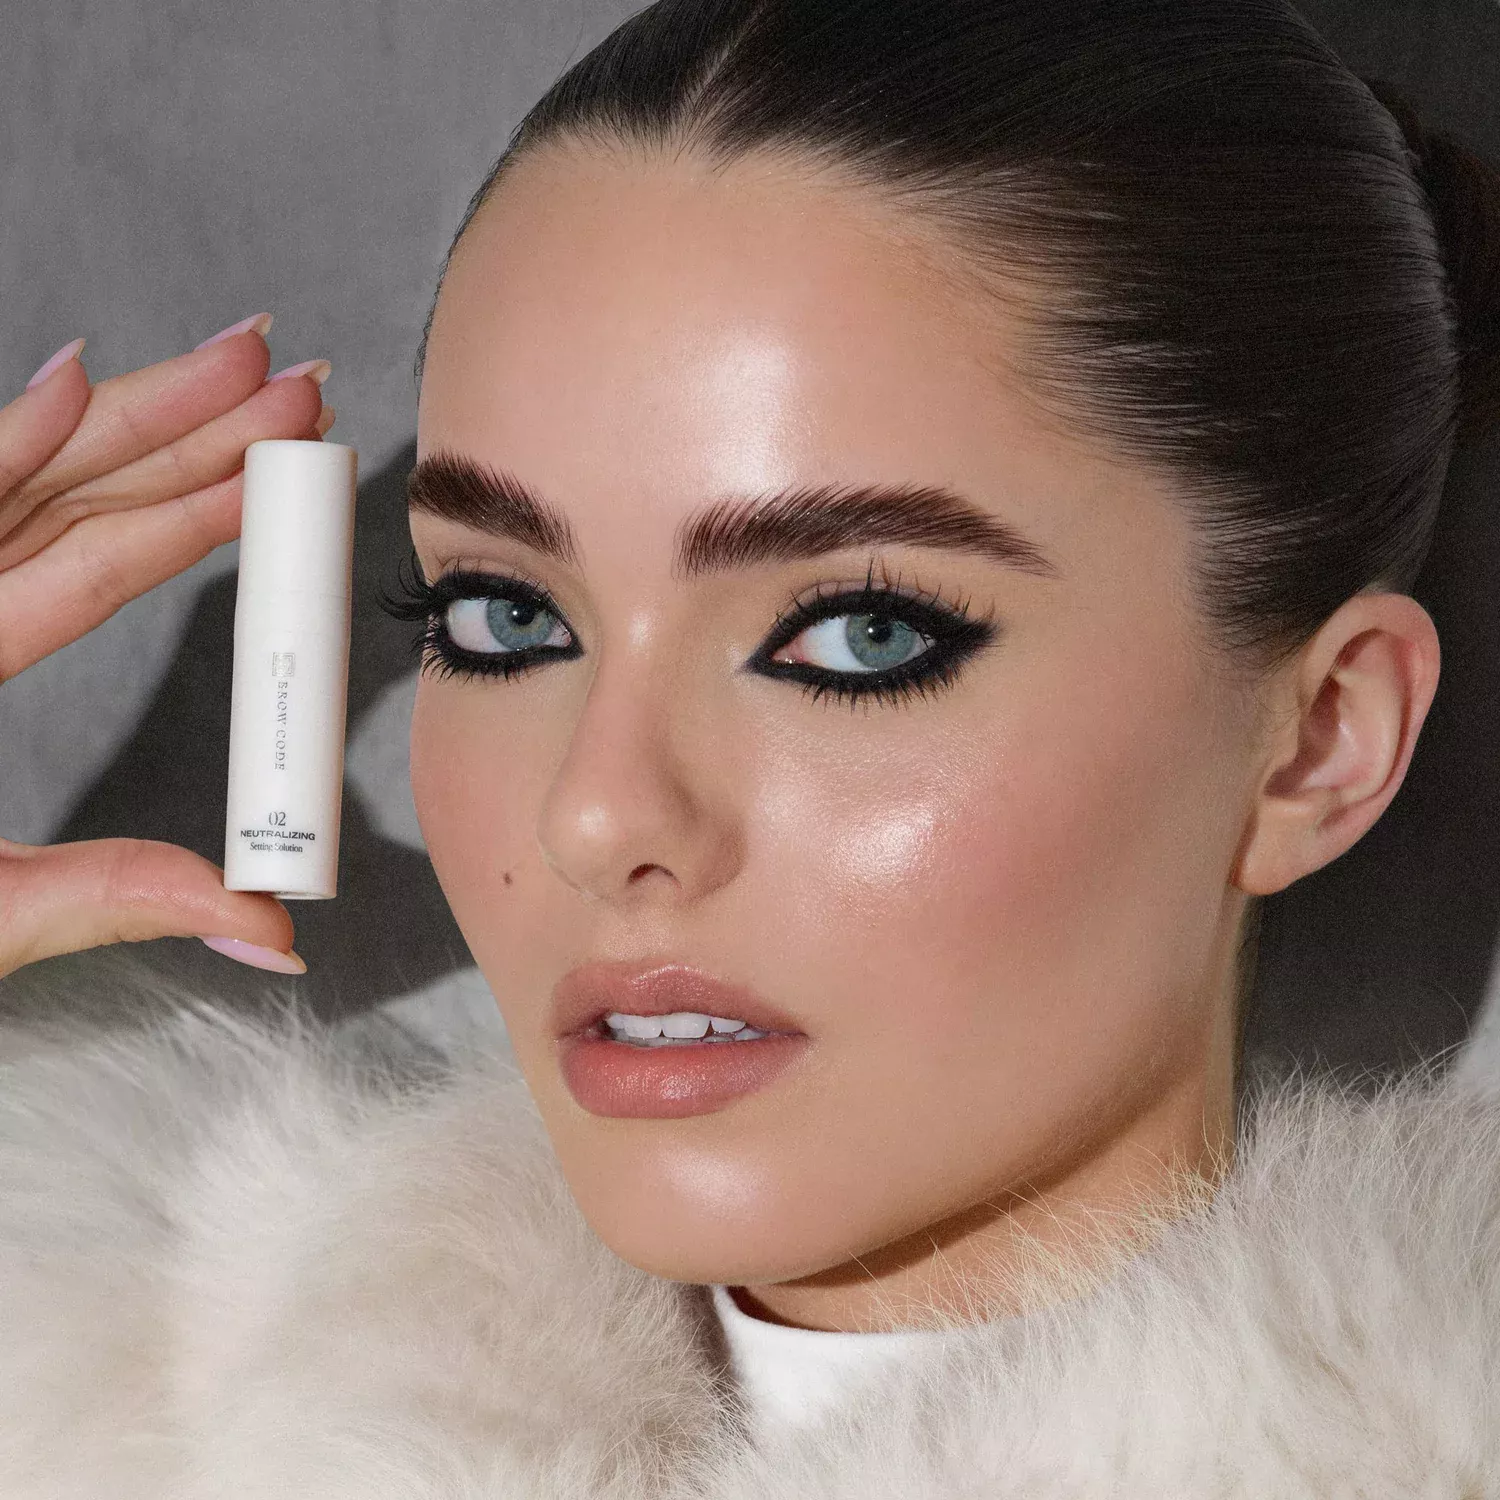
Always, always read the reviews. Look for reviews with photos and comments about ease of use, brow softness post-treatment, and any reactions. Brands like Browcode, Lavish Lamination, or Yumi Lash often have strong reputations.
The Step-by-Step Process: What You’re Signing Up For
A typical at-home lamination process follows these steps:
-
Prep & Protect: Clean your brows with alcohol. Apply the provided under-eye patches or a layer of Vaseline around your brows to protect your skin.
-
Apply Lifting Cream: Using the brush, apply Step 1 cream, following the direction you want your brows to set (usually straight up). Do not get it on your skin.
-
Set the Timer: This is critical! Most Step 1 timers are between 5-10 minutes. DO NOT EXCEED THE RECOMMENDED TIME.
-
Wipe Off Step 1: Gently but thoroughly remove the cream with a damp cotton pad.
-
Apply Fixing Cream: Apply Step 2 cream in the same direction. This sets the new shape. Timer is typically 5-10 minutes.
-
Wipe Off Step 2: Remove the fixing cream completely.
-
Nourish: Apply the nourishing serum or oil and leave it on for 5-10 minutes to condition the hairs.
-
Brush & Style: Use a spoolie to brush your brows into their perfect, new position.
The Pros & Cons: An Honest Breakdown
✅ Pros:
-
Massive Cost Savings: One kit ($20-$40) can provide 5-10 treatments vs. one $100 salon visit.
-
Ultimate Convenience: Do it on your own schedule.
-
Control: You have full control over the strength and direction of the style.
❌ Cons & RISKS:
-
Chemical Burns: The #1 risk. Leaving solutions on too long or getting them on your skin can cause irritation, redness, or burns.
-
Over-Processing: Can lead to brittle, weak, or even falling-out brow hairs.
-
Uneven Results: It takes practice to apply the creams evenly.
-
Allergic Reaction: Always do a patch test 24-48 hours before on your inner arm.
👉 Shop Safely: Browse Top-Rated Kits on Amazon
Who is an At-Home Brow Lamination Kit PERFECT For?
-
Beauty Enthusiasts with prior experience in at-home treatments.
-
People with straight, unruly, or sparse-looking brows they want to fluff up.
-
Anyone on a budget who can’t justify recurring salon costs.
-
Detail-oriented individuals who can carefully follow instructions.
Who Should Stick to the Salon?
-
Complete Beginners with no DIY beauty experience.
-
Anyone with very sensitive skin, eczema, or psoriasis near their brows.
-
If you have any open cuts, blemishes, or recent brow tinting (wait 48 hours after tinting).
-
If you feel at all intimidated by the process or the risks.
The Final Verdict: Are At-Home Brow Lamination Kits Worth It in 2025?
Proceed with caution, but yes—for the right person, they are a game-changing value.
An at-home brow lamination kit can absolutely deliver salon-worthy results, but it is not a risk-free, mindless activity. It demands respect for the chemicals involved and meticulous attention to detail.
The potential savings are enormous, and the convenience of having perfect brows for weeks on end is incredible. However, the margin for error is small. Your first time will be a learning experience.
If you are confident, patient, and commit to doing a patch test and following the timer to the second, an at-home kit can be one of the best beauty investments you make.
Ready to try DIY brow lamination? Click below to see the highest-rated, safest kits on Amazon.
🛒 Shop Top-Rated Brow Lamination Kits on Amazon
Frequently Asked Questions (FAQ)
Q1: How long do the results from an at-home kit last?
Typically, results last 4 to 8 weeks, depending on your natural hair growth cycle. The effect gradually fades as new, untreated hairs grow in.
Q2: Can I use the kit if I have sensitive skin?
It’s risky. You MUST do a patch test on your inner arm 24-48 hours before applying anything to your face. If you have a known history of skin sensitivities, it is safer to go to a professional.
Q3: What’s the biggest mistake people make?
Leaving the solutions on for too long. This is the most common cause of burns and hair damage. Use a timer and do not think “a little longer will be better.”
Q4: Can I laminate my brows after tinting them?
You should always laminate first, then tint 24-48 hours later. Doing it in reverse can cause the tint to develop unevenly or too dark on the chemically processed hairs.
Q5: My brows feel a bit stiff after. Is that normal?
Yes, a slight stiffness is normal as the hairs are now permanently set in their new shape. This is why the nourishing serum in Step 3 is so important—it helps restore softness and flexibility.
12 min read