
Are you ready to upgrade your home security without spending a fortune? A smart doorbell DIY kit lets you take control and build your own high-tech doorbell, tailored exactly to your needs.
Imagine seeing who’s at your door from your phone, even when you’re not home. You don’t have to be a tech expert to set it up, and the satisfaction of creating it yourself is unbeatable. Keep reading to discover how easy it is to buy the right kit and get started on your smart home upgrade today.

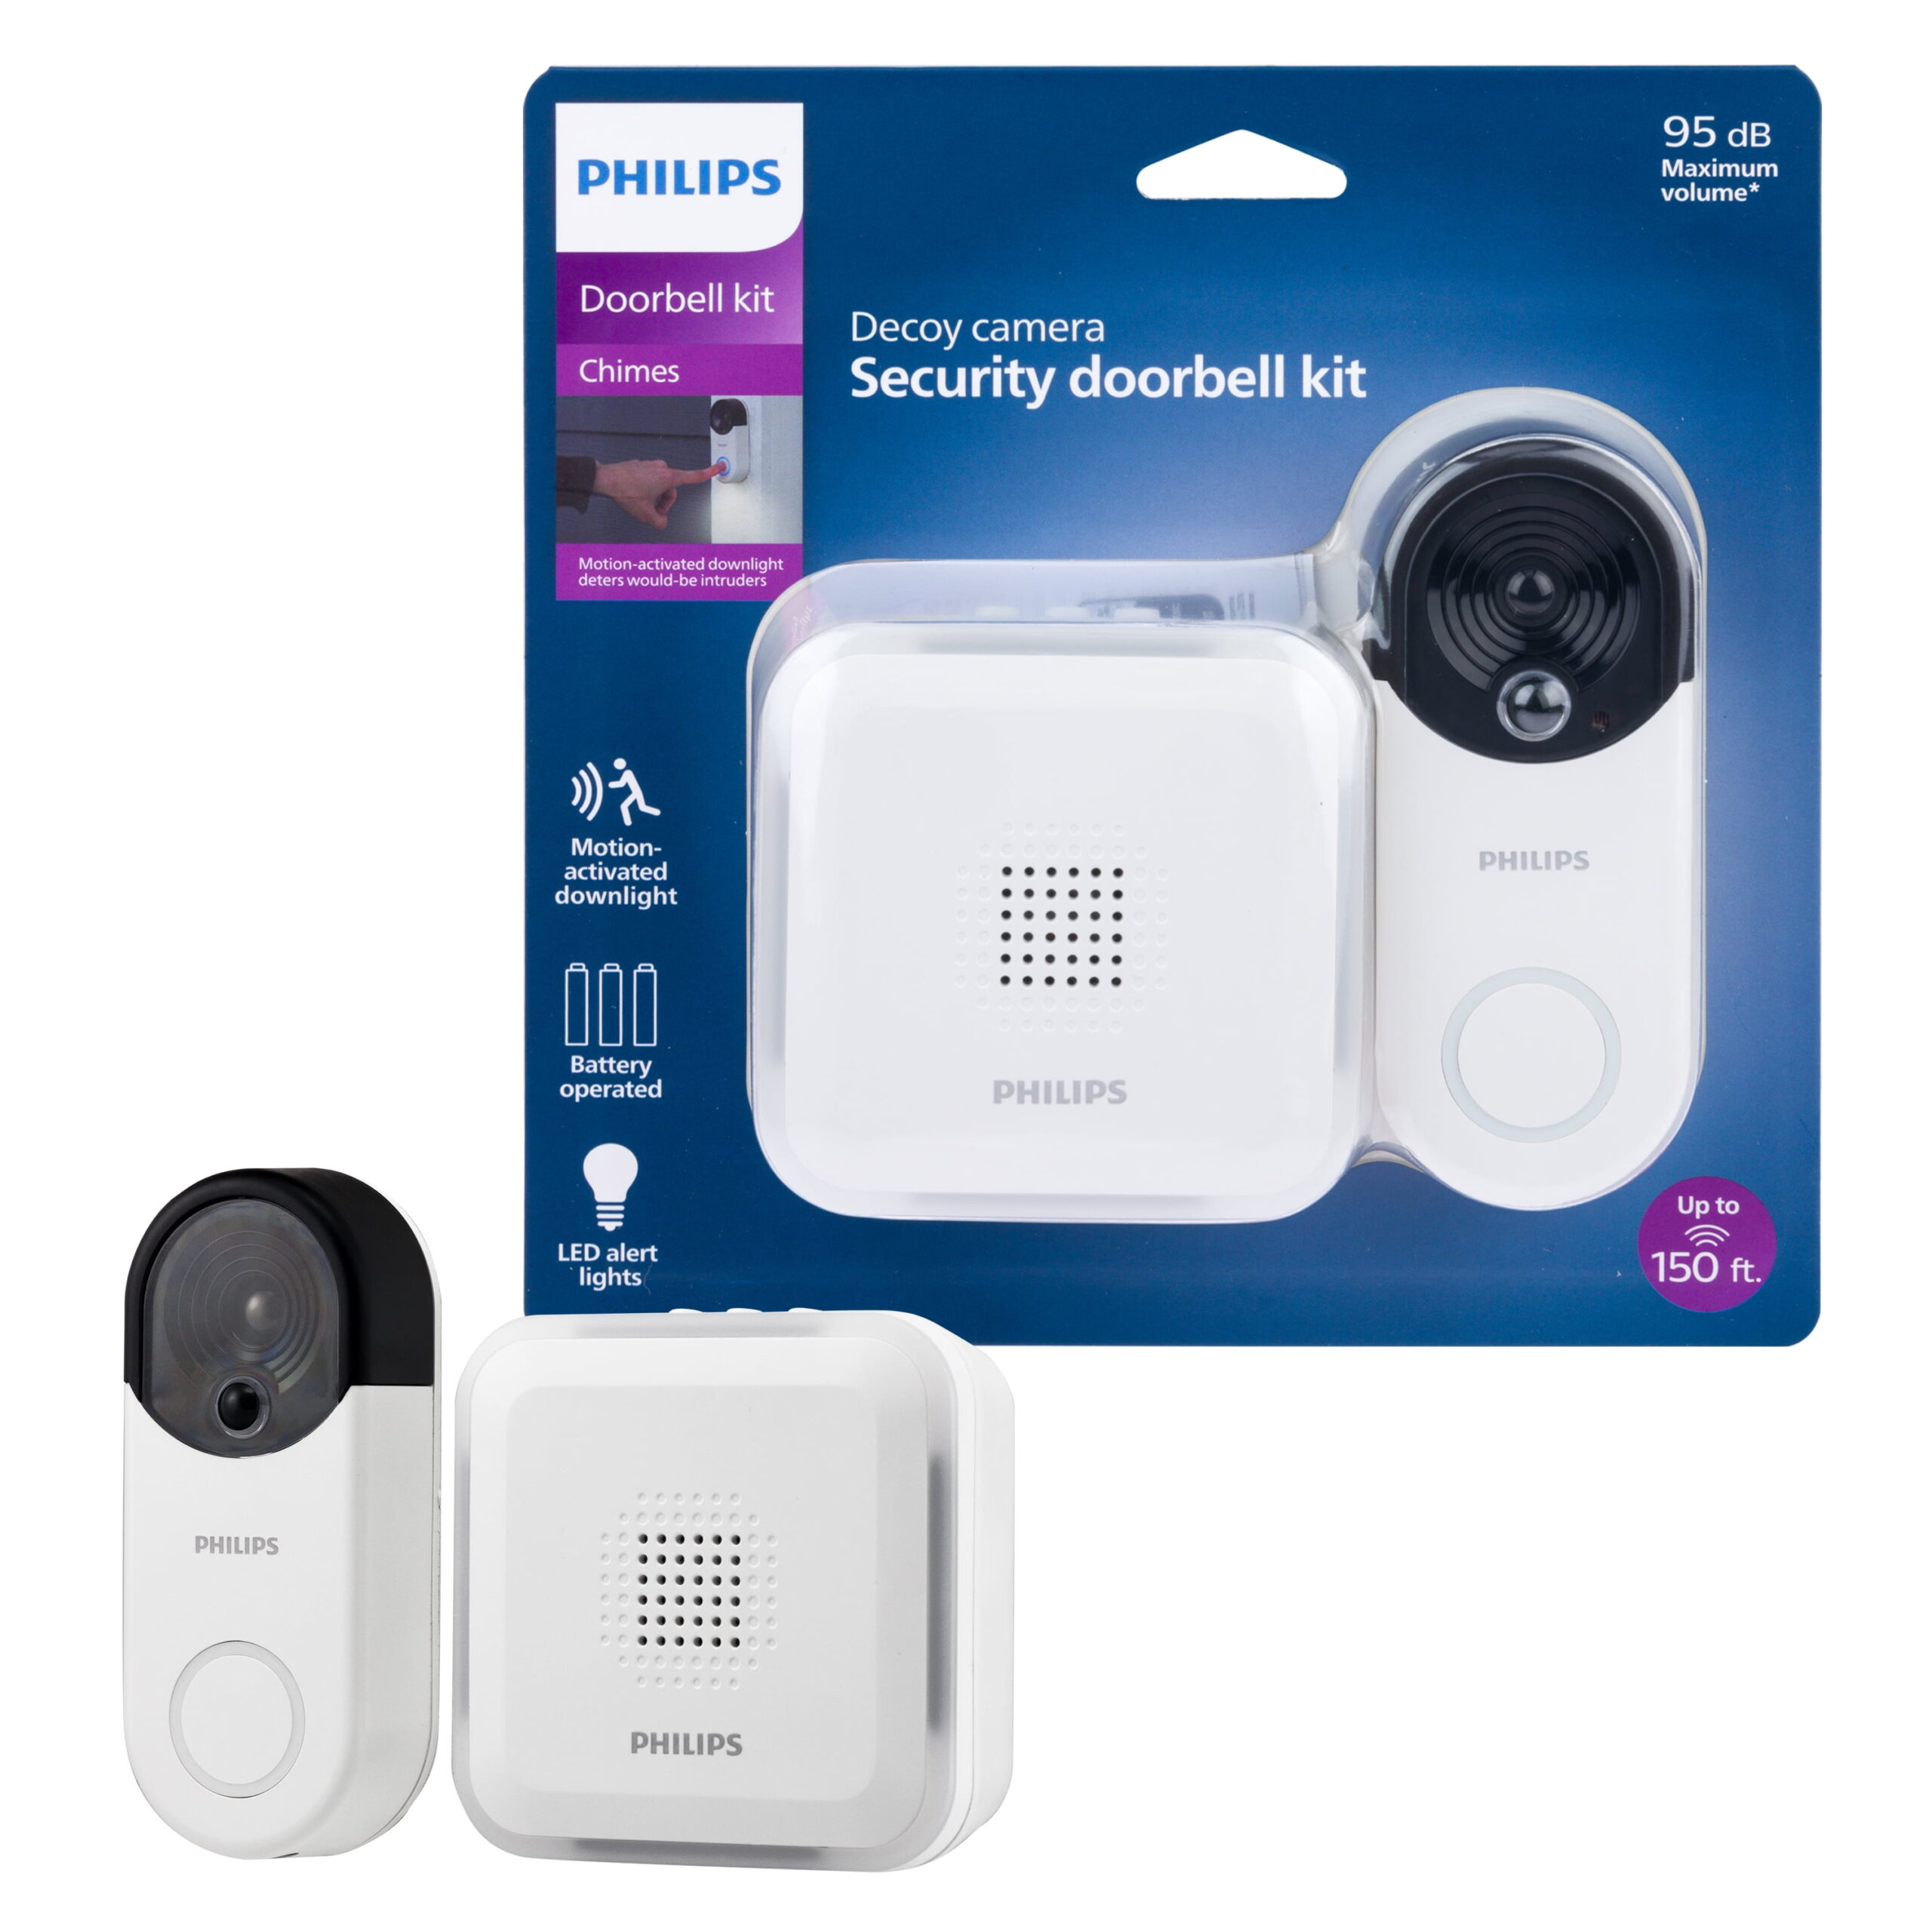
Credit: www.amazon.co.uk
Benefits Of Smart Doorbells
Smart doorbells are a popular choice for home security today. They help you see and talk to visitors from anywhere.
These devices add safety and ease to your daily life. They connect with your phone and other smart home tools.
Enhancing Home Security
Smart doorbells let you watch your front door anytime. They send alerts when someone is near your home.
Many have built-in cameras and motion sensors. These features help stop theft or unwanted visitors.
- Live video streaming on your phone
- Two-way audio to speak with visitors
- Motion detection to catch activity
- Night vision for low light conditions
Convenience At Your Fingertips
You do not need to rush to the door. See who is there and talk with them using your phone.
Smart doorbells work with apps that are easy to use. You can check your home from anywhere at any time.
- Answer the door remotely
- Get notifications for visitors
- Record visitors for later review
- Integrate with smart home devices
Cost Savings Compared To Professional Installation
Buying a DIY smart doorbell kit saves money on setup. You avoid paying for professional installation fees.
These kits come with clear instructions. Most people can install them in less than an hour.
- No electrician needed
- Lower upfront costs
- Easy to upgrade or move
- Save on monthly monitoring fees
Choosing The Right Diy Kit
Buying a smart doorbell DIY kit lets you add security and convenience. Picking the right kit is important for easy setup and good use.
This guide helps you find a kit that fits your needs and works well with your home.
Key Features To Look For
Look for features that make your smart doorbell useful and reliable. Video quality, motion detection, and two-way audio are key.
- High definition video for clear images
- Wide viewing angle to see more area
- Motion sensors to alert you of visitors
- Two-way audio to talk through the doorbell
- Night vision for low light conditions
- App compatibility for easy control
Compatibility With Existing Systems
Check if the DIY kit works with your current doorbell wiring and smart home devices. Some kits need a wired connection, others work wirelessly.
Make sure the kit supports your home Wi-Fi and voice assistants like Alexa or Google Assistant.
- Wired or wireless installation options
- Supports common voice assistants
- Works with your phone’s operating system
- Compatible with your home’s Wi-Fi network
Top Brands And Models
Some brands offer reliable DIY smart doorbell kits. Choose one with good reviews and solid customer support.
- Ring Video Doorbell: known for ease of use and features
- Arlo Video Doorbell: offers clear video and smart alerts
- Eufy Security Doorbell: no monthly fees for video storage
- Wyze Video Doorbell: budget-friendly with good functions
Tools And Materials Needed
Installing a smart doorbell DIY kit needs the right tools and parts. Using the correct items helps the process go smoothly.
This guide lists the basic tools and extra parts you might need for your smart doorbell setup.
Basic Tools For Installation
You need some basic tools to install a smart doorbell. These tools help mount and connect the device safely.
- Electric drill with drill bits
- Screwdrivers (Phillips and flathead)
- Wire strippers and cutters
- Voltage tester or multimeter
- Measuring tape or ruler
- Level tool to keep the doorbell straight
- Pencil for marking drill spots
- Ladder or step stool if needed
Additional Components You Might Need
Some homes may require extra parts for the smart doorbell to work well. Check your setup before starting.
- Wire connectors or wire nuts for safe wiring
- Power adapter if your doorbell needs one
- Mounting brackets or plates for uneven surfaces
- Extension wires for longer cable runs
- Drill anchors for brick or concrete walls
- Weatherproof sealant to protect connections
- Wi-Fi extender for better signal coverage
Step-by-step Installation Guide
Installing a smart doorbell DIY kit can save you time and money. This guide will help you set up your doorbell correctly.
Follow these simple steps to prepare your doorframe, connect the wiring, and test your new doorbell.
Preparing Your Doorframe
Start by cleaning the area where you will install the doorbell. Remove dirt and dust for a firm hold.
Check if the doorframe surface is flat. If not, use a mounting plate to make it even.
- Clean the surface with a damp cloth
- Dry the area completely
- Use a level tool to check flatness
- Attach the mounting plate if needed
Wiring And Setup Instructions
Turn off power at the circuit breaker before handling wires. Safety is very important.
Connect the doorbell wires to the terminals as shown in the kit’s manual. Use wire nuts if necessary.
- Turn off power supply
- Remove old doorbell if present
- Connect wires to smart doorbell terminals
- Secure connections with wire nuts
- Mount the doorbell on the doorframe
- Turn power back on
Testing And Troubleshooting
Press the doorbell button to check if it rings. If not, check wire connections first.
Use the app to connect the doorbell to your Wi-Fi. Follow the in-app instructions carefully.
- Ensure power is on
- Check all wire connections
- Confirm Wi-Fi network is working
- Restart the doorbell if needed
- Consult the manual for error codes
Maximizing Security With Your Smart Doorbell
A smart doorbell adds extra safety to your home. It lets you see visitors from anywhere.
Using a DIY kit helps you install the doorbell easily. You can control its features for better security.
Setting Up Alerts And Notifications
Alerts tell you when someone is at your door. You can get notifications on your phone or device.
Set alerts for motion detection or button presses. Adjust the sensitivity to avoid false alarms.
- Enable push notifications on your smartphone
- Customize alert sounds and vibration
- Set quiet hours to reduce disturbances
- Use alerts to respond quickly to visitors
Integrating With Other Smart Devices
Connect your doorbell with smart lights or cameras. This helps create a full security system.
Linking devices lets you automate actions. For example, lights can turn on when someone rings the bell.
- Sync doorbell with smart home hubs
- Use voice assistants to control doorbell
- Combine with security cameras for live views
- Automate lights to turn on at night
Maintaining Privacy And Data Security
Protect your data by using strong passwords. Keep your software updated to fix security issues.
Limit who can access your doorbell. Check privacy settings regularly to keep your information safe.
- Use two-factor authentication
- Regularly update firmware and apps
- Control user access and permissions
- Avoid sharing access with unknown people
Troubleshooting Common Issues
Smart doorbell DIY kits are easy to install but may face some problems. Knowing how to fix these issues helps keep your doorbell working well.
This guide covers common problems and ways to solve them. It focuses on connectivity, power, and camera or audio troubles.
Connectivity Problems
Your smart doorbell needs a strong Wi-Fi connection to work right. Weak signals can cause delays or no response at all.
Try moving your router closer or use a Wi-Fi extender. Check if the doorbell is on the right network and the password is correct.
- Restart your router and doorbell device
- Keep the doorbell within range of Wi-Fi
- Use 2.4 GHz Wi-Fi if 5 GHz is unstable
- Make sure no firewall blocks the connection
Power Supply Challenges
Power issues can stop your doorbell from working or cause it to shut down randomly. Check your power source first.
If your doorbell uses batteries, replace them with new ones. For wired models, ensure wires are connected firmly and the power is on.
- Use recommended batteries for best results
- Check for loose or damaged wires
- Test the power outlet with another device
- Charge rechargeable batteries fully before use
Camera And Audio Quality Fixes
Clear video and sound help you see and hear visitors well. Clean the camera lens and microphone regularly to avoid dirt buildup.
Adjust the camera angle to get a better view. Lower the video resolution if the connection is slow, so the video plays smoothly.
- Wipe the camera lens with a soft cloth
- Check microphone and speaker for blockages
- Adjust volume settings in the app
- Reduce video quality to improve streaming
Upgrading And Customizing Your Doorbell
Buying a smart doorbell DIY kit lets you upgrade your home’s entrance easily. You can add new features and personalize it to fit your needs.
With simple tools and clear instructions, you control how your doorbell works. This guide shows ways to add features and keep your system updated.
Adding Extra Features
You can add many features to your smart doorbell. These make it more useful and fit your daily life better.
Common upgrades include motion sensors, night vision, and two-way audio. These improve security and communication at your door.
- Motion detection to alert you of visitors
- Night vision for clear video in the dark
- Two-way audio to talk through the doorbell
- Custom chimes and sounds
- Integration with smart home systems
Software Updates And Enhancements
Keep your doorbell software up to date to improve performance. Updates can fix bugs and add new features.
Many DIY kits allow easy software updates via an app or USB. Regular updates help protect your system from security risks.
- Fixes for any software problems
- Improved video and audio quality
- New options for alerts and notifications
- Better compatibility with other devices
- Enhanced security features
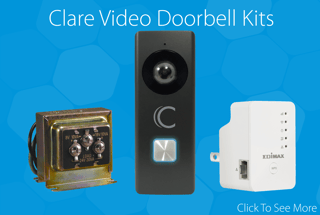
Credit: www.clarecontrols.com

Credit: www.diy.com
Frequently Asked Questions
What Is Included In A Smart Doorbell Diy Kit?
A smart doorbell DIY kit usually includes a camera, chime, wiring, and mounting hardware. It may also have a user manual and app instructions for easy installation and setup.
How Easy Is It To Install A Smart Doorbell Diy Kit?
Installing a smart doorbell DIY kit is straightforward and requires basic tools. Most kits come with step-by-step guides to help even beginners complete installation within an hour.
Can I Connect A Diy Smart Doorbell To My Smartphone?
Yes, most smart doorbell DIY kits support smartphone connectivity. You can receive alerts, view live video, and communicate with visitors via a dedicated app.
Are Smart Doorbell Diy Kits Compatible With Home Automation?
Many smart doorbell kits are compatible with popular home automation systems like Alexa and Google Home. This allows seamless integration for voice control and automation routines.
Conclusion
Choosing a smart doorbell DIY kit offers convenience and security. It’s easy to install, even for beginners. These kits enhance your home’s safety. Plus, they provide modern features at a reasonable price. You can monitor your doorstep anytime. A worthy investment for peace of mind.
Many options are available to fit your needs. Take control of your home security today. Enjoy the comfort of knowing who’s at your door. Simple setup, reliable performance. Smart doorbells make your life easier. Explore the options and find the right kit.
A smarter home awaits you.
18 min read