
Imagine stepping into your bathroom and seeing yourself clearly in a mirror that lights up perfectly every time. You want your space to feel modern, bright, and welcoming—but expensive smart mirrors can be out of reach.
What if you could create your own smart bathroom mirror lights that fit your style and budget? You’ll discover easy, step-by-step tips to build your own smart lighting setup. Get ready to transform your daily routine with a simple project that brings convenience and a touch of luxury right to your home.
Keep reading—you won’t want to miss these game-changing ideas!
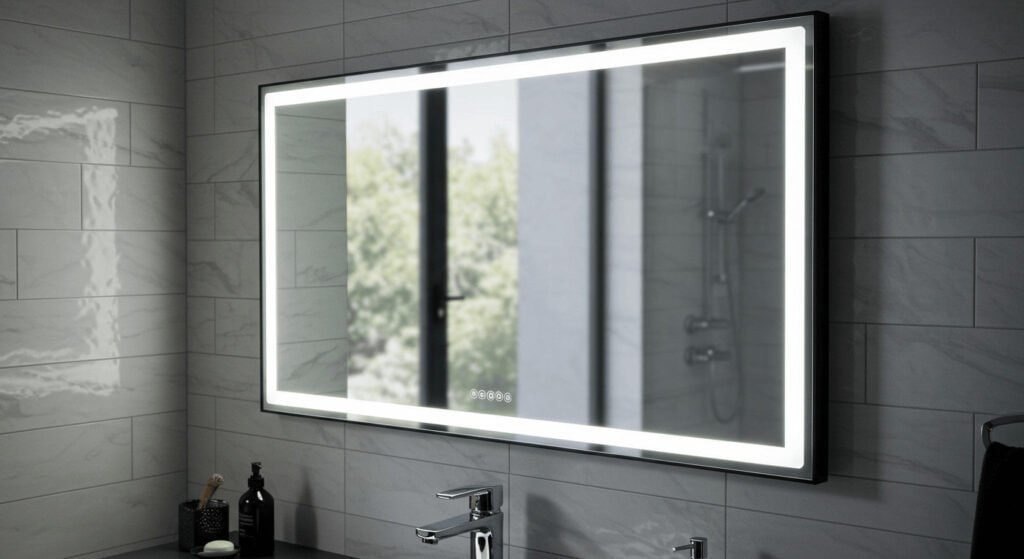
Credit: bfymirror.com
Choosing The Right Mirror
Picking the right mirror is key for your smart bathroom lights. A good mirror fits your space and style.
The right mirror helps the lights work well and looks great in your bathroom.
Size And Shape Options
Choose a mirror size that fits your bathroom wall well. Too big or too small can look odd. Smart Bathroom Mirror Lights
Shapes like round, square, or rectangular change the room’s feel. Pick one that matches your style.
- Round mirrors soften the space
- Square mirrors offer a modern look
- Rectangular mirrors suit classic styles
Material Considerations
Mirror frames come in many materials. Choose one that handles moisture well in bathrooms.
Materials like metal, wood, or plastic each have pros and cons for durability and style.
- Metal frames resist water and last long
- Wood frames add warmth but need sealing
- Plastic frames are lightweight and cheap
Placement Tips
Place the mirror where light hits your face evenly. This helps the smart lights work best.
Avoid spots with glare or shadows. Center the mirror above your sink or vanity.
- Keep mirror at eye level for most users
- Leave space around mirror for light strips
- Avoid placing near windows to reduce glare
Selecting Smart Lighting Features
Smart bathroom mirror lights add style and function to your space. Choosing the right features makes your mirror lighting practical and easy to use.
Focus on the light type, brightness, color options, and control methods. These features help you get the best lighting for your bathroom.
Types Of Smart Lights
Smart lights come in many styles to fit your bathroom mirror. Some are LED strips, others are bulbs or panels. Each type offers different effects and uses.
LED strips are flexible and easy to install around mirrors. Bulbs can replace existing lights. Panels give even lighting for a modern look.
- LED strips: slim and flexible for edge lighting
- Smart bulbs: fit in standard sockets for easy swap
- Light panels: provide soft, even light over the mirror
Brightness And Color Settings
Adjustable brightness helps you get the right light for different tasks. Bright light is good for shaving or makeup. Lower light creates a relaxing mood.
Color settings let you change the light tone. You can pick warm, cool, or daylight colors. This feature fits your mood and time of day.
- Brightness levels: from dim to very bright
- Color temperature: warm, neutral, or cool white
- Color changing: some lights offer RGB options
Voice And App Controls
Smart lights often work with voice assistants like Alexa or Google. You can turn lights on or off using simple voice commands.
Apps let you control lights from your phone. You can set schedules, adjust brightness, and change colors easily. This adds convenience to your bathroom routine.
- Voice control: hands-free operation with smart assistants
- App control: adjust settings from anywhere
- Scheduling: set lights to turn on or off automatically
Tools And Materials Needed
Building your own smart bathroom mirror lights is a great project. You need the right tools and materials to do it safely and well.
This guide covers the basic supplies, mounting parts, and safety gear you will need. Smart Bathroom Mirror Lights
Basic Electrical Supplies
These supplies help connect and power your smart mirror lights. Pick good quality items for safety and durability.
- LED light strips or LED bulbs
- Power adapter or transformer
- Electrical wires (usually 18-22 gauge)
- Soldering iron and solder (for wire connections)
- Wire connectors or terminal blocks
- Switches or smart controllers
- Electrical tape or heat shrink tubing
Mounting Hardware
Mounting hardware keeps the lights and mirror secure on your wall. Choose parts that fit your mirror size and wall type.
- Screws and wall anchors
- Double-sided mounting tape
- Brackets or clips for light strips
- Drill and drill bits
- Measuring tape and level
Safety Gear
Safety gear protects you while working with electrical parts and tools. Always use these items to avoid injuries.
- Insulated gloves
- Safety goggles
- Dust mask (if drilling or sanding)
- Non-slip shoes
- Fire extinguisher nearby

Credit: www.diy.com
Installation Process
Installing smart bathroom mirror lights can improve your space’s look and function. The process is simple and can be done by most people.
This guide explains how to install your smart mirror lights step by step. Follow the instructions carefully for best results.
Preparing The Mirror Surface
Clean the mirror surface thoroughly before starting. Use a glass cleaner to remove dust and grease.
Make sure the mirror is dry and free from any residue. This helps the lights stick properly and stay secure.
- Use a lint-free cloth for cleaning
- Check for cracks or damage on the mirror
- Mark where you want the lights to go
Wiring And Connecting Lights
Turn off the power supply before starting any wiring. Safety is very important when working with electricity. Smart Bathroom Mirror Lights
Connect the light wires to the power source according to the instructions. Use wire connectors or electrical tape to secure connections.
- Identify live, neutral, and ground wires
- Use a voltage tester to confirm power is off
- Follow the wiring diagram from the light kit
- Secure all wires to avoid loose connections
Securing And Testing
Attach the lights firmly to the mirror or frame. Use the mounting tape or brackets provided in the kit.
Turn on the power and test the lights. Check if they turn on and respond to controls properly.
- Press the light switch or remote control
- Look for any flickering or dim lights
- Adjust the position if needed for even lighting
- Secure any loose wires or parts
Customization Ideas
DIY smart bathroom mirror lights let you change your bathroom look. You can adjust colors and features easily.
Customizing these lights makes your bathroom more personal and smart. You can match your style and needs.
Color Schemes For Mood
Colors can change the mood in your bathroom. Soft white lights give calm and peace.
Use blue or green for a fresh and cool feeling. Warm colors like orange or yellow feel cozy and bright.
- Soft white for relaxing
- Blue or green for freshness
- Orange or yellow for warmth
- Adjust colors for different times of day
Integrating With Bathroom Decor
Match your mirror lights with the bathroom style. Use colors and designs that fit your tiles and walls.
Choose light shapes and sizes that blend well. You can add smart lights that highlight mirrors or shelves.
- Pick light colors that match wall paint
- Use shapes that fit your bathroom style
- Place lights to highlight decor features
- Use dimmable lights to suit different needs
Additional Smart Features
Add features like motion sensors to save energy. Lights can turn on when you enter the bathroom. Smart Bathroom Mirror Lights
Use voice control to change light colors or brightness. Some mirrors can show time or weather on the glass. Smart Bathroom Mirror Lights
- Motion sensors for automatic lighting
- Voice control for easy adjustments
- Display time and weather on mirror
- Adjust brightness for different needs

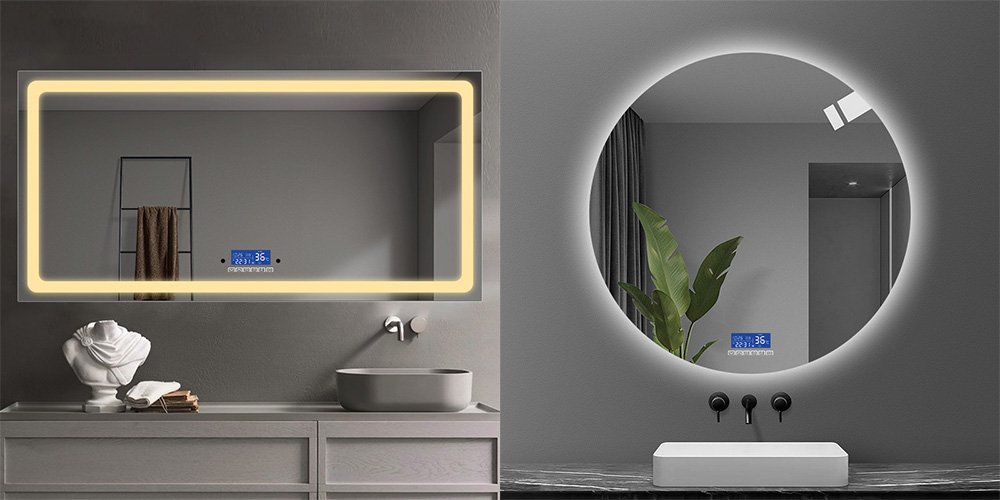
Credit: www.amazon.com
Troubleshooting Common Issues
DIY smart bathroom mirror lights can improve your daily routine. Sometimes, they face common problems. Knowing how to fix these helps you save time.
This guide covers three common issues: connectivity problems, light flickering, and power supply concerns. Each section explains simple fixes.
Connectivity Problems
Smart mirrors connect to Wi-Fi or Bluetooth. If the light does not respond, check the connection first. Weak signals can cause delays or no response.
Try restarting your router or turning the mirror’s connection off and on. Keep the mirror close to the router to improve signal strength.
- Restart your Wi-Fi router
- Toggle Bluetooth or Wi-Fi on the mirror
- Move the mirror closer to the router
- Check for app updates
- Reset the mirror’s network settings
Light Flickering
Flickering lights can annoy you and reduce the mirror’s lifespan. This often happens because of loose connections or bad wiring.
Check if the LED strips are firmly connected. Also, inspect wires for damage or wear. Replace any damaged parts to stop flickering.
- Ensure LED strips are tightly connected
- Inspect wires for cuts or damage
- Secure loose wiring
- Replace faulty LED strips
- Use quality dimmer switches
Power Supply Concerns
Power issues can cause lights not to turn on or work intermittently. Check the power adapter and outlet first. A weak power source affects performance.
Use a stable power supply that matches the mirror’s voltage needs. Avoid using damaged cords or adapters. If unsure, test with another compatible power source.
- Check power adapter and cords for damage
- Use the correct voltage and wattage
- Plug into a reliable power outlet
- Test with a different power source
- Avoid power strips with many devices
Maintenance Tips
Keeping your DIY smart bathroom mirror lights in good condition is important. Regular care helps them work well for a long time.
Here are some easy tips to maintain your mirror and its smart lights. Smart Bathroom Mirror Lights
Cleaning The Mirror And Lights
Clean the mirror and lights gently to avoid damage. Use a soft cloth and mild cleaner for the mirror surface.
For the lights, avoid wetting the electrical parts. Dust them with a dry cloth or a soft brush. Smart Bathroom Mirror Lights
- Use microfiber cloth for the mirror
- Apply cleaner on the cloth, not directly on the mirror
- Dust lights regularly to prevent buildup
- Never spray water near electrical parts
Software Updates
Smart mirrors often need software updates to fix bugs and add features. Check for updates regularly to keep the system smooth.
Follow the manufacturer’s instructions to install updates safely. Avoid interrupting the update process.
- Check for updates once a month
- Use a stable internet connection
- Do not turn off the mirror during updates
- Restart the mirror after updating
Replacing Components
Some parts of your smart bathroom mirror lights may wear out over time. Replace bulbs or sensors when they stop working well.
Use parts that fit your mirror model. Follow safety guidelines to avoid damage or injury during replacement.
- Turn off power before replacing parts
- Use recommended bulbs and sensors
- Handle components with care
- Test the mirror after replacement
Frequently Asked Questions
What Tools Are Needed For Diy Smart Bathroom Mirror Lights?
Basic tools include a screwdriver, wire stripper, drill, and a voltage tester. You may also need a soldering iron. These help safely install and connect smart LED strips or bulbs behind your mirror for even lighting. Smart Bathroom Mirror Lights
How Do Smart Mirror Lights Improve Bathroom Experience?
Smart mirror lights provide adjustable brightness and color temperature. They enhance visibility for grooming and makeup. You can control them via apps or voice commands, adding convenience and energy efficiency to your bathroom.
Can I Install Smart Lights On Any Bathroom Mirror?
Most mirrors can have smart lights installed if there’s space behind them. Ensure the mirror and wall can support LED strips or light bars. Waterproof and moisture-resistant features are important for bathroom environments. Smart Bathroom Mirror Lights
Are Diy Smart Mirror Lights Energy Efficient?
Yes, smart LED lights use less energy compared to traditional bulbs. They offer customizable brightness and automatic shutoff features. This reduces electricity use and lowers your utility bills over time. Smart Bathroom Mirror Lights
Conclusion
Creating a smart bathroom mirror light is easy and rewarding. It adds elegance and convenience to your space. You learn new skills while enhancing your home. Plus, it saves money compared to store-bought options. The satisfaction of a personal touch is unmatched.
Friends and family will admire your creativity. With simple tools and patience, anyone can do it. Your bathroom transforms into a modern haven. Enjoy the glow and the compliments. Dive into this DIY project today. Your smart bathroom awaits you!
21 min read