
Imagine never missing an important alert again, even when your phone is across the room or buried under a pile of papers. DIY smart home notification lights can change the way you stay connected to your devices.
These simple, colorful lights catch your eye instantly, making sure you know when something needs your attention—without the constant buzzing or screen-checking. If you want to make your home smarter and your life easier, keep reading to discover how you can create your own notification lights that fit your style and needs perfectly.
Choosing Notification Light Types
Smart home notification lights help you see alerts without sound. Picking the right type is key for your needs.
Different light types fit different spaces and uses. Learn about popular options to find your best fit.
Led Strips
LED strips are long, flexible lights you can place almost anywhere. They provide bright, colorful notifications.
They are easy to install under cabinets, behind TVs, or along walls. You can program them to change colors for alerts.
- Flexible and easy to shape
- Bright and visible from far
- Works well in hidden or open spaces
- Can show many colors and patterns
Smart Bulbs
Smart bulbs replace regular bulbs and connect to your home system. They offer soft, room-wide light notifications.
You can change their color and brightness with an app. They are good for general alerts in living rooms or bedrooms.
- Fits in existing light sockets
- Works with voice assistants
- Light fills the whole room
- Easy to control remotely
Custom Light Panels
Custom light panels are shaped lights you arrange on walls. They give a stylish way to show alerts.
These panels often have touch controls and can display many colors. They fit well in modern or techy homes.
- Unique shapes and designs
- Can combine multiple panels
- Touch or app control
- Good for decorative lighting
Credit: peyanski.com
Essential Components
Diy smart home notification lights need a few key parts. These parts work together to sense events and show alerts.
Understanding these components helps you build a reliable and useful notification system at home.
Microcontrollers And Hubs
Microcontrollers act as the brain of your notification lights. They process data and control the lights.
Hubs connect multiple devices and let them communicate with each other smoothly.
- Popular microcontrollers include Arduino and ESP32
- Hubs like Raspberry Pi or smart home bridges manage devices
- They help you customize how lights respond to triggers
Sensors And Triggers
Sensors detect changes in the environment to start notifications. They send signals to the microcontroller.
Triggers can be motion, sound, temperature, or door opening. Each trigger causes lights to react differently.
- Motion sensors detect movement near the light
- Sound sensors respond to noise levels
- Temperature sensors alert when it gets too hot or cold
- Door sensors show if doors open or close
Power Supplies
Power supplies keep your notification lights running all the time. Choose a power source that fits your setup.
Battery packs or wall adapters are common options. Make sure the power matches your device’s voltage and current needs.
- Batteries offer portability but need replacement or charging
- Wall adapters provide steady power for fixed locations
- Use voltage regulators to protect sensitive parts
Setting Up Hardware
Setting up your smart home notification lights starts with the right hardware. You will need lights, power sources, and connection tools.
Careful setup ensures your lights work well and last a long time. Follow these steps to get started.
Wiring And Connections
Connect wires carefully to avoid short circuits. Use the correct cables for power and data signals.
Secure connections with wire nuts or solder to keep them stable and safe from damage.
- Use insulated wires to prevent shocks
- Match wire colors for easy identification
- Keep wires organized with clips or ties
- Test connections before final assembly
Mounting Lights
Choose a good spot for your notification lights. It should be easy to see but not in the way.
Use screws or strong adhesive pads to fix the lights. Make sure they are stable and won’t fall.
- Mount lights near doorways or switches
- Avoid places with direct sunlight
- Keep lights away from water or heat sources
- Check alignment so lights face the right direction
Safety Tips
Safety is important when working with electrical devices. Always turn off power before wiring.
Use tools with insulated handles and wear protective gear like gloves and goggles.
- Double-check all connections before powering up
- Keep water and liquids away from electrical parts
- Follow local electrical codes and rules
- Ask a professional if unsure about wiring

Credit: www.reddit.com
Configuring Software
Setting up software is key for DIY smart home notification lights. Good software makes your lights respond to events quickly.
You can customize how lights turn on or change color by using simple tools and rules.
Selecting Platforms
Choose a platform that fits your devices and skills. Some platforms offer easy setup and many features.
Popular platforms include open-source hubs and cloud services. Check if they support your smart lights.
- OpenHAB: good for advanced users, highly customizable
- Home Assistant: popular, supports many devices
- IFTTT: simple, cloud-based automation
- SmartThings: works well with Samsung devices
Writing Automation Rules
Automation rules tell your lights when to change. You write rules based on events like doorbells or motion sensors.
Use clear conditions and actions. For example, if the door opens, turn light blue. Keep rules simple for easy changes.
- Trigger: an event like a sensor or time
- Condition: checks if rule should run
- Action: what the light does, such as color change
Integrating Voice Assistants
Voice assistants let you control notification lights by speaking. Connect your platform to assistants like Alexa or Google.
This setup helps you turn lights on, off, or change colors hands-free. It also adds more control to your smart home.
- Check if your platform supports voice assistants
- Link accounts through the assistant’s app
- Use voice commands to control lights easily
Customizing Notifications
DIY smart home notification lights help you see alerts at a glance. You can change settings to fit your needs.
Customizing your lights makes notifications clear and easy to understand.
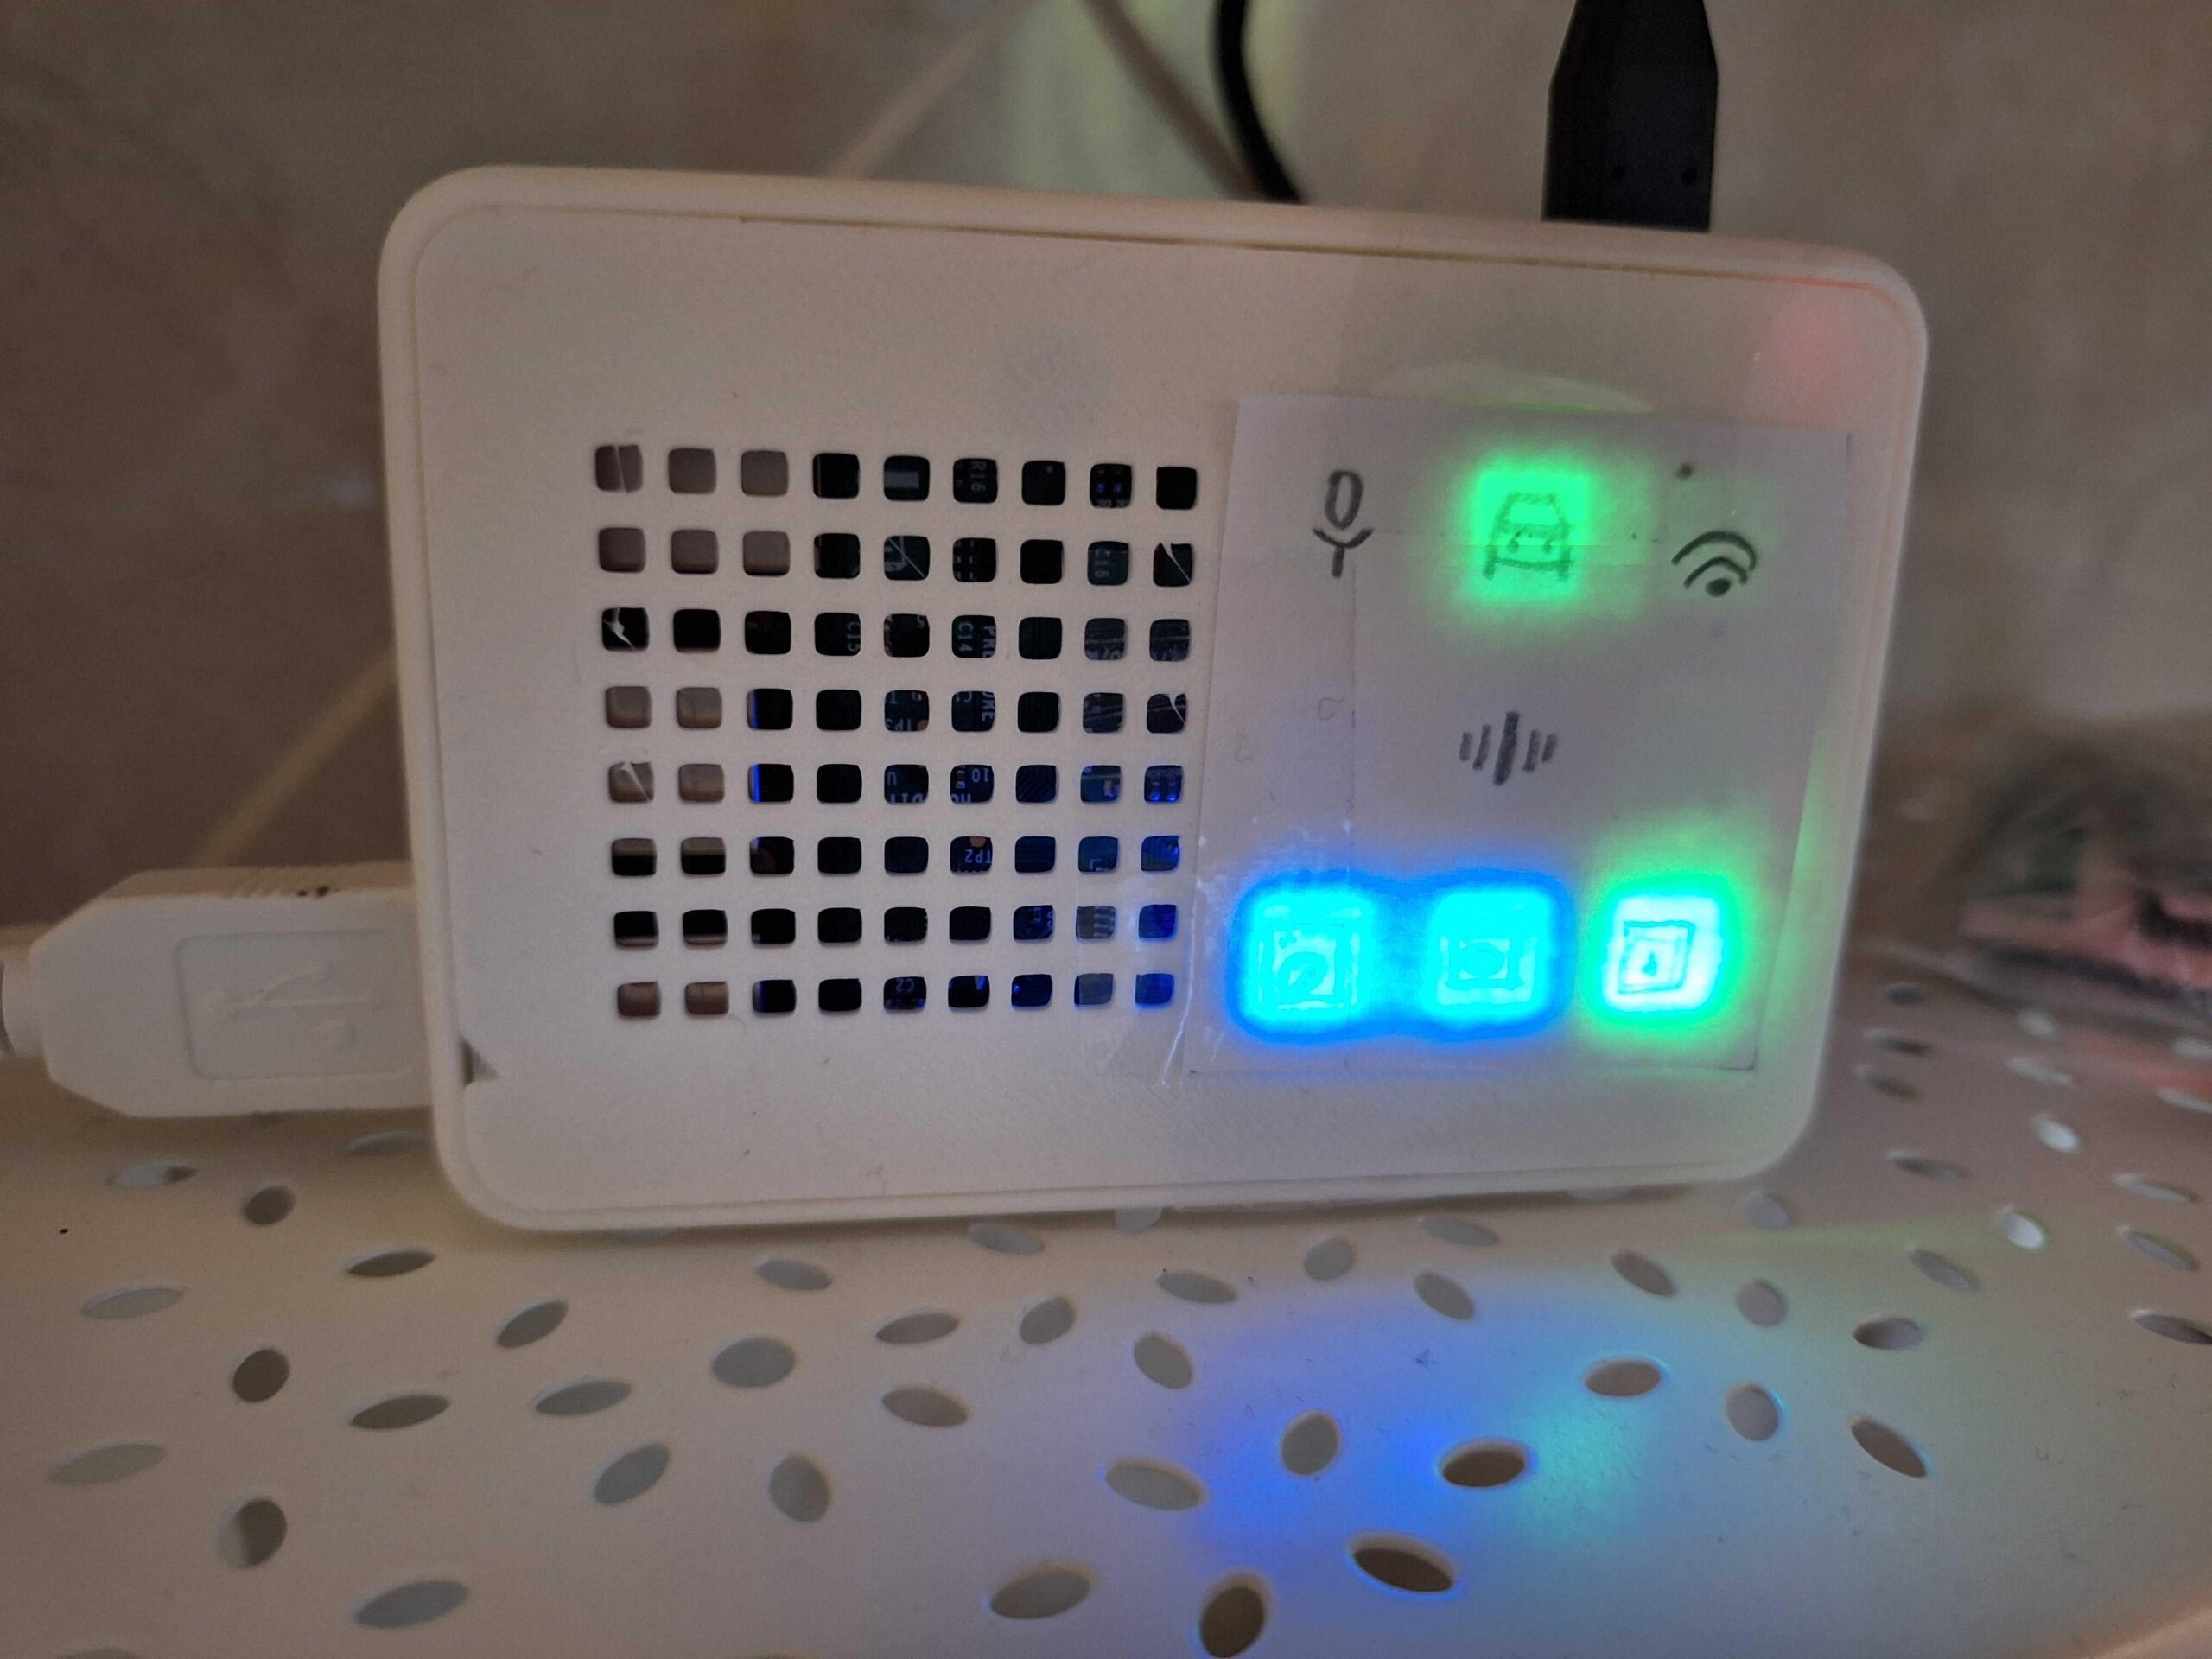
Color Coding Alerts
Using colors to show different alerts helps you know what is happening quickly. Each color means a different type of notification.
- Red for urgent alerts like smoke or fire
- Blue for messages or calls
- Green for normal updates like door open
- Yellow for reminders or warnings
Adjusting Brightness And Timing
You can change how bright your lights shine. Bright lights work well during the day. Dimmer lights suit nighttime use.
Set how long the light stays on. Short flashes are good for quick alerts. Longer lights help with important messages.
- High brightness for busy rooms
- Low brightness for bedrooms
- Short light duration for quick notices
- Long light duration for urgent alerts
Creating Multiple Zones
Divide your home into zones for better control. Each zone can have its own light settings and colors.
This setup helps you know where the alert comes from without checking your phone.
- Living room zone for guest alerts
- Kitchen zone for cooking and safety alerts
- Bedroom zone for personal notifications
- Outdoor zone for security alerts
Troubleshooting Common Issues
DIY smart home notification lights can make life easier. Sometimes, they may stop working properly.
Knowing how to fix common problems saves time and frustration. This guide helps you find solutions fast.
Connectivity Problems
Smart lights need a strong connection to work well. If your lights do not respond, check the network first.
Try restarting your Wi-Fi router and your smart light hub. Move devices closer if the signal is weak.
- Make sure Wi-Fi name and password are correct
- Check if the router blocks devices or ports
- Update your router’s firmware
- Use a Wi-Fi extender for better coverage
Light Malfunctions
If your notification lights flicker or do not turn on, the light hardware may have issues. Check the bulbs and wiring.
Loose connections or damaged wires cause light problems. Replace faulty bulbs with compatible ones to avoid damage.
- Turn off power before checking wiring
- Inspect bulbs for cracks or dark spots
- Use bulbs that match the light fixture specs
- Clean the light sensor if present
Software Glitches
Smart light apps and devices may freeze or act strangely. Restart the app or the smart home hub to fix this.
Check for updates to the app or device firmware. Bugs often get fixed with new software versions.
- Close and reopen the smart light app
- Restart the smart home hub or bridge
- Update app and device firmware regularly
- Reset device settings if problems continue
Expanding Your System
Building a DIY smart home notification light system is just the start. Expanding your system can make your home smarter and more responsive.
Adding more devices and linking them with other gadgets improves your home’s automation and convenience.
Adding More Devices
You can add more notification lights to cover different rooms or functions. This helps you get alerts from many parts of your home.
Choose devices that match your current setup to keep everything working smoothly. Use compatible bulbs or LED strips for easy integration.
Linking With Other Smart Gadgets
Connect your notification lights with other smart devices like sensors, alarms, or speakers. This creates a network of gadgets that work together.
For example, link lights to motion sensors to flash when someone enters a room. Or connect to your doorbell for instant alerts.
- Motion sensors trigger lights for movement alerts
- Door sensors flash lights when doors open
- Smart speakers announce alerts with light signals
Remote Access And Control
Control your notification lights from anywhere using your smartphone or tablet. Remote access lets you check your home’s status anytime.
Use apps to turn lights on or off, change colors, or set schedules. This keeps your system flexible and easy to manage.
Cost And Time Estimates
Building DIY smart home notification lights can be affordable and quick. Knowing the cost and time helps you plan better.
This guide breaks down budgeting, setup time, and upkeep for your project.
Budgeting Your Project
Smart home notification lights cost depends on parts and tools. Basic kits are cheaper than custom builds.
Plan for sensors, lights, controllers, and wiring. Extra costs include power supplies and smart hubs.
- Basic kits: $20 to $50
- Custom parts: $50 to $150
- Tools (if needed): $10 to $50
- Smart hub (optional): $30 to $100
Setup Duration
Setup time varies by skill and complexity. Simple kits take 1 to 3 hours to install.
Custom projects may need 4 to 8 hours or more for assembly and programming.
- Basic kits: 1-3 hours
- Custom builds: 4-8+ hours
- Programming and testing add extra time
Maintenance Considerations
Notification lights need little upkeep. Check connections and update software regularly.
Replace bulbs or parts if they wear out. Keep your system clean and dry to avoid damage.
- Check wiring every few months
- Update device software when available
- Replace bulbs or LEDs after long use
- Keep components free from dust and moisture

Credit: www.reddit.com
Frequently Asked Questions
What Are Diy Smart Home Notification Lights?
DIY smart home notification lights are customizable LED indicators. They alert you to events like messages, doorbells, or alarms. You can build them using simple electronics and integrate with smart home systems. These lights improve convenience and enhance home automation visually.
How Do Smart Notification Lights Connect To Devices?
Smart notification lights connect via Wi-Fi, Bluetooth, or Zigbee. They sync with your smartphone or smart home hub. This allows real-time alerts from various apps or sensors. Integration depends on the platform and hardware compatibility used in your DIY project.
Can I Customize Colors And Patterns Of Notification Lights?
Yes, DIY smart notification lights support color and pattern customization. You can program different colors to represent specific alerts. Patterns like blinking or fading add more information. This personalization improves your home’s notification clarity and aesthetic appeal.
What Components Are Needed For Diy Notification Lights?
Basic components include RGB LEDs, microcontrollers (like Arduino or ESP8266), power supply, and connecting wires. Additional sensors or modules enable smart features. Software or apps control light behavior. These parts are affordable and widely available for DIY projects.
Conclusion
Creating your own smart home notification lights is simple and rewarding. You gain control. Customize the colors and alerts to suit your needs. Improve your home’s efficiency and stay informed. This DIY project is both fun and practical. Perfect for beginners and tech enthusiasts alike.
Save money and learn new skills. Enjoy the process of building and integrating technology. Your home becomes smarter with each step. Start your project today and experience the benefits. A bright idea for every home.
20 min read