
Imagine controlling your home lighting with just a tap or a voice command, all without spending a fortune or calling an electrician. You can make this a reality by creating your own smart switch using Lutron products.
This DIY project puts you in charge, giving you a simple way to upgrade your space and boost convenience. Ready to transform your home lighting and impress your friends? Keep reading to discover how easy and rewarding it can be to build your own smart switch with Lutron.
Benefits Of Smart Switches
Smart switches are easy to install and make your home smarter. They let you control lights from your phone or voice.
Using a smart switch like Lutron can save energy and give you more control over your home lighting.
Energy Savings
Smart switches help reduce electricity use by turning off lights automatically. They work with timers and sensors to save power.
You can set schedules to switch off lights when not needed. This lowers your energy bills and helps the environment.
- Turn off lights remotely
- Use motion sensors to control lights
- Set timers for lights to turn off
- Reduce wasted electricity
Convenience And Control
Smart switches let you control lights from anywhere using your phone. You do not need to be near the switch to turn lights on or off.
They also work with voice assistants like Alexa or Google Assistant. This makes it easy to control lights with simple commands.
- Control lights with phone apps
- Use voice commands to switch lights
- Adjust brightness and colors
- Group lights for easy control
Enhanced Home Security
Smart switches improve home security by making it look like someone is home. You can turn lights on and off even when you are away.
This can stop burglars from targeting your house. You can also set lights to turn on at certain times to create a safe environment.
- Control lights remotely to simulate presence
- Set schedules to turn lights on/off
- Use smart switches with security systems
- Enhance safety with timed lighting

Credit: www.amazon.com
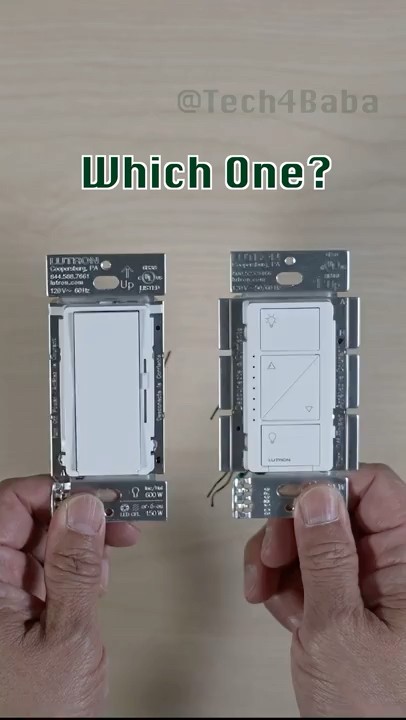
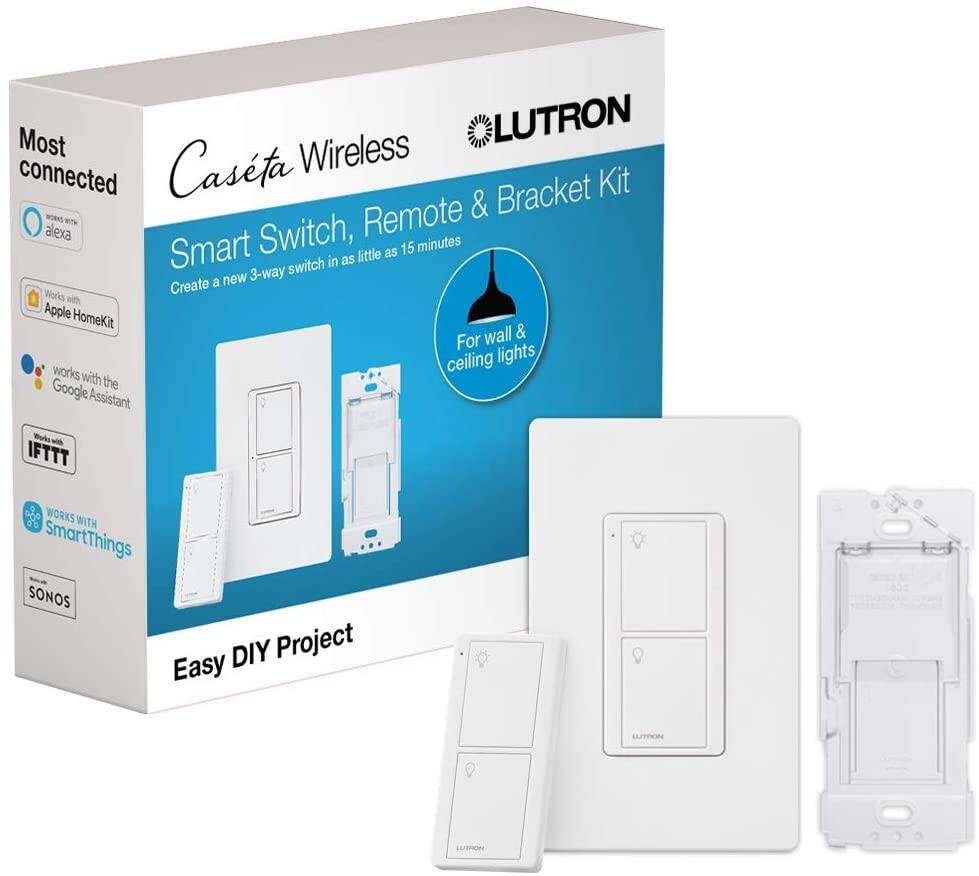
Choosing The Right Lutron Switch
Picking the right Lutron smart switch is key for your DIY project. It makes sure your system works well.
You need to check your home’s wiring and the switch features. This helps find the best fit for your needs.
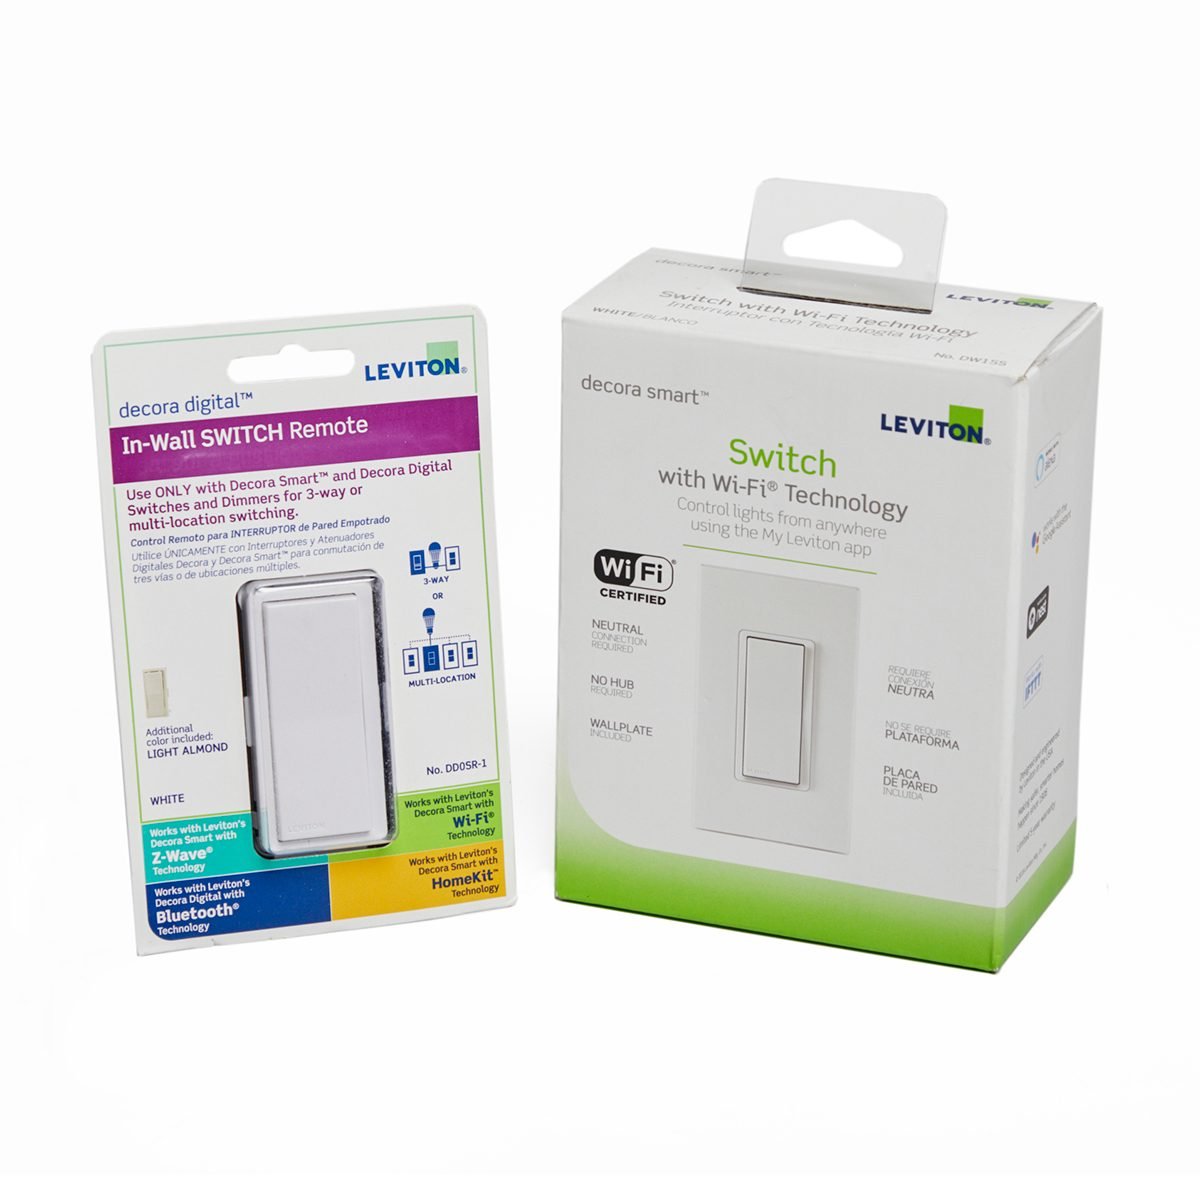
Compatibility With Home Wiring
Not all Lutron switches work with every home wiring setup. Knowing your wiring is important before buying.
Most smart switches need a neutral wire. Older homes might not have one in the switch box.
- Check if your home has a neutral wire in the switch box.
- Some Lutron models work without a neutral wire.
- Confirm your wiring voltage matches the switch requirements.
- Look for instructions about wiring on the switch packaging.
Features To Consider
Look at the features of each switch to find what fits your needs. Think about control and style.
Some switches offer dimming, remote control, or voice commands. Others focus on simple on/off use.
- Dimmer function for adjustable lighting levels.
- Remote control via app or smart home hubs.
- Compatibility with voice assistants like Alexa or Google.
- Easy installation with clear wiring guides.
- Design and color options to match your decor.
Popular Lutron Models
Lutron offers several smart switch models. Each has different features and wiring needs.
| Model | Neutral Wire Needed | Features | Best For |
|---|---|---|---|
| Caséta Wireless | No | Remote control, dimming, voice control | Homes without neutral wire |
| Maestro Dimmer | Yes | Touch dimming, timer, easy install | Modern homes with neutral wire |
| RadioRA 2 | Yes | Advanced automation, multi-room control | Larger smart home systems |
Tools And Materials Needed
Installing a DIY smart switch with Lutron requires the right tools and materials. Having them ready makes the job easier and safer.
This guide lists the essential tools, safety equipment, and extra parts you will need.
Essential Tools
These tools help you remove the old switch and install the new Lutron smart switch. Make sure each tool works well before starting.
- Voltage tester to check electrical power
- Flathead screwdriver for wall plates
- Phillips screwdriver for screws
- Wire stripper to clean wires
- Needle-nose pliers for bending wires
- Drill (optional) for mounting
- Electrical tape for safety
Safety Equipment
Safety gear protects you from electric shocks and accidents. Always use these items when working with electricity.
- Insulated gloves to avoid shocks
- Safety goggles to protect your eyes
- Non-conductive shoes for stability
- Face mask to avoid dust
- Flashlight for better visibility
Additional Components
Besides tools and safety gear, you need extra parts to complete the smart switch setup. Check these parts before you start.
- Lutron smart switch device
- Wire connectors or wire nuts
- Electrical box (if old one is damaged)
- Mounting screws
- User manual for instructions
Preparing For Installation
Installing a DIY smart switch with Lutron can improve your home’s lighting control. Proper preparation helps make the process safe and smooth.
Before starting, you need to turn off power, remove the old switch, and check the wiring setup carefully.
Turning Off Power Safely
Always turn off the power before working on any electrical device. This prevents shocks and accidents.
Use your home’s circuit breaker panel to switch off power to the room or circuit where you will install the smart switch.
- Locate the correct circuit breaker
- Switch it to the OFF position
- Test that the power is off by using a voltage tester
Removing Old Switch
After the power is off, remove the cover plate from the old switch. Use a screwdriver to take out the switch from the wall box.
Carefully pull the switch out to expose the wiring behind it. Do not touch any wires yet.
- Unscrew the faceplate
- Remove screws holding the switch
- Gently pull the switch out from the wall
- Keep track of all screws for reuse
Checking Wiring Setup
Look at the wires connected to the old switch. Identify the line, load, neutral, and ground wires.
The smart switch requires specific wires to work correctly. Make sure the wiring matches the instructions provided by Lutron.
- Line wire brings power into the switch
- Load wire goes to the light fixture
- Neutral wire completes the circuit
- Ground wire connects to safety grounding
Step-by-step Installation
Installing a DIY smart switch with Lutron is easy if you follow the right steps. This guide will help you install it safely and correctly.
Make sure you have all tools ready before you start. Always turn off power to avoid shocks.
Wiring The Smart Switch
First, remove the old switch from the wall. Check the wires connected to it. You will usually see a ground wire, line wire, and load wire.
Connect the wires from the Lutron smart switch to the matching wires in the wall. Use wire nuts to secure connections. The ground wire goes to the green screw.
- Connect black wire to line (power) wire
- Connect red wire to load (light) wire
- Connect green wire to ground wire
- Connect white wire to neutral bundle (if required)
Securing The Switch
After wiring, gently push the wires into the wall box. Be careful not to pinch any wires. Attach the smart switch to the wall box using screws.
Make sure the switch sits flush with the wall. Tighten the screws evenly to keep the switch stable and straight.
Restoring Power
Turn the circuit breaker back on to restore power. Check the smart switch to see if it lights up or responds.
Test the switch by turning the connected light on and off. If it works, you have installed the smart switch correctly.
Configuring Your Lutron Switch
Setting up your Lutron smart switch is easy and lets you control lights with your phone. This guide helps you connect and customize your switch.
Follow the steps to download the app, connect to Wi-Fi, and create scenes and schedules for your lights.
Downloading The App
Start by downloading the Lutron app on your smartphone or tablet. The app works on both Android and iOS devices.
Search for “Lutron” in your app store and install the official app to begin setup.
Connecting To Wi-fi
Open the Lutron app and follow the instructions to connect your switch to your home Wi-Fi network. A strong Wi-Fi signal is important for smooth operation.
Make sure your phone is on the same Wi-Fi network before starting the connection process.
- Turn on your Lutron switch
- Open the app and select “Add Device”
- Choose your Wi-Fi network
- Enter your Wi-Fi password
- Wait for the switch to connect
Setting Up Scenes And Schedules
Use the app to create scenes that control multiple lights with one tap. Scenes can set moods or save energy.
Schedules turn lights on or off automatically at times you choose. This helps with safety and convenience.
- Open the app and go to “Scenes”
- Tap “Create Scene” and select lights
- Adjust brightness and save the scene
- Go to “Schedules” to set times
- Choose days and times for lights to change
- Save your schedule
Integrating With Voice Assistants
Using a DIY smart switch with Lutron lets you control lights by voice. Voice assistants make your home smarter and easier to manage.
Connecting your smart switch to voice assistants helps you turn lights on and off without using a phone or switch.
Amazon Alexa Setup
To use Alexa with your Lutron smart switch, first open the Alexa app on your phone. Then, add the Lutron skill.
After linking your Lutron account, Alexa will find your smart switch. You can then control it by saying commands like “Alexa, turn on the lights.”
- Open Alexa app
- Search for Lutron skill
- Enable skill and sign in
- Discover devices
- Use voice commands
Google Assistant Integration
Connect your Lutron smart switch with Google Assistant through the Google Home app. This allows voice control using Google devices.
Link your Lutron account in the app and let Google find your smart switch. Then you can say, “Hey Google, turn off the lights.”
- Open Google Home app
- Tap Add > Set up device
- Choose Works with Google
- Find and link Lutron
- Control lights by voice
Apple Homekit Compatibility
Lutron smart switches can work with Apple HomeKit for voice control using Siri. Use the Home app on your iPhone or iPad to set it up.
Scan the HomeKit code on your switch or its packaging to add it. Then ask Siri to control your lights with simple voice commands.
- Open Apple Home app
- Tap Add Accessory
- Scan HomeKit code
- Assign smart switch to a room
- Use Siri to control lights
Troubleshooting Common Issues
Setting up a DIY smart switch with Lutron can be easy. Some problems may still come up.
This guide helps you fix common problems fast. Follow simple tips to get your switch working.
Connectivity Problems
Smart switches need a strong Wi-Fi signal to work well. Weak signals cause connection drops.
Check if your router is close to the switch. Walls and distance can block signals.
- Restart your router and the smart switch.
- Make sure your Wi-Fi name and password are correct.
- Use a Wi-Fi extender if the signal is weak.
- Check if your switch supports your Wi-Fi frequency (2.4 GHz or 5 GHz).
Switch Not Responding
The switch may stop working or not respond to commands. This can happen after power outages.
Try pressing the physical button on the switch. If it works, the issue is likely with the app.
- Check if the switch is properly wired.
- Reset the switch by turning off power for 30 seconds.
- Update the switch firmware if updates are available.
- Make sure no other devices interfere with the signal.
App Configuration Errors
Sometimes, the app may not set up the switch correctly. This stops remote control from working.
Check if the app has the latest version. Outdated apps can cause errors.
- Delete and reinstall the app to fix bugs.
- Make sure you follow the app setup steps exactly.
- Verify that you are logged into the correct account.
- Check app permissions, like access to your home network.
Expanding Your Smart Home
Using a DIY smart switch with Lutron lets you control your lights easily. It helps you start building a smart home at your own pace.
You can add more devices and set up rules to make your home smarter. Keeping the system safe is also important as you expand.
Adding More Smart Devices
You can connect other smart devices to work with your Lutron switch. Smart bulbs, sensors, and plugs work well together.
Choose devices that match your needs and make your home more comfortable and energy-saving.
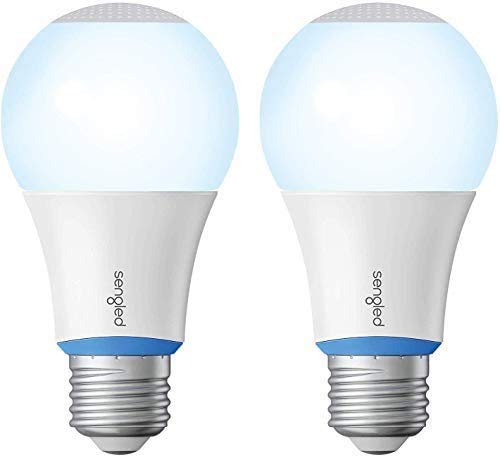
- Smart bulbs for color and brightness control
- Motion sensors for automatic lighting
- Smart plugs for appliances and fans
- Voice assistants for hands-free control
Creating Automation Rules
Automation rules let your devices work without pressing buttons. Set rules to turn lights on or off at certain times.
You can link devices to react together. For example, lights turn on when you enter a room.
- Schedule lights to turn on at sunset
- Use motion sensors to trigger lighting
- Combine devices for scenes like “Movie Time”
- Set reminders with smart assistants
Maintaining System Security
Keep your smart home safe by securing your network and devices. Use strong passwords and update software often.
Check device settings regularly. Disable features you do not use to reduce risks.
- Create strong, unique passwords for devices
- Enable two-factor authentication if available
- Update device firmware regularly
- Use a separate Wi-Fi network for smart devices
- Turn off unused remote access features
Credit: www.aartech.ca
Credit: www.familyhandyman.com
Frequently Asked Questions
How Do I Install A Lutron Smart Switch?
Installing a Lutron smart switch is straightforward. First, turn off the power at the circuit breaker. Remove the existing switch and connect the Lutron wires. Secure the switch to the wall and attach the faceplate. Restore power and follow the app instructions for setup.
Can I Control Lutron Switch With My Phone?
Yes, you can control a Lutron switch with your phone. Download the Lutron app from the App Store or Google Play. Connect the switch to your home Wi-Fi network. The app allows you to turn lights on or off and set schedules remotely.
What Tools Do I Need For Installation?
For installing a Lutron smart switch, you’ll need a screwdriver, wire stripper, and voltage tester. Ensure you have wire connectors and electrical tape for secure connections. Having these tools will ensure a smooth and efficient installation process.
Is A Neutral Wire Required For Lutron Switch?
Yes, a neutral wire is typically required for most Lutron smart switches. The neutral wire allows the switch to be powered even when the light is off. Check your existing switch box for a neutral wire before purchasing a Lutron switch to ensure compatibility.
Conclusion
Building a DIY smart switch with Lutron is simple and rewarding. It saves energy and adds convenience to your home. You can control lights from anywhere using your phone. No need to call an electrician. Just follow the steps carefully, and enjoy smarter lighting.
This project fits well with many home setups. Start small and learn as you go. Smart switches make daily life easier and more comfortable. Give it a try and see the difference yourself.
24 min read