
Are you ready to take control of your home lighting with just a tap on your phone? Installing smart light switches might sound complicated, but it’s easier than you think—and the benefits are huge.
Imagine turning your lights on and off without leaving the couch or setting schedules that match your daily routine automatically. In this guide, you’ll discover simple, step-by-step instructions to install smart switches safely and quickly. Stick with me, and by the end, you’ll be enjoying smarter, more convenient lighting that fits perfectly into your life.
Let’s get started!
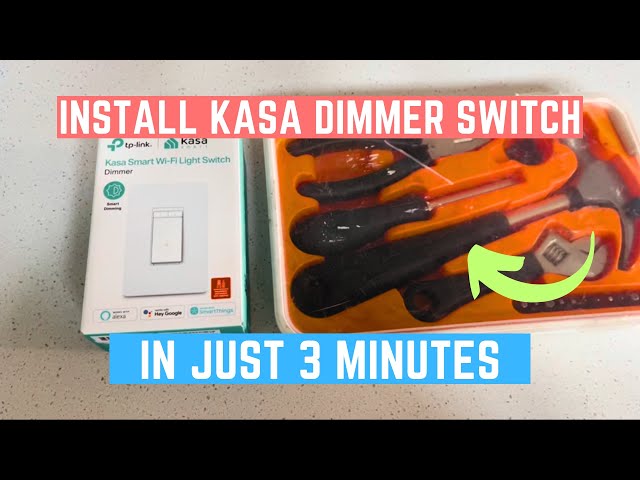
Credit: www.youtube.com
Choosing The Right Smart Switch
Smart light switches make your home lighting easier to control. Picking the right one helps you save energy and adds convenience.
Think about your needs before buying. This guide covers types, compatibility, and key features.
Types Of Smart Switches
There are different smart switches for various uses. Choose one based on how you want to control your lights.
- Single-Pole Switch: Controls one light from one spot.
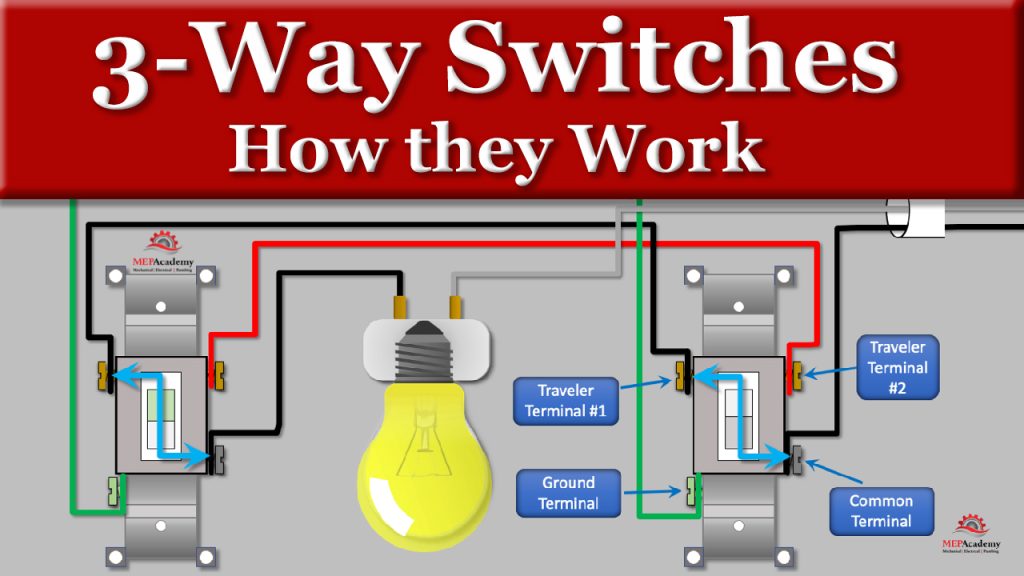
- 3-Way Switch: Controls lights from two places, like stairs.
- Dimmer Switch: Adjusts light brightness.
- Touch Switch: Uses touch instead of a button.
- Motion Sensor Switch: Turns lights on when it senses movement.
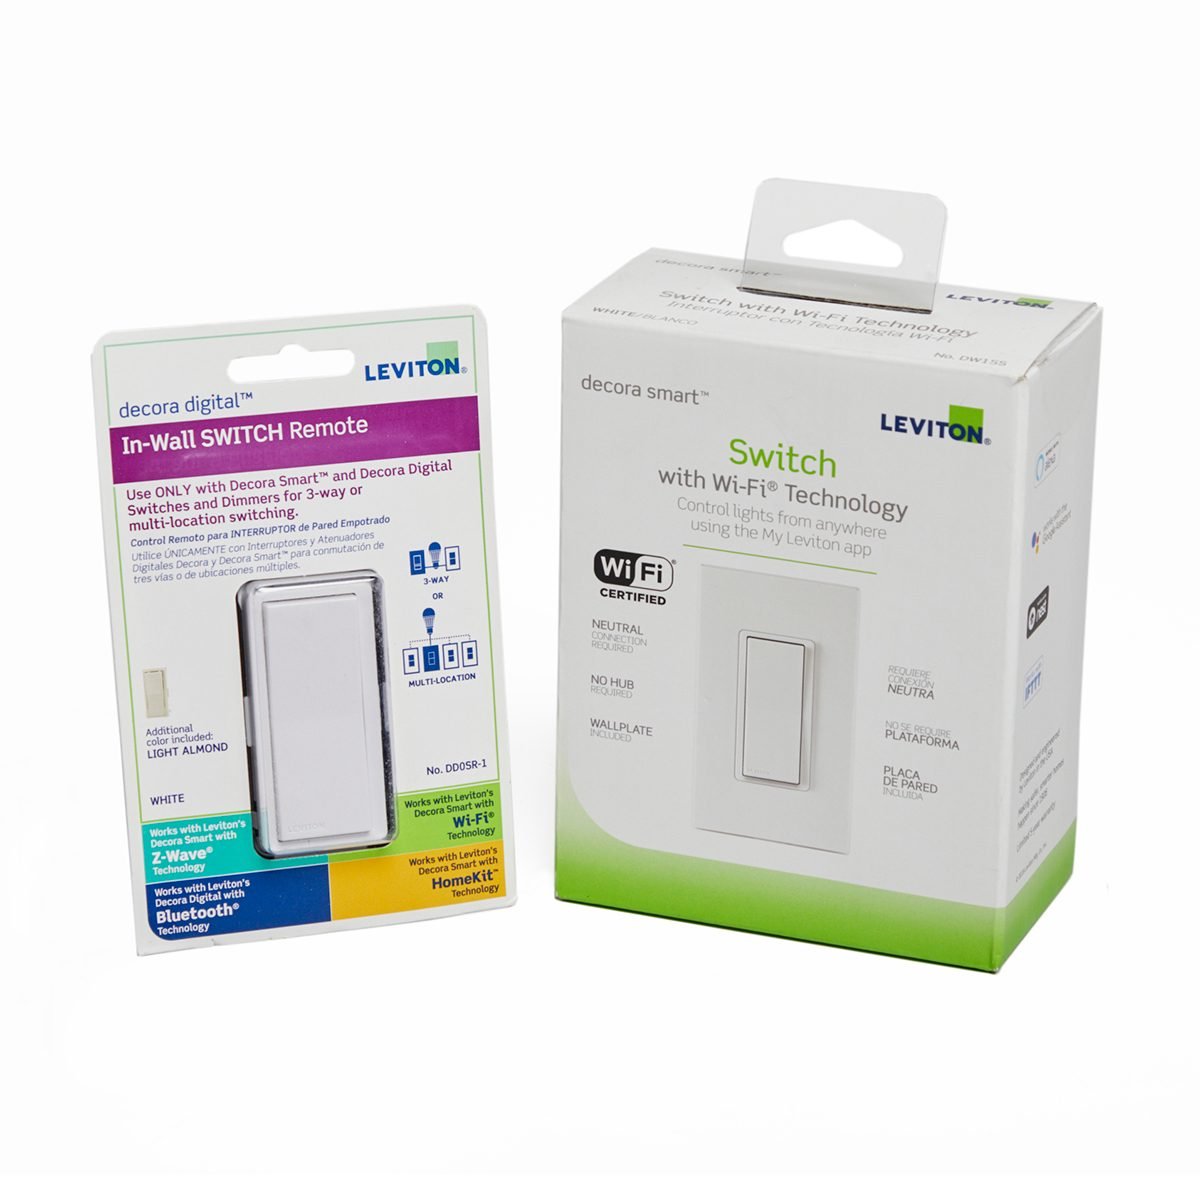
Compatibility With Home Systems
Check if the smart switch works with your home devices. Some work better with certain systems.
Look for switches that match your smart home hub or voice assistant.
- Works with Alexa, Google Assistant, or Apple HomeKit
- Connects via Wi-Fi, Zigbee, or Z-Wave
- Fits your home’s wiring and electrical load
Features To Consider
Smart switches have many features. Pick the ones that suit your lifestyle and budget.
- Remote control from your phone
- Scheduling to turn lights on or off automatically
- Energy monitoring to track usage
- Easy installation with clear instructions
- Compatibility with multi-switch setups
- Safety features like overload protection
Credit: www.onehoursmarthome.com
Tools And Materials Needed
Installing smart light switches is a simple job if you have the right tools and materials. Preparing everything beforehand makes the work safer and faster.
Below is a list of the main tools and supplies needed for this project. Make sure to gather them before you start.
Essential Tools
You need some basic tools to remove the old switch and install the new smart switch. These tools help you work safely and correctly.
- Screwdrivers (flathead and Phillips)
- Wire stripper or cutter
- Voltage tester or multimeter
- Needle-nose pliers
- Electrical tape
- Drill (optional, for mounting)
Safety Gear
Safety gear protects you from electric shocks and other injuries. Always use these items when working with electrical wiring.
- Insulated gloves
- Safety goggles
- Rubber-soled shoes
- Flashlight or headlamp
Additional Supplies
Some extra supplies help make the installation neat and long-lasting. These are not always required but are useful to have on hand.
- Wire nuts for connecting wires
- Wall plate covers for the new switch
- Labeling tape to mark wires
- Smart light switch user manual
Preparing For Installation
Installing a smart light switch needs careful preparation. Safety and accuracy are important.
This guide helps you get ready before installing your smart switch.
Turning Off Power
Always turn off power to the switch at your home’s circuit breaker. This stops electricity flow and keeps you safe.
Double-check that the power is off before touching any wires.
- Locate your circuit breaker panel
- Find the switch for the room or light
- Flip the breaker to the off position
- Use a light or tester to confirm power is off
Testing For Live Wires
Use a voltage tester to check if wires still have electricity. This is a key safety step.
Touch the tester to each wire. If the tester lights up or beeps, the wire is live.
- Wear insulated gloves for extra safety
- Test all wires in the switch box
- Do not touch wires if they are live
- Call an electrician if you find live wires unexpectedly
Removing The Old Switch
Remove the switch cover plate by unscrewing it. Then, unscrew the switch from the wall box.
Gently pull the switch out to see the wires. Take note of how the wires connect to the old switch.
- Use a screwdriver to remove screws
- Hold the switch carefully when pulling out
- Take a photo of wire connections for reference
- Label wires with tape if needed
Wiring The Smart Switch
Wiring a smart light switch is an important step. It helps your switch work safely and correctly.
Make sure the power is off before starting. This keeps you safe while working with wires.
Identifying Wires
Look at the wires in your switch box. Each wire has a color that shows its job.
Common wires are black, white, red, and green or bare copper. Each color means something.
- Black wire:Usually the hot wire that carries power
- White wire:Neutral wire that completes the circuit
- Red wire:Sometimes used for a second hot wire or traveler
- Green or bare wire:Ground wire for safety
Connecting Wires Correctly
Match the wires from the wall to the smart switch wires. Connect the same colors together.
Use wire nuts to join wires. Twist wires tightly before securing with the nut.
- Connect black wires to the switch’s line or load terminals
- Attach white wires together for neutral connection
- Join green or bare wires to the ground terminal
- Connect red wire if your switch needs a traveler or extra line
Securing The Switch
After wiring, gently push wires back into the box. Avoid sharp bends or pinching.
Use screws to mount the smart switch firmly. Make sure it is level and flush with the wall.
- Check all wire connections are tight
- Secure the switch with the screws provided
- Attach the faceplate to finish installation
Setting Up The Smart Switch
Installing a smart light switch needs careful setup after wiring. This guide helps you finish the setup safely.
Follow each step to connect your switch to power and your smart home system.
Restoring Power
After wiring, turn the circuit breaker back on to restore power. This allows the switch to start running.
Check the switch for lights or sounds that show it has power.
- Turn on the circuit breaker carefully.
- Look for LED lights on the smart switch.
- Listen for a beep or click from the switch.
- Ensure no sparks or unusual smells appear.
Configuring With The App
Use the switch’s app to connect it to your Wi-Fi network. This step lets you control the switch remotely.
Follow the app instructions to add the switch to your smart home setup.
- Download the correct app for your switch model.
- Create an account or log in if needed.
- Put the switch in pairing mode as shown in the manual.
- Connect the switch to your home Wi-Fi network.
- Name the switch for easy control.
Testing Functionality
Test the switch to make sure it works correctly with your lights and app commands.
Check both manual and remote controls to confirm full operation.
- Press the switch to turn lights on and off.
- Use the app to control the switch from your phone.
- Try voice commands if your system supports them.
- Observe if the lights respond quickly and correctly.
Credit: www.familyhandyman.com
Troubleshooting Common Issues
Smart light switches can improve your home’s lighting control. Sometimes, they face issues that stop them from working right.
Knowing how to fix common problems can save time and avoid extra costs. Read these tips to solve usual troubles easily.
Switch Not Responding
If your smart switch does not respond, first check if it has power. A dead switch will not work at all.
Try resetting the switch by turning off the circuit breaker for 30 seconds, then turning it back on. This can fix many minor issues.
- Confirm the switch is properly wired.
- Make sure the breaker is on.
- Reset the switch by cutting power briefly.
- Check if the switch’s LED is on or blinking.
Connectivity Problems
Smart switches rely on Wi-Fi or other signals to work. Weak or lost connection stops them from responding to commands.
Move your router closer or use a Wi-Fi extender to improve signal strength. Also, check your internet service to make sure it is working.
- Restart your router and modem.
- Check if the switch is within Wi-Fi range.
- Update the switch’s firmware if needed.
- Remove any objects blocking the signal.
Power Fluctuations
Power surges or drops can cause the smart switch to behave oddly. Flickering lights or switch resets are signs of this problem.
Use a voltage tester to check your home’s power supply. If voltage is unstable, talk to an electrician about fixing your wiring or installing a surge protector.
- Avoid using too many devices on one circuit.
- Install surge protectors for sensitive electronics.
- Check wiring connections for looseness.
- Call a professional if power issues continue.
Maintaining Your Smart Switch
Smart light switches add convenience to your home. To keep them working well, you need to maintain them regularly.
Proper care helps your smart switch last longer and work safely. Follow these tips for regular maintenance.
Regular Updates
Smart switches often need software updates. These updates improve features and fix bugs.
Check your switch app or device settings for available updates. Install them promptly to keep your switch secure and efficient.
Cleaning Tips
Keep the smart switch clean to avoid dirt buildup. Dirt can affect the switch’s performance and appearance.
Use a soft, dry cloth to wipe the switch surface. Avoid using water or harsh cleaners that can damage the electronics.
- Turn off power before cleaning
- Use a dry microfiber cloth
- Do not spray liquids directly on the switch
- Clean regularly, at least once a month
When To Replace
Smart switches last for many years but may need replacement if they fail often.
Replace your switch if it stops responding, shows physical damage, or if newer models offer better features you need.
- Switch does not respond to commands
- Physical cracks or broken buttons
- Frequent connectivity problems
- New smart home features require updated hardware
Frequently Asked Questions
What Tools Are Needed To Install Smart Light Switches?
You need a screwdriver, voltage tester, wire stripper, and electrical tape. These tools help ensure safe and easy installation of smart switches.
How Do I Turn Off Power Before Installation?
Switch off the circuit breaker controlling the switch’s circuit. Confirm power is off using a voltage tester for safety.
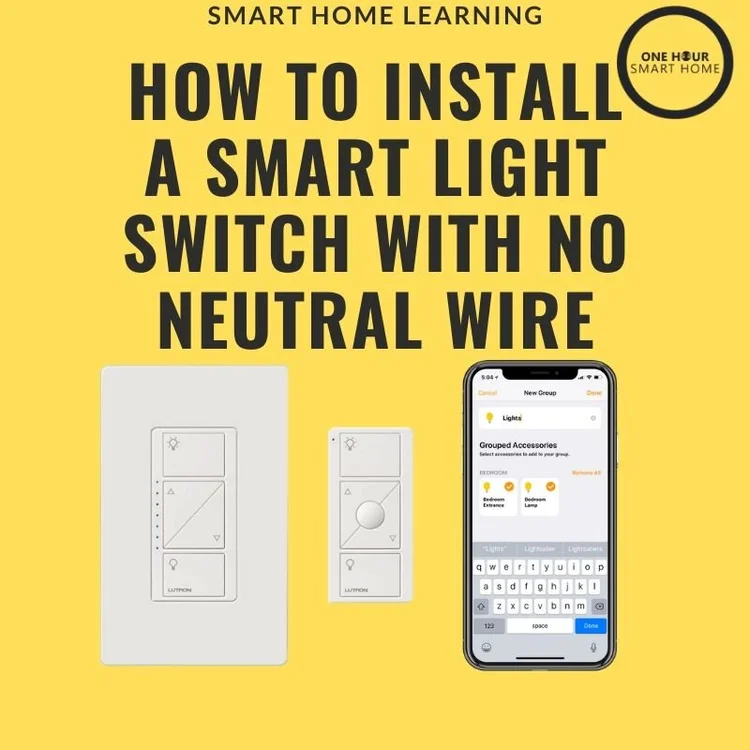
Can Smart Switches Work Without A Neutral Wire?
Most smart switches require a neutral wire for operation. Check your home wiring or choose models designed for no-neutral setups.
How To Connect Smart Switch Wires Correctly?
Match wires by color: black (live), white (neutral), and green or bare (ground). Follow the switch’s wiring instructions carefully.
Conclusion
Installing smart light switches is a simple and rewarding task. It brings convenience and energy savings to your home. Start by gathering all necessary tools and instructions. Follow each step carefully for a successful installation. With patience, you will enjoy smart lighting in no time.
Always prioritize safety and turn off power before starting. Test your switch after installation to ensure it works. Enjoy the ease and efficiency smart switches offer. They can transform your lighting experience. So, embrace the future of home lighting today.
Your home will thank you for it!
18 min read