
Setting up a NAS drive might sound complicated, but it doesn’t have to be. Imagine having all your important files, photos, and videos stored safely in one place, accessible anytime from any device in your home or office.
You’re just a few simple steps away from making that a reality. In this guide, you’ll learn exactly how to set up your NAS drive quickly and easily, even if you’re not tech-savvy. Ready to take control of your data and enjoy seamless access?
Let’s get started!
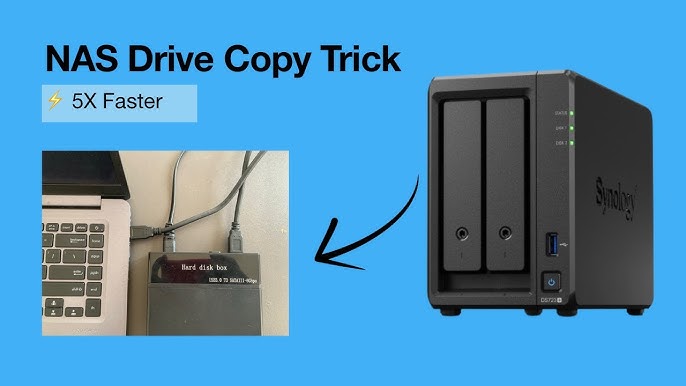
Credit: www.youtube.com
Choosing The Right Nas Drive
A NAS drive helps you store and share files easily. It acts like a personal cloud for your home or office.
Picking the right NAS drive is important. It depends on your needs and device compatibility.
Types Of Nas Devices
There are different types of NAS devices. Some are simple for home use. Others are complex for businesses.
Basic NAS devices hold one or two drives. Larger ones can hold many drives for more storage.
- Single-bay NAS: Holds one hard drive, good for simple use
- Multi-bay NAS: Holds multiple drives, better for backups and sharing
- Rackmount NAS: Fits in server racks, used in offices and data centers
Storage Capacity Needs
Think about how much data you want to store. Choose enough space for your files now and later.
Consider if you want to add more drives later. Some NAS devices let you increase storage easily.
- Estimate your current storage use in gigabytes (GB) or terabytes (TB)
- Plan extra space for backups and future files
- Check if the NAS supports adding more drives
Compatibility And Connectivity
Make sure the NAS works with your computers and devices. Check the supported operating systems.
Look at the connection options. Faster connections mean quicker file transfers.
- Check if NAS supports Windows, macOS, or Linux
- Look for network options like Ethernet or Wi-Fi
- Consider USB ports for direct device connection
- See if the NAS supports mobile apps for remote access
Preparing Your Network
Setting up a NAS drive needs a good network. Your network must be ready for smooth data transfer.
A well-prepared network helps your NAS work fast and without problems.
Checking Router Compatibility
Not all routers work well with NAS drives. Check if your router supports network storage devices.
Look for routers with Gigabit Ethernet ports. These ports give faster data speeds.
- Check router manual for NAS support
- Use routers with latest firmware
- Prefer routers with Gigabit Ethernet
- Ensure router supports DHCP for IP assignment
Setting Up A Stable Connection
Use wired connections for the best stability. Ethernet cables provide faster and steady links.
If you use Wi-Fi, pick a strong signal area. Avoid interference from other devices.
- Connect NAS directly to router with Ethernet cable
- Use high-quality Cat5e or Cat6 cables
- Place NAS near router if using Wi-Fi
- Restart router and NAS to refresh connections
Initial Nas Setup
Setting up your NAS drive is easy with the right steps. This guide helps you start your NAS correctly.
Follow these simple instructions to get your NAS ready for use. We cover unboxing, hardware setup, powering on, and network connection.
Unboxing And Hardware Installation
Carefully open the NAS box and check all parts. You should find the NAS unit, power adapter, Ethernet cable, and manuals.
Install your hard drives inside the NAS. Most NAS units have trays or slots to fit the drives securely.
- Remove the NAS cover or trays.
- Insert each hard drive into a tray.
- Secure the drives with screws if needed.
- Slide the trays back into the NAS unit.
Powering On And Connecting To Network
Plug the power adapter into the NAS and a power outlet. Press the power button to turn on the NAS device.
Connect the NAS to your router or switch using the Ethernet cable. This connection allows your devices to access the NAS.
- Plug in power and turn on the NAS.
- Connect Ethernet cable from NAS to router.
- Wait for the NAS to boot up completely.
- Check for status lights indicating network connection.

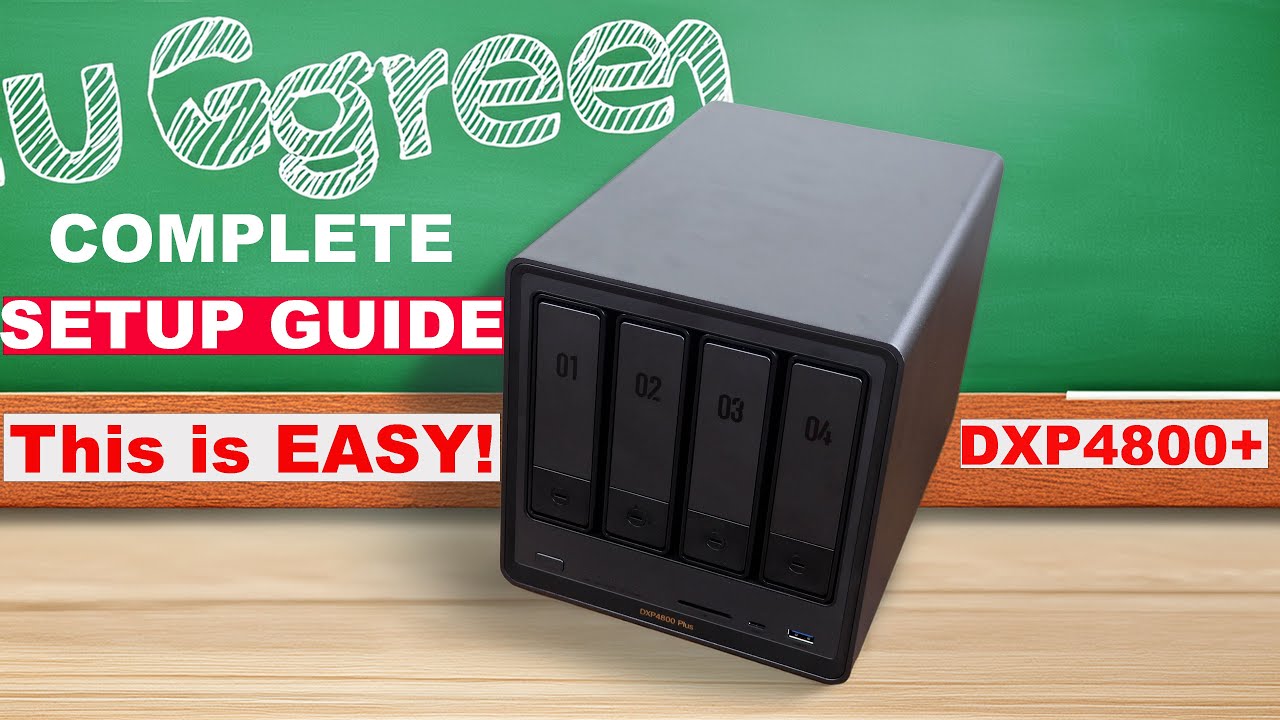
Credit: storedbits.com
Configuring Nas Software
Setting up your NAS drive software is key to managing files and users. The software controls data access and storage settings.
This guide explains how to access the setup interface and create user accounts with permissions.
Accessing The Setup Interface
First, connect your NAS drive to the network and power it on. Use a computer on the same network to find the NAS IP address.
Open a web browser and enter the NAS IP address. This opens the setup interface where you can configure your device.
- Connect NAS to your router or switch
- Find the NAS IP via your router’s device list
- Enter the IP address in your browser
- Log in with default username and password
Creating User Accounts And Permissions
Go to the user management section in the setup interface. Here, you can add new users and set their access rights.
Assign permissions to control which folders users can read or write. This keeps your data safe and organized.
- Create a new user with a username and password
- Choose user group or role if available
- Set folder access permissions: read-only or read-write
- Save changes and test user access
Setting Up Storage And Raid
Setting up storage on your NAS drive helps you save and access files easily. RAID is a way to protect your data by using multiple drives together.
This guide will help you understand how to set up storage and choose the right RAID level for your needs.
Choosing The Right Raid Level
RAID stands for Redundant Array of Independent Disks. It combines multiple drives to improve speed or protect data.
Different RAID levels offer various benefits. Choose one based on your need for speed, storage space, or safety.
- RAID 0:Fast but no data protection. Uses all space.
- RAID 1:Mirrors data on two drives. Good for backup.
- RAID 5:Uses three or more drives. Protects data and saves space.
- RAID 6:Like RAID 5 but can handle two drive failures.
- RAID 10:Combines RAID 1 and 0 for speed and safety.
Formatting And Partitioning Drives
Formatting prepares your drives to store files. Partitioning divides a drive into sections for better organization.
Most NAS systems let you format drives with file systems like EXT4 or Btrfs. Choose one that fits your needs.
- Format drives before use to avoid errors.
- Partition drives if you want separate storage areas.
- Use NAS tools to create and manage partitions easily.
- Always back up data before formatting or partitioning.
Enabling Security Features
Securing your NAS drive keeps your data safe. Use the right settings to stop hackers.
Enabling security features protects your files from theft or damage. It is important.
Setting Strong Passwords
Choose passwords that are hard to guess. Use letters, numbers, and symbols.
Change default passwords right after setup. Avoid using simple or common words.
- Use at least 12 characters
- Mix uppercase and lowercase letters
- Add numbers and special characters
- Do not reuse passwords from other accounts
- Update passwords regularly
Enabling Encryption And Firewalls
Encryption keeps your data private by coding it. Only authorized users can read it.
Firewalls stop unwanted traffic from reaching your NAS. Turn them on for safety.
- Enable encryption for stored data
- Use encryption during data transfer
- Activate the NAS built-in firewall
- Set rules to allow only trusted devices
- Update firewall settings as needed
Backing Up And Syncing Data
Setting up a NAS drive helps protect your data by backing it up safely. You can also sync files between devices easily.
This guide explains how to schedule backups and use cloud sync options with your NAS drive.
Scheduling Automatic Backups
Automatic backups save your data regularly without needing to start them manually. This keeps your files safe from loss.
You can set backup times, choose folders to save, and decide how often backups run.
- Pick a time when your NAS is not busy
- Choose daily or weekly backup schedules
- Select important folders or entire drives
- Keep multiple backup versions for safety
- Check backup logs to confirm success
Using Cloud Sync Options
Cloud sync connects your NAS drive to online storage services. This helps keep data updated across devices.
You can choose which files to sync and set sync frequency to keep your data current.
- Link your NAS to cloud accounts like Google Drive or Dropbox
- Set which folders sync to the cloud
- Use two-way sync for real-time updates
- Schedule syncs to run during off-hours
- Monitor sync status from your NAS dashboard
Accessing Nas Remotely
Accessing your NAS drive remotely lets you reach your files from anywhere. It helps you work or share data without being near the device.
To do this safely and easily, you need to set up remote access and use apps on your phone or computer.
Setting Up Remote Access
First, enable remote access on your NAS. Most NAS devices have a web interface for this.
You will usually need to create an account and enable cloud services or port forwarding on your router.
- Log in to your NAS control panel
- Find the remote access or cloud section
- Turn on remote access or QuickConnect features
- Create or link a user account for access
- Set up port forwarding on your router if needed
Using Mobile And Desktop Apps
Most NAS brands offer apps for phones and computers. These apps make it easy to access files remotely.
Install the app, sign in with your NAS account, and you can browse or upload files from anywhere.
- Download the official NAS app for your device
- Sign in using your NAS remote access account
- Browse, upload, or download files easily
- Use app settings to stay connected securely
Maintaining Your Nas
Keeping your NAS drive in good shape helps it work well for a long time. Regular care prevents data loss and system errors.
Simple maintenance tasks can keep your NAS safe and fast. Let’s look at two key areas to focus on.
Regular Firmware Updates
Firmware is the software that runs your NAS device. Updating it fixes bugs and adds new features. This keeps your NAS secure and stable.
Check for updates often. Most NAS systems notify you when updates are ready. Install updates as soon as possible to avoid problems.
- Visit the NAS dashboard to check for firmware updates
- Download and install updates during off-peak hours
- Backup important data before updating firmware
- Restart the NAS after the update completes
Monitoring Drive Health
Drive health shows how well your NAS hard drives are working. Monitoring helps spot issues early, reducing data loss risk.
Use built-in tools to check drive status. Look for warnings like bad sectors or overheating. Replace drives that show signs of failure.
- Run SMART tests regularly on all drives
- Watch for unusual noises or slow performance
- Keep NAS in a cool, dry place to avoid overheating
- Set alerts to notify you of drive problems
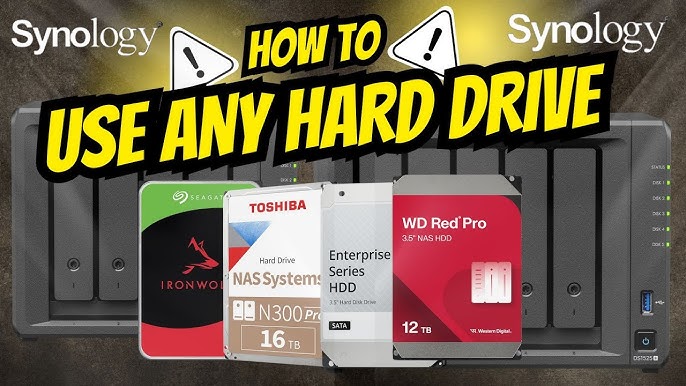
Credit: www.youtube.com
Frequently Asked Questions
What Is A Nas Drive And Why Use It?
A NAS drive is a network-attached storage device. It stores and shares files across multiple devices. NAS offers centralized data access, backup, and media streaming. It’s ideal for home and business use to improve file management and collaboration.
How Do I Connect A Nas Drive To My Network?
Connect the NAS drive to your router using an Ethernet cable. Power it on and wait for the device to initialize. Access the NAS setup page via its IP address in a web browser to configure network settings and users.
What Are The Basic Steps To Setup A Nas Drive?
First, connect the NAS to your router and power it on. Then, access the setup interface via its IP address. Configure storage, create user accounts, and set permissions. Finally, map the NAS drive on your computer for easy access.
Can I Access My Nas Drive Remotely?
Yes, most NAS devices support remote access. Enable remote access in the NAS settings. Use a secure login or VPN to connect safely. This allows file access and management from anywhere with an internet connection.
Conclusion
Setting up a NAS drive is easier than you think. Follow the steps carefully. Connect all cables securely. Access your NAS through your computer. Configure your settings for optimal performance. Regularly update your NAS firmware. This keeps it secure and efficient.
Backup your data frequently for peace of mind. Share files easily with family or colleagues. Enjoy the convenience of centralized storage. A little effort now saves time later. Your digital life becomes more organized. Happy storing!
20 min read