
Are you ready to take control of your home’s security without breaking the bank? Installing a DIY smart camera is easier than you think, and it gives you the power to watch over your space anytime, anywhere.
Imagine being able to check in on your loved ones or catch every moment, right from your phone. In this guide, you’ll discover simple steps to set up your smart camera quickly and confidently. Keep reading to unlock the secrets that make DIY installation smooth and stress-free—your home’s safety is just a few clicks away.
Choosing The Right Smart Camera
Installing a DIY smart camera is a smart way to keep your home safe. Picking the right camera makes the setup easy.
There are many options to choose from. It is important to understand the types, features, and costs.
Types Of Smart Cameras
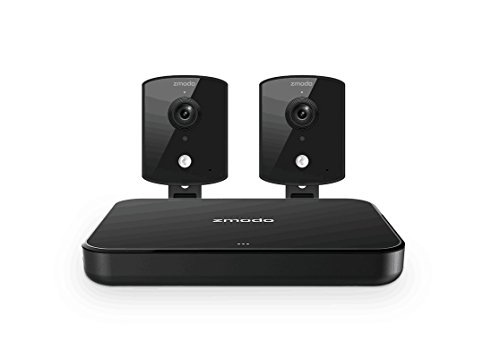
Smart cameras come in different styles. Each type fits different needs and places.
- Indoor Cameras:Made for inside your home. They are small and easy to place.
- Outdoor Cameras:Built to work in all weather. They protect your yard and entry points.
- Doorbell Cameras:Installed at your door. They show who is visiting and record activity.
- Pan-Tilt-Zoom Cameras:Can move to cover wide areas. Good for large rooms or yards.
Key Features To Consider
Look for features that match your security needs. Some features help you watch clearly and save data.
- Video Quality: Choose HD or higher for clear images.
- Night Vision: Lets you see in dark areas.
- Motion Detection: Alerts you when something moves.
- Two-Way Audio: Talk and listen through the camera.
- Storage Options: Cloud or local storage for videos.
- App Control: Easy control from your phone.
Budget And Compatibility
Set a budget before buying. Good cameras come in many price ranges.
Check if the camera works with your devices. It should connect with your Wi-Fi and smart home systems.
- Compare prices and features to find the best fit.
- Make sure the camera app works on your phone.
- Verify if it supports voice assistants like Alexa or Google.
- Look for easy installation to save time and effort.
Preparing For Installation
Installing a DIY smart camera starts with good preparation. You need to get ready before you begin the setup.
This guide will help you prepare for a smooth installation process.
Selecting The Best Location
Choose a spot that covers the area you want to watch. The camera should have a clear view without obstacles.
Avoid places with direct sunlight or too much glare. Check if the location protects the camera from rain if it is outside.
- Look for a high place to see a wide area
- Avoid locations near glass or mirrors
- Keep the camera away from heat sources
- Check if the spot is safe from theft or damage
Gathering Necessary Tools
Collect all tools before starting the installation. This saves time and avoids interruptions.
Common tools include screwdrivers, drills, and screws. Some cameras come with mounting kits.
- Drill or screwdriver for mounting
- Screws and anchors for walls
- Measuring tape for exact placement
- Ladder if mounting high up
- Smartphone or tablet to connect to the camera
Checking Wi-fi Connectivity
Your smart camera needs a strong Wi-Fi signal to work well. Test Wi-Fi where you want to install the camera.
Weak signals cause slow or dropped video. Use a phone or laptop to check signal strength and speed.
- Move closer to the router if signal is weak
- Consider a Wi-Fi extender for better coverage
- Check if your Wi-Fi password is ready
- Make sure the network supports the camera’s requirements
Step-by-step Installation Guide
Installing a DIY smart camera is easy with clear steps. Follow this guide to set up your camera quickly.
This guide covers mounting, power connection, network pairing, and settings configuration.
Mounting The Camera
Choose a location with a good view and easy access to power. Clean the surface before mounting.
Use the included screws or adhesive to fix the camera securely. Make sure it is stable and aimed correctly.
- Select a spot near the area you want to monitor
- Avoid direct sunlight or reflective surfaces
- Keep the camera out of reach from children or pets
- Mount at a height of about 7 to 10 feet for best view
Connecting To Power
Plug the power adapter into the camera and then into a nearby outlet. Use the cable provided with your camera.
Check the camera’s indicator light to confirm it has power. If it does not turn on, try another outlet.
- Use the original power adapter and cable
- Secure cables to avoid tripping or disconnection
- Do not use damaged power cords
- Keep the power source dry and safe
Pairing With Your Network
Turn on your phone’s Wi-Fi and open the camera app. Follow instructions to add a new device.
Select your home Wi-Fi network and enter the password. Wait for the camera to connect to the network.
- Ensure your Wi-Fi is 2.4GHz if required by the camera
- Keep your phone near the camera during pairing
- Restart the camera if connection fails
- Check the app for confirmation of successful pairing
Configuring Camera Settings
Open the camera app and go to settings. Adjust options like motion detection and video quality.
Set alerts and notifications to stay informed. Customize settings based on your needs and preferences.
- Turn on motion alerts for security
- Choose video resolution for storage and clarity
- Set recording schedules if available
- Adjust privacy zones to block unwanted areas

Credit: www.youtube.com
Optimizing Camera Performance
Installing a DIY smart camera is easy. To get the best results, adjust its settings carefully.
Good setup improves video quality and helps you stay safe. Follow these tips to optimize your camera.
Adjusting Angles And Views
Place your camera where it can see the most important areas. Avoid blocking objects and bright lights.
Try different angles until you get a clear and wide view. Check the video feed to confirm the position.
- Mount the camera high for a wide view
- Avoid pointing the lens directly at windows or lights
- Use the camera’s zoom and tilt features if available
- Test the view during day and night for best coverage
Setting Up Motion Detection
Turn on motion detection to capture movement in your camera’s area. This saves storage and power.
Adjust sensitivity to avoid false alarms from small animals or wind. Set detection zones to focus on key spots.
- Enable motion detection in your camera app
- Set sensitivity to medium or high depending on your needs
- Choose specific areas to monitor for motion
- Test the settings by walking in front of the camera
Enabling Notifications
Notifications alert you when the camera detects motion. This helps you respond quickly to events.
Turn on alerts in your app. Choose how you want to be notified, like by email or phone.
- Open the camera app and find notification settings
- Enable push notifications or email alerts
- Set quiet hours to avoid alerts at night if needed
- Check notifications regularly to stay informed
Maintaining Your Smart Camera
Keeping your DIY smart camera in good shape helps it work well. Regular care can extend its life and improve performance.
This guide covers simple ways to clean, update, and fix common problems with your smart camera.
Regular Cleaning Tips
Dust and dirt can block the camera lens and sensors. Clean your camera often to keep the image clear.
Use a soft cloth and gentle cleaner to wipe the lens. Avoid harsh chemicals that can damage the surface.
- Turn off the camera before cleaning
- Use a microfiber cloth to remove dust
- Use a small brush for hard-to-reach areas
- Do not spray cleaner directly on the camera
Firmware Updates
Smart cameras need firmware updates to fix bugs and add features. Check for updates regularly.
Updating firmware keeps your camera secure and running smoothly. Follow the instructions from your camera’s app.
- Connect the camera to Wi-Fi before updating
- Do not turn off the camera during update
- Restart the camera after update completes
- Check update notes for new features or fixes
Troubleshooting Common Issues
If your camera stops working or shows poor video, try simple fixes first. Many problems are easy to solve.
Check power, Wi-Fi connection, and app settings. Restart the camera if needed.
- Make sure the camera is plugged in properly
- Check Wi-Fi signal strength near the camera
- Restart the camera and your router
- Reset the camera to factory settings if problems persist
- Consult the camera manual or app help for error codes
Credit: security-systems.nyc
Enhancing Home Security
Installing a DIY smart camera helps keep your home safe. It lets you watch your house anytime from your phone.
Smart cameras offer features that improve security. They can alert you to unusual activity quickly.
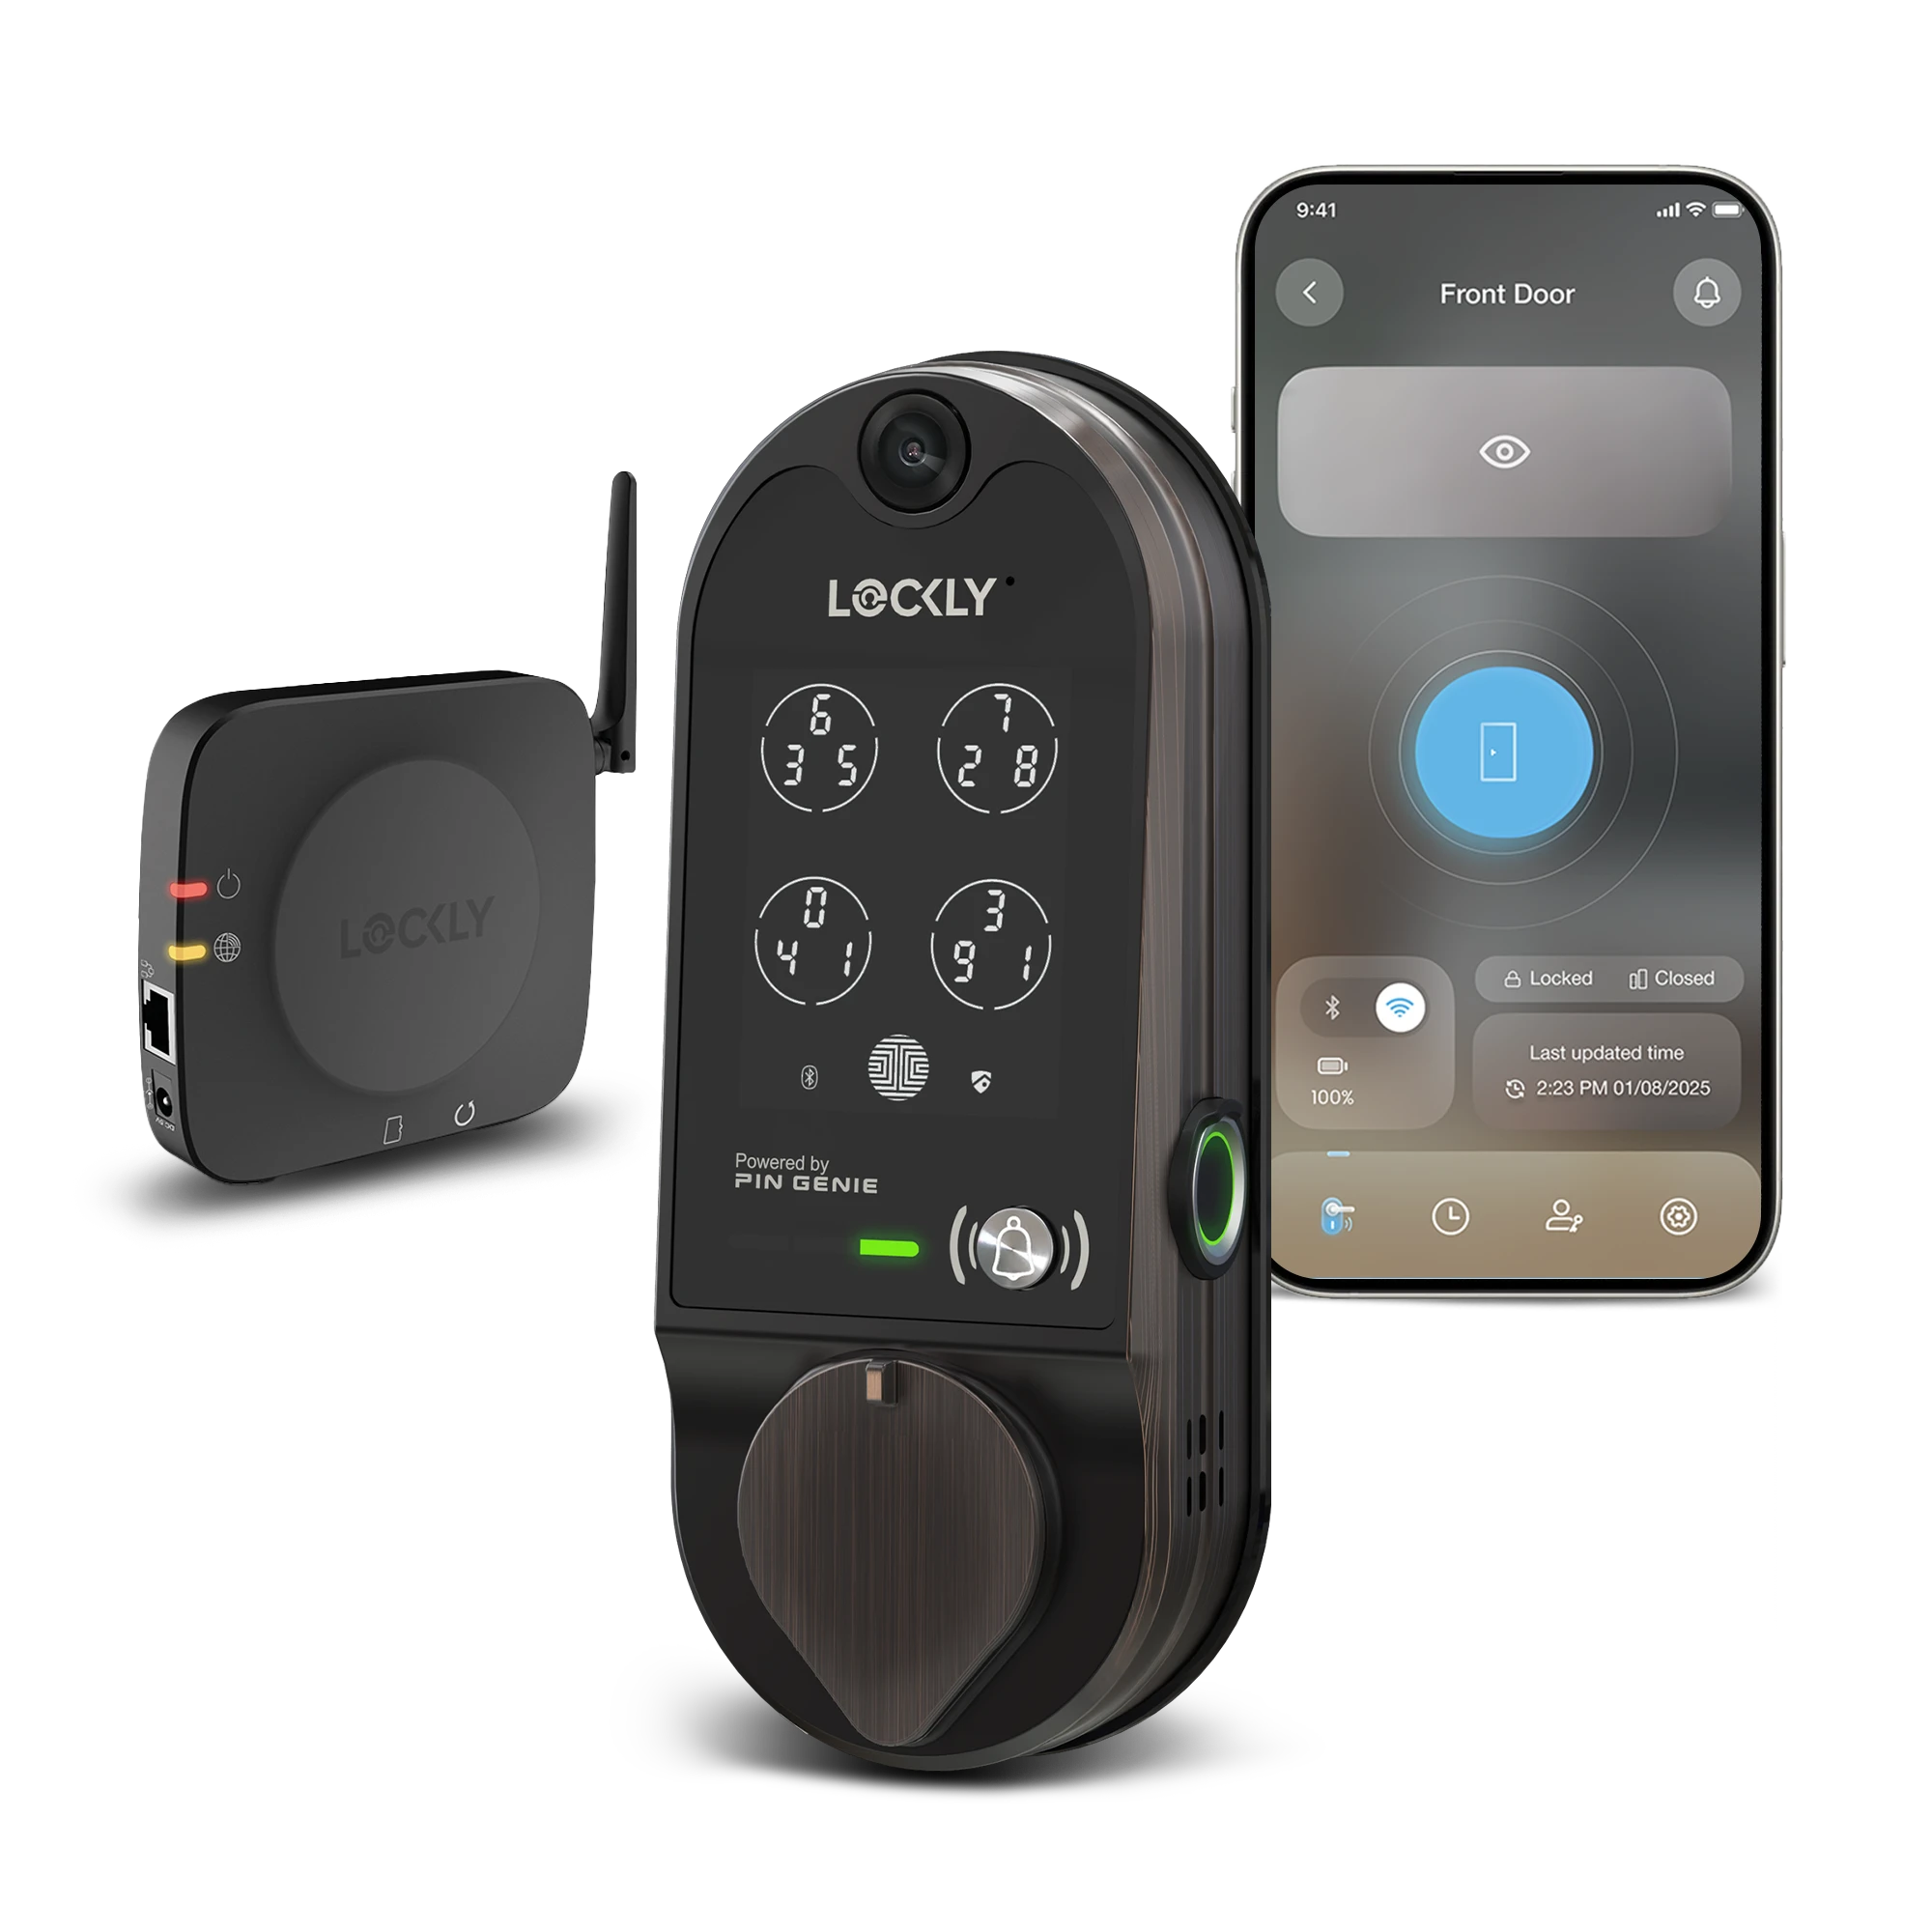
Integrating With Other Devices
Smart cameras work well with other home devices. You can connect them to smart lights or alarms for better protection.
Integration helps create a security system that reacts automatically. For example, lights can turn on if the camera detects motion.
- Connect cameras with smart door locks
- Use motion sensors to trigger alarms
- Link with voice assistants for easy control
Using Cloud Storage
Cloud storage saves your camera videos online. This keeps footage safe even if the camera is damaged or stolen.
You can access recorded videos anytime from any device. This makes it easier to review or share important clips.
- Store videos securely offsite
- Access footage remotely anytime
- Save space on local devices
Privacy And Security Best Practices
Protect your smart camera with strong passwords. Avoid using default or easy-to-guess codes.
Keep your camera software updated. This fixes security issues and adds new features.
- Use unique, strong passwords
- Enable two-factor authentication
- Regularly update camera firmware
- Limit camera access to trusted users

Credit: www.youtube.com
Frequently Asked Questions
How To Install A Diy Smart Camera?
To install a DIY smart camera, first, choose the right location. Mount the camera securely, ensuring a clear view. Connect it to your Wi-Fi network. Follow the manufacturer’s app instructions for configuration. Ensure the camera has a power source. Test the setup to confirm functionality.
What Tools Are Needed For Installation?
You’ll need a drill, screwdriver, and measuring tape for installation. A ladder is useful for high placements. Depending on the model, you might also need wire cutters. Always check the installation guide for specific tool requirements. Ensure all tools are in good condition for a smooth installation process.
Can I Install A Smart Camera Outdoors?
Yes, many DIY smart cameras are designed for outdoor use. Ensure the camera is weatherproof and suitable for your climate. Follow the manufacturer’s instructions for outdoor installation. Mount it high to avoid tampering and ensure a good field of view.
Regularly check and maintain the camera for optimal performance.
How Do I Connect The Camera To Wi-fi?
First, ensure your Wi-Fi network is active and stable. Open the camera’s app on your smartphone. Follow the on-screen instructions to connect the camera to your Wi-Fi. Enter the network credentials when prompted. Once connected, test the camera’s live feed to confirm successful setup.
Conclusion
Installing a DIY smart camera can keep your home safer. It saves money and gives control over your security. You can choose the best spot and set it up quickly. The camera helps watch your house anytime, from anywhere. Regular checks and updates keep the system working well.
Enjoy peace of mind with easy, smart home protection. Simple steps make a big difference in home safety. Start your DIY project today and feel secure tomorrow.
19 min read