
Imagine knowing exactly who’s at your door before you even get up. With a smart doorbell setup, you can boost your home’s security and convenience instantly.
If you’ve ever wished for an easy way to see visitors, get alerts, or talk to someone without opening the door, this guide is for you. By the end, you’ll have clear, simple steps to install and use your smart doorbell like a pro.
Ready to make your home smarter and safer? Let’s dive in.
Choosing The Right Smart Doorbell
Smart doorbells help you see who is at your door from anywhere. They add security and convenience to your home.
Picking the right smart doorbell means thinking about how it works and what features you need.
Wired Vs Wireless Models
Wired doorbells connect to your home’s power and usually need professional installation. They work without charging batteries.
Wireless doorbells run on batteries and are easy to install. You can move them if needed, but you must replace or charge batteries.
- Wired models need existing doorbell wiring
- Wireless models use Wi-Fi and batteries
- Wired models offer constant power
- Wireless models offer flexible placement
Key Features To Consider
Look for features that fit your needs. Some doorbells have video, motion sensors, and two-way audio.
Check the video quality and night vision. Good sound helps you talk to visitors clearly.
- High-definition video for clear images
- Motion detection alerts you to movement
- Two-way audio to speak with visitors
- Night vision for low light conditions
- Cloud or local storage options for videos
Compatibility With Smart Home Systems
Check if the doorbell works with your smart home devices like Alexa, Google Assistant, or Apple HomeKit.
This helps you control the doorbell with voice commands or integrate it with other smart devices.
- Supports voice control with popular assistants
- Works with smart locks and lights
- Integrates into your existing smart home setup
- Offers app control on smartphones and tablets

Credit: lockly.com
Tools And Materials Needed
Setting up a smart doorbell requires some basic tools and materials. Having the right items ready helps make the installation smooth.
Gathering everything before you start saves time and avoids frustration. This guide covers essential tools and optional accessories.
Essential Installation Tools
You need a few simple tools to install your smart doorbell properly. These tools help with mounting and wiring tasks.
- Drill with drill bits
- Screwdrivers (Phillips and flathead)
- Measuring tape
- Level tool
- Wire stripper
- Voltage tester
- Pencil for marking
- Electrical tape
These tools make sure your doorbell is secure and wired safely. A voltage tester checks if power is off before wiring.
Optional Accessories
Some accessories can improve your smart doorbell setup. They are not required but may add convenience or protection.
- Mounting brackets for angled installation
- Protective weatherproof covers
- Additional chime or speaker units
- Wire extensions for longer connections
- Smart home hub or bridge device
These items help customize your installation. For example, angled brackets adjust the camera view. Weather covers protect from rain.
Preparing For Installation
Installing a smart doorbell needs some preparation. This helps the process go smoothly.
Check your doorbell location, Wi-Fi signal, and power supply before you start.
Checking Doorbell Location
Pick a spot near your door that is easy to reach. It should be at eye level for best camera view.
Make sure the location is dry and protected from bad weather. Avoid placing it in direct sunlight.
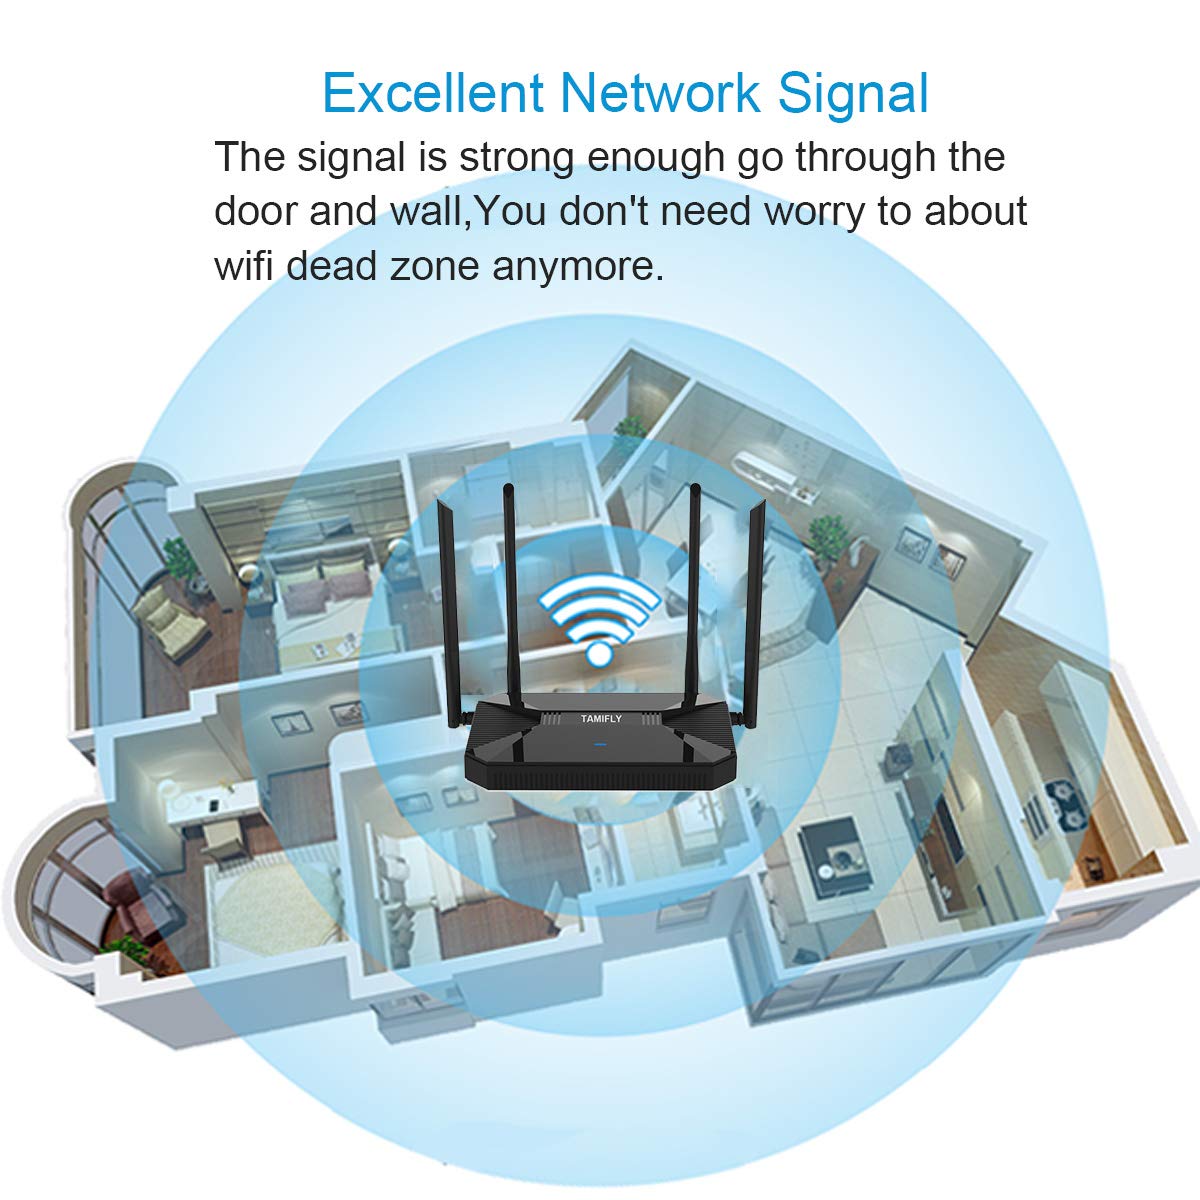
Ensuring Wi-fi Signal Strength
Your smart doorbell needs a strong Wi-Fi signal to work well. Check signal strength at the doorbell spot.
- Move closer to the router if the signal is weak
- Use a Wi-Fi extender to boost coverage
- Avoid metal or thick walls that block signals
Turning Off Power Safely
Turn off power to your existing doorbell before installation. This keeps you safe from electric shock.
Use the circuit breaker to switch off the power. Test with a voltage tester to confirm no power flows.

Credit: www.youtube.com
Step-by-step Installation Process
Installing a smart doorbell can improve your home security and convenience. This guide shows you how to set it up safely and correctly.
Follow each step carefully to avoid damage and ensure your doorbell works well. You will learn how to remove the old doorbell and install the new one.
Removing Existing Doorbell
First, turn off the power to your doorbell at the breaker box. This stops electrical shocks during removal.
Remove the doorbell cover by unscrewing it. Carefully disconnect the wires from the old doorbell.
- Turn off power at the breaker.
- Unscrew the doorbell cover.
- Disconnect wires gently.
- Remove the old doorbell from the wall.
Mounting The Smart Doorbell
Choose a flat surface near your door to mount the new doorbell. Make sure it is within reach of your home Wi-Fi.
Use the mounting bracket that comes with your smart doorbell. Hold it against the wall and mark the screw holes.
- Pick a good spot near your door.
- Hold the mounting bracket on the wall.
- Mark where the screws will go.
- Drill holes if needed.
Connecting The Wiring
Attach the existing wires to the smart doorbell terminals. Match the wires by color or label.
Use a screwdriver to tighten the screws and hold the wires firmly. Check that no bare wires are exposed.
- Identify the wires from your home.
- Connect wires to the smart doorbell.
- Tighten screws to secure wires.
- Cover any exposed wires with tape if needed.
Securing The Device
Place the smart doorbell onto the mounting bracket. Press it firmly until it clicks into place.
Screw in any additional screws to lock the doorbell. Turn the power back on to test your new device.
- Attach doorbell to the bracket.
- Press until it clicks securely.
- Insert screws to lock the device.
- Restore power and test the doorbell.
Setting Up The Smart Doorbell App
Setting up the smart doorbell app helps you control your doorbell easily. The app lets you see visitors and get alerts on your phone.
Follow these steps to download, connect, and configure your smart doorbell app quickly.
Downloading And Installing The App
Find the smart doorbell app in your phone’s app store. It is available on both Android and iOS devices.
Download and install the app by following the instructions on your screen. Make sure to allow necessary permissions.
Connecting The Doorbell To Wi-fi
Open the app and follow the setup guide to connect your doorbell to Wi-Fi. A strong Wi-Fi signal is important for good performance.
Enter your Wi-Fi network name and password carefully. Your doorbell will connect and sync with your app.
- Ensure your phone is connected to the same Wi-Fi network
- Keep the doorbell near your router during setup
- Wait for the app to confirm a successful connection
Configuring Notifications And Settings
Set up notifications so you get alerts when someone rings the doorbell. Choose how you want to be notified, like sound or vibration.
Adjust other settings such as motion detection and privacy options. This helps you control how the doorbell works for you.
- Turn notifications on or off
- Set motion detection zones
- Choose alert tones and vibration patterns
- Manage user access and permissions

Credit: www.youtube.com
Testing And Troubleshooting
Setting up a smart doorbell is easy, but testing it ensures it works well. Troubleshooting helps fix problems fast.
This guide covers how to check video and audio quality, common issues, and tips to reset or reinstall your device.
Verifying Video And Audio Quality
Check the video to make sure it is clear and shows the right area. Test the audio for loudness and clarity.
Use the app or device screen to see live video and listen to the microphone and speaker.
- Adjust camera angle for best view
- Test audio by speaking and listening
- Check video in different light conditions
- Make sure sound is clear without echoes
Common Installation Issues
Many issues come from poor Wi-Fi, wrong wiring, or bad placement. These can stop your doorbell from working right.
- Weak Wi-Fi causes video or audio lag
- Wrong power supply may prevent operation
- Camera blocked by objects or walls
- App not synced with the doorbell
- Incorrect mounting angle reduces view
Check each part during setup to avoid these problems.
Resetting And Reinstalling Tips
Resetting your smart doorbell can fix many issues. Reinstalling the app or device may be needed if problems persist.
- Find the reset button on the device
- Hold it for 10-15 seconds to reset
- Uninstall and reinstall the app on your phone
- Follow the setup steps again after reset
- Check firmware updates after reinstall
Keep your doorbell updated for best performance and fewer bugs.
Enhancing Security Features
Smart doorbells add strong security to your home. They let you see and talk to visitors from anywhere.
Setting up smart doorbells properly helps catch unwanted guests and alerts you fast.
Integrating With Other Smart Devices
Smart doorbells work best when connected to other devices. They can trigger lights or alarms for safety.
Link your doorbell to smart locks or cameras for full control from one app.
- Connect with smart lights to turn on when motion is detected
- Sync with security cameras for wider coverage
- Use smart locks to open doors remotely after verifying visitors
Setting Up Motion Detection Zones
Customize motion zones to reduce false alerts. Focus on key areas near your door.
Adjust sensitivity to catch real threats while ignoring small animals or passing cars.
- Mark areas where people usually walk
- Exclude busy streets or sidewalks
- Set alerts for specific zones to act fast
Using Cloud Storage Options
Cloud storage keeps your doorbell videos safe online. You can watch them anytime from any device.
Choose plans with enough space to save important clips without worry.
- Access video history for up to 30 days or more
- Download or share clips easily
- Protect footage with strong passwords and encryption
Maintenance And Updates
Keeping your smart doorbell in good shape is important. Regular care helps it work well for a long time.
Updating the software and replacing parts when needed keeps your doorbell safe and reliable.
Cleaning And Physical Care
Clean the doorbell often to remove dirt and dust. Use a soft cloth to avoid damage.
Check the doorbell’s camera and buttons for any cracks or wear. Fix or replace parts if needed.
- Wipe the surface with a damp cloth
- Do not use harsh chemicals
- Keep the camera lens clear
- Inspect mounting hardware regularly
Firmware And Software Updates
Install updates to improve your doorbell’s features and security. Updates fix bugs and add new functions.
Check for updates in the app or device settings. Set updates to install automatically if possible.
- Regularly check for firmware updates
- Keep the app on your phone updated
- Restart the device after updates
- Follow manufacturer instructions during updates
Battery Replacement Guidelines
Replace the battery when the doorbell shows low power. Use the battery type recommended by the maker.
Remove old batteries safely and check the battery contacts for corrosion before inserting new ones.
- Use correct battery size and type
- Turn off the doorbell before replacing
- Check battery contacts for dirt or corrosion
- Dispose of old batteries properly
Frequently Asked Questions
What Tools Do I Need For Smart Doorbell Setup?
You need a drill, screwdriver, voltage tester, and a smartphone. These tools ensure a smooth and safe installation process.
How Do I Connect A Smart Doorbell To Wi-fi?
Open the doorbell app, select your Wi-Fi network, and enter the password. Ensure strong signal strength for stable connection.
Can I Install A Smart Doorbell Without Professional Help?
Yes, most smart doorbells offer DIY installation with clear instructions. However, seek help if unsure about electrical wiring.
How Long Does Smart Doorbell Setup Usually Take?
Setup typically takes 20 to 40 minutes. Time varies by doorbell model and your experience level.
Conclusion
Setting up a smart doorbell is easy and beneficial. It enhances your home security. Follow the steps carefully. Ensure a strong Wi-Fi connection for optimal performance. Place your doorbell at eye level. Always test the doorbell after installation. This ensures it functions correctly.
Regular maintenance keeps it in top shape. Smart doorbells offer peace of mind. They allow you to monitor your home remotely. Invest in a smart doorbell today. Enjoy the convenience and safety it brings. Remember, a little effort now saves trouble later.
Happy setting up!
20 min read