Imagine controlling your home devices with just a tap on your phone—turning lights on and off, saving energy, and making life easier. What if you could build this smart power tool yourself, without buying expensive gadgets? Build Your Own Smart Plug
You’ll discover simple steps to create your own smart plug. It’s not only fun but also saves you money and gives you complete control over your devices. Ready to unlock the power of smart living? Keep reading to find out how you can make it happen today.
Benefits Of Smart Plugs
Smart plugs help you control your devices easily. They make your home smarter and save energy.
These plugs connect to your Wi-Fi and work with apps or voice assistants. You can turn devices on or off from anywhere.
Energy Savings
Smart plugs help reduce electricity use by turning off devices automatically. This lowers your energy bills.
You can set schedules to power off devices when not in use. This prevents wasting energy on idle appliances.
- Turn off lights when not needed
- Stop charging devices after full
- Limit power to standby electronics
Convenience And Automation
Smart plugs let you automate home devices easily. You can set timers or rules to control them without manual effort.
This automation makes daily tasks faster. For example, you can schedule lights to turn on at sunset or fans to run on hot days.
- Set daily or weekly schedules
- Use triggers from other smart devices
- Automate routines for comfort
Remote Control Features
You can control smart plugs from your phone or tablet anywhere. This gives you power over devices even when away from home.
Remote control helps you check if you left devices on. You can turn them off to save energy and increase safety.
- Control devices from any location
- Receive alerts about device status
- Turn off forgotten appliances remotely
Essential Components
Building your own smart plug needs some key parts. These parts work together to control power remotely.
Choosing the right components helps your smart plug work safely and efficiently.
Microcontroller Options
The microcontroller acts as the brain of the smart plug. It processes commands and controls the relay.
Popular choices include small, low-power boards that support Wi-Fi or Bluetooth.
- ESP8266: Affordable and has built-in Wi-Fi.
- ESP32: More powerful with Wi-Fi and Bluetooth.
- Arduino Uno: Easy to use but needs extra modules for Wi-Fi.
Relay Selection
The relay switches the power on and off inside the smart plug. It must handle the voltage and current safely.
Choose a relay with a coil voltage that matches your microcontroller output and a contact rating for your appliance.
- 5V or 12V relays are common for smart plugs.
- Look for a relay rated for at least 10A at 120V or 240V.
- Solid-state relays offer silent operation but cost more.
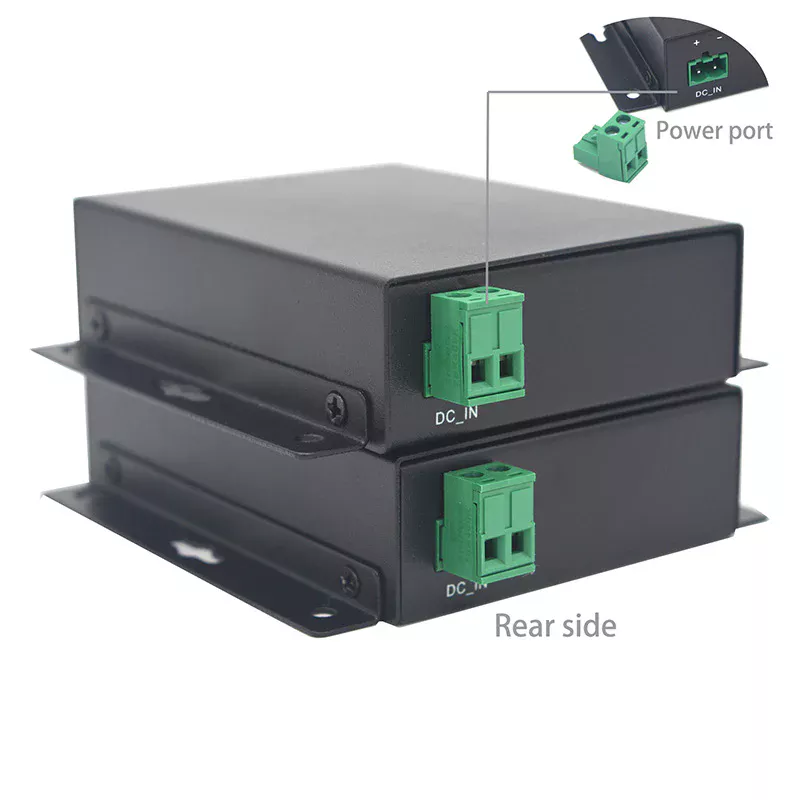
Power Supply Requirements
Your smart plug needs a stable power supply to run the microcontroller and relay. It should convert AC to low DC voltage safely.
Common power supplies include small AC-DC adapters or built-in modules that output 5V or 12V DC. Build Your Own Smart Plug
- Use a power supply with enough current for your components.
- Include safety features like fuses or surge protection.
- Make sure it fits inside your smart plug enclosure.
Connectivity Modules
Connectivity modules enable your smart plug to communicate with your phone or smart home system.
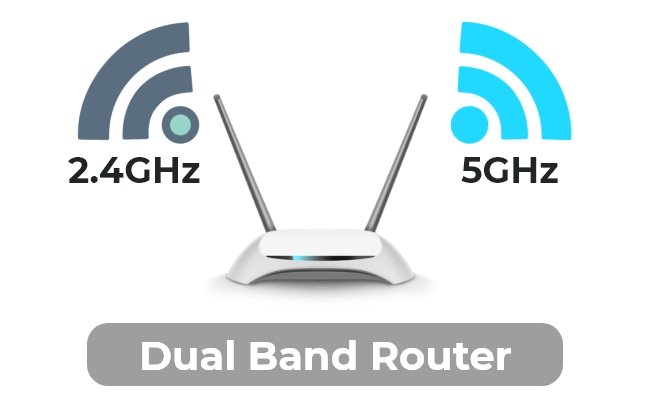
Wi-Fi and Bluetooth are the most common options for smart plugs.
- Wi-Fi modules like ESP8266 or ESP32 connect directly to your home network.
- Bluetooth modules allow local control but need a nearby device.
- Zigbee or Z-Wave modules require a hub but use less power.
Tools Needed
Building your own smart plug requires some basic tools. These tools help you connect parts and check your work.
Having the right tools makes the project easier and safer. Here are the main tools you will need.
Soldering Equipment
Soldering equipment is needed to join wires and parts firmly. It helps create strong electrical connections.
You will need a soldering iron, solder wire, and a stand. Use safety glasses to protect your eyes.
- Soldering iron with adjustable temperature
- Lead-free solder wire
- Soldering iron stand
- Safety glasses
- Desoldering pump or wick (optional)
Multimeter Usage
A multimeter checks electrical values like voltage and resistance. It ensures your smart plug works well.
Use the multimeter to test wires and connections. It helps find mistakes before powering the plug.
- Digital multimeter with voltage, current, and resistance modes
- Test leads with probes
- Manual or guide to read measurementsBuild Your Own Smart Plug
Basic Hand Tools
Basic hand tools help you handle parts and prepare wires. They make assembly easier and safer.
Common tools include wire cutters, pliers, and screwdrivers. Keep them clean and in good shape.
- Wire cutters to trim wires
- Needle-nose pliers to bend and hold parts
- Small screwdrivers for screws and terminals
- Wire strippers to remove insulation

Credit: cloudfree.shop
Circuit Design
Building your own smart plug starts with a clear circuit design. The circuit controls the power flow and connects to the smart system.
This guide explains key parts of the circuit, including the relay wiring, microcontroller connections, and safety tips. Build Your Own Smart Plug
Wiring The Relay
The relay acts as a switch to control the power to your device. It uses a small signal from the microcontroller to open or close the circuit.
Connect the relay coil to the microcontroller output pin through a transistor or a driver circuit. The relay contacts connect to the live wire of the power source and the device.
- Use a relay rated for your device’s voltage and current
- Include a diode across the relay coil to prevent voltage spikes
- Keep the relay contacts separate from the control circuit
Microcontroller Connections
The microcontroller is the brain of your smart plug. It sends signals to control the relay and reads sensor data.
Connect the microcontroller pins to the relay driver, sensors, and power supply. Use proper resistors and voltage regulators to protect the microcontroller.
- Connect the relay driver input to a digital output pin
- Use a common ground for all parts of the circuit
- Power the microcontroller with a stable 3.3V or 5V supply
Safety Considerations
Safety is very important when working with electricity. Use proper insulation and follow electrical codes to avoid hazards.
Test your circuit carefully before use. Make sure all connections are secure and no wires are exposed.
- Use a fuse or circuit breaker to protect from overcurrent
- Keep high voltage parts separate from low voltage control parts
- Enclose the circuit in a non-conductive case
Programming The Microcontroller
Programming the microcontroller is a key step in building your smart plug. This code controls how the device works and connects to your network.
You need to choose the right firmware, set up the Wi-Fi, and write control logic for the plug’s functions.
Choosing The Right Firmware
Firmware is the software that runs on the microcontroller. Pick firmware that fits your device and skill level.
Some firmware options include simple code for beginners or advanced software for more features.
- Look for firmware with good community support
- Check if it supports your microcontroller model
- Choose firmware with clear setup instructions
Configuring Wi-fi Settings
Connect your smart plug to Wi-Fi so you can control it remotely. Set your network name and password in the code.
Make sure to use secure Wi-Fi settings to protect your device from unauthorized access.
- Enter the SSID (network name) correctly
- Use a strong password for your Wi-Fi
- Test connection before finalizing
Implementing Control Logic
Control logic tells the smart plug when to turn on or off. Write simple code for basic control or add timers and sensors.
Use clear commands that the microcontroller can easily follow for reliable operation.
- Define actions for on and off states
- Add conditions like schedules or triggers
- Test the logic to avoid errors

Credit: www.cnn.com
Enclosure And Assembly
Building your own smart plug needs a good enclosure and careful assembly. A proper case keeps parts safe and working well.
Good assembly helps avoid damage and keeps the smart plug reliable. This guide explains how to choose a case and arrange components safely.
Selecting A Suitable Case
Pick a case that fits your smart plug parts comfortably. The case should be strong and protect against dust and moisture.
Plastic cases made of ABS or polycarbonate work well. They do not conduct electricity and resist heat.
- Choose a size that leaves room for wiring
- Look for cases with mounting points
- Ensure the case has good ventilation
- Check for easy access to buttons or ports
Component Placement
Place parts inside the case to avoid short circuits and damage. Keep power parts separate from the low voltage parts.
Arrange components to make wiring neat. Use spacers or mounts to hold parts in place and prevent movement.
- Keep the microcontroller away from high voltage areas
- Allow space for connectors and cables
- Place the relay or switch securely
- Use insulation pads if needed
Ensuring Electrical Safety
Safety is key when assembling your smart plug. Use proper insulation and secure all wiring tightly.
Make sure no wires touch each other or the case. Test for shorts before powering the device.
- Use heat shrink tubing on exposed wires
- Secure connections with solder or strong connectors
- Keep high voltage parts separated and insulated
- Use a fuse to protect against overcurrent
- Check the case for cracks or damage before use
Testing And Troubleshooting
Testing and troubleshooting are key when building your own smart plug. These steps help find and fix problems early.
Careful checks ensure your smart plug works safely and connects well with your devices.
Initial Power Tests
Check the power supply first. Make sure your smart plug gets the correct voltage and current.
Use a multimeter to measure voltage at key points. Look for loose wires or bad connections.
- Verify input voltage matches device specs
- Test output voltage at the plug terminals
- Inspect solder joints and wire connections
- Look for any signs of overheating or damage
Connectivity Checks
Test the smart plug’s network connection. Confirm it connects to Wi-Fi or your smart hub.
Check signal strength and network settings to avoid dropouts or delays.
- Use your phone or computer to scan for the smart plug
- Confirm the device appears on your network list
- Test control commands through your app or voice assistant
- Check for any connection errors or timeouts
Debugging Common Issues
Some issues happen often. Check these areas if your smart plug does not work right.
Fixing these can save time and make your device safe to use.
- Power failure: Ensure correct wiring and power supply
- Connection drops: Restart router and smart plug
- App control fails: Update firmware and app software
- Overheating: Check for short circuits or faulty parts
- Response delay: Check network speed and reduce interference
Integrating With Smart Home Systems
Building your own smart plug lets you control devices easily. Integrating it with smart home systems makes your home smarter.
Smart home integration helps you manage your devices from one place. It adds convenience and saves energy in your daily life.
Compatibility With Voice Assistants
Your smart plug can work with popular voice assistants. This lets you control devices using simple voice commands.
Voice assistants like Amazon Alexa, Google Assistant, and Apple Siri support many smart plugs. This gives you hands-free control.
- Turn devices on or off by speaking
- Check device status with voice queries
- Control multiple plugs with group commands
Using Mobile Apps
Mobile apps let you manage your smart plug from anywhere. You can switch devices on or off remotely with a phone.
Apps also show energy usage and device status. This helps you monitor and control your home more efficiently.
- Schedule device on/off times
- Receive alerts and notifications
- Access device controls on the go
Automating With Routines
Automate your smart plug to follow routines. Routines run tasks automatically based on time or triggers.
You can create routines to save energy or improve comfort. For example, turn off lights when you leave home.
- Set devices to run at specific times
- Trigger actions when you arrive or leave
- Combine multiple devices in one routine
Enhancements And Customizations
Building your own smart plug lets you add extra features to fit your needs. You can improve how it works by adding new functions.
Customizing your device helps it work better with your home setup. You can make it smarter and easier to use.
Adding Energy Monitoring
Energy monitoring shows how much power your devices use. This helps save electricity and lowers bills.
You can add sensors that measure voltage and current. The smart plug can then send data to your phone or computer.
- Track daily energy use
- Set alerts for high consumption
- View usage history
Scheduling Features
Scheduling lets you turn devices on or off automatically. This saves time and energy.
You can program your smart plug to follow daily or weekly routines. For example, turn lights off at bedtime or coffee maker on in the morning.
- Create multiple schedules
- Set timers for specific devices
- Adjust schedules remotely
Expanding Device Support
Your smart plug can work with more devices by adding support for different protocols. This makes it more useful in your smart home.
Adding Wi-Fi, Zigbee, or Bluetooth lets your plug control lights, fans, or other appliances. This gives you more control from one place.
- Include Wi-Fi for internet access
- Add Zigbee for smart home hubs
- Use Bluetooth for nearby devices

Credit: okashasmart.com
Frequently Asked Questions
What Materials Are Needed To Build A Smart Plug?
To build a smart plug, you need a microcontroller, relay module, power socket, casing, and wiring. Additional tools include a soldering iron and basic electronic components like resistors and capacitors. Build Your Own Smart Plug
How Do I Connect A Smart Plug To Wi-fi?
You connect a smart plug to Wi-Fi using a microcontroller with Wi-Fi capability, like ESP8266. Configure the device through a mobile app or web interface to link it to your home network. Build Your Own Smart Plug
Is Building A Smart Plug Cost-effective?
Yes, building a smart plug can be cost-effective. DIY components often cost less than commercial smart plugs. Plus, it allows customization tailored to your needs, saving money over buying multiple devices. Build Your Own Smart Plug
Can I Control My Diy Smart Plug Via Smartphone?
Absolutely. Most DIY smart plugs use Wi-Fi-enabled microcontrollers that support smartphone apps. This lets you remotely turn devices on or off and monitor energy usage conveniently from your phone. Build Your Own Smart Plug
Conclusion
Building your own smart plug can be rewarding. It offers control and convenience. You learn valuable skills and save money. DIY projects inspire creativity and innovation. Smart plugs enhance home efficiency. They make life easier and more connected. Take pride in your creation.
Enjoy the benefits of a smarter home. This project provides hands-on experience. It also boosts your tech knowledge. Engage with the world of smart devices. Share your journey and inspire others. Embrace the future of home automation today. Your smart plug adventure awaits.
Dive in and enjoy the process. Build Your Own Smart Plug
26 min read